Apple Caramel Tart for Thanksgiving
Ingredients
For the Crust:
- 1 1/4 cups all-purpose flour
- 1/2 teaspoon salt
- 1/2 cup (1 stick) cold unsalted butter, cubed
- 1/4 cup ice water
For the Caramel:
- 1 cup granulated sugar
- 1/4 cup water
- 1/2 cup heavy cream
- 4 tablespoons (1/2 stick) unsalted butter
- 1/4 teaspoon salt
For the Apple Filling:
- 6 medium apples (such as Honeycrisp, Gala, or Fuji), peeled, cored, and sliced
- 2 tablespoons lemon juice
- 1/4 cup granulated sugar
- 2 tablespoons all-purpose flour
- 1 teaspoon ground cinnamon
- 1/4 teaspoon ground nutmeg
- 2 tablespoons unsalted butter, cut into small pieces
Step-by-Step
1. Make the Crust: In a large bowl, whisk together the flour and salt.
2. Cut in the cold butter using a pastry blender or your fingers until the mixture resembles coarse crumbs.
3. Gradually add the ice water, one tablespoon at a time, mixing until the dough just comes together.
4. Form the dough into a disc, wrap in plastic wrap, and refrigerate for at least 30 minutes.
5. Make the Caramel: In a medium saucepan, combine the sugar and water.
6. Cook over medium heat, swirling the pan occasionally, until the sugar dissolves and turns into a deep amber color. Do not stir!
7. Carefully whisk in the heavy cream, butter, and salt. The mixture will bubble vigorously.
8. Continue to cook, stirring constantly, until the caramel is smooth and thickened, about 1-2 minutes. Remove from heat and let cool slightly.
9. Prepare the Apple Filling: In a large bowl, toss the apple slices with lemon juice.
10. Add the sugar, flour, cinnamon, and nutmeg, and toss to coat.
11. Assemble the Tart: Preheat oven to 375°F (190°C).
12. On a lightly floured surface, roll out the chilled dough into a 12-inch circle.
13. Transfer the dough to a 9-inch tart pan with a removable bottom.
14. Trim the edges and crimp as desired.
15. Pour half of the cooled caramel into the tart shell.
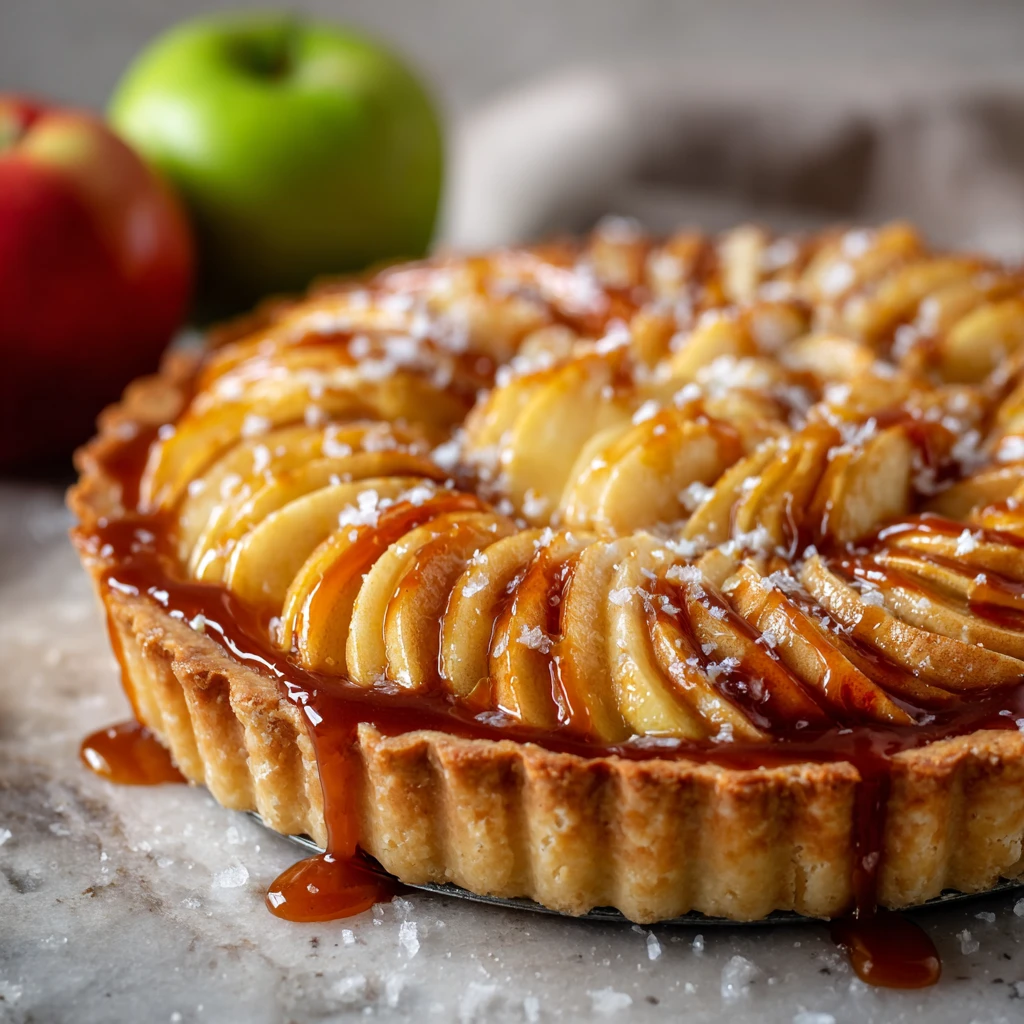
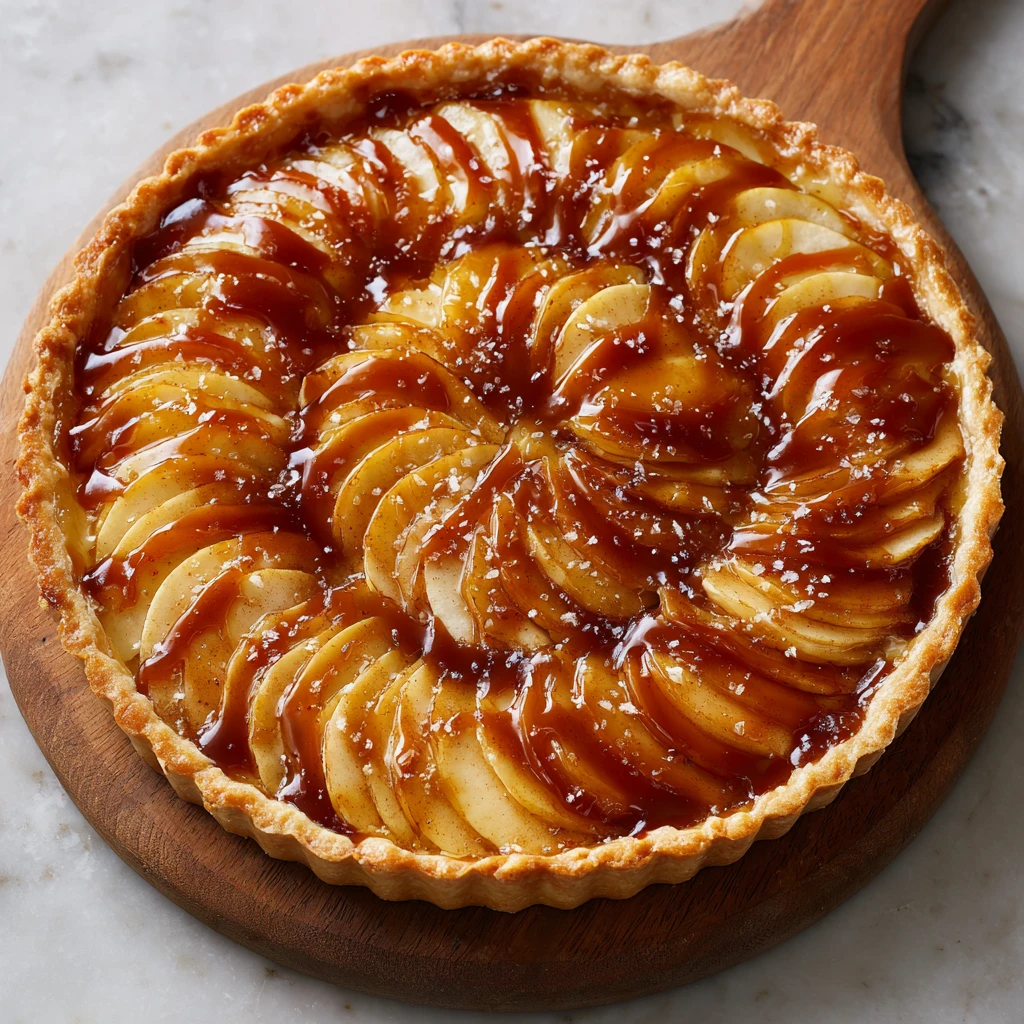
16. Arrange the apple slices in a circular pattern over the caramel.
17. Drizzle the remaining caramel over the apples.
18. Dot the apples with the small pieces of butter.
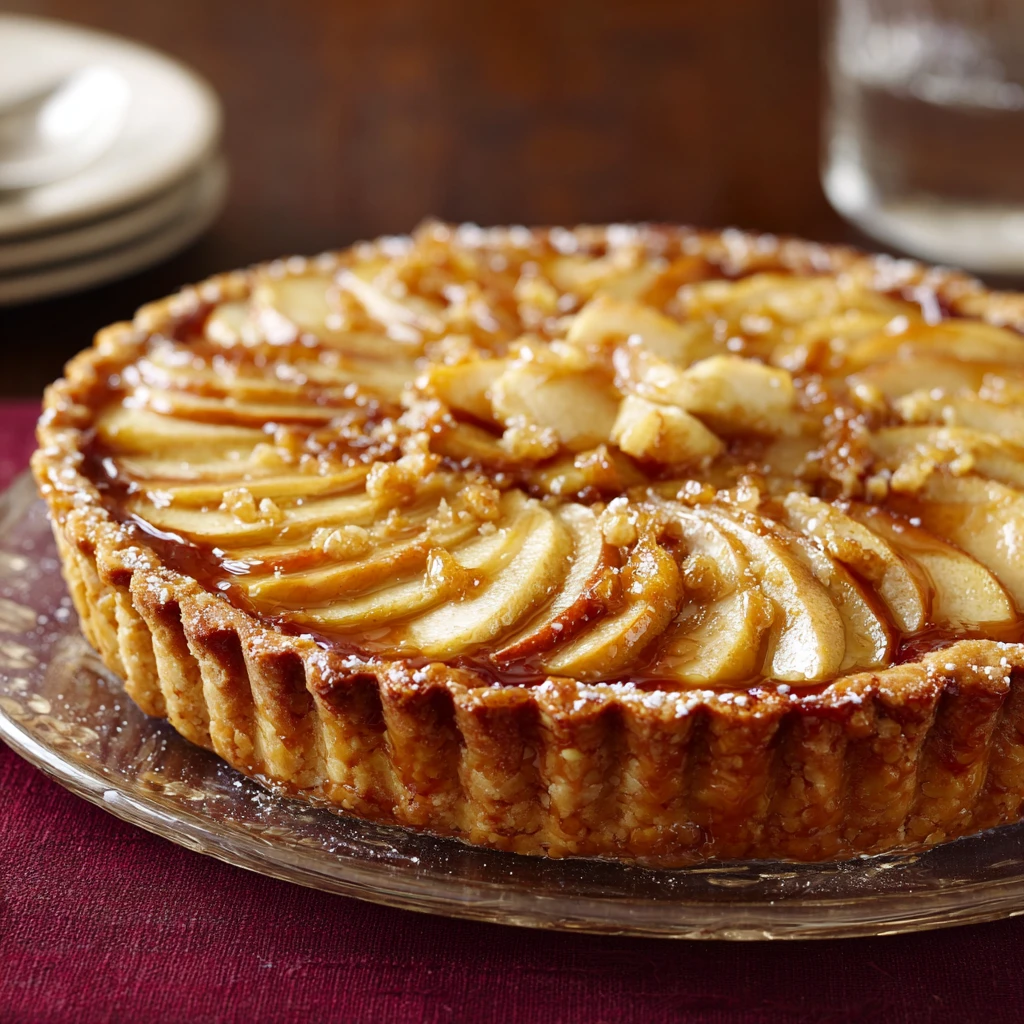
19. Bake the Tart: Bake for 45-55 minutes, or until the crust is golden brown and the apples are tender.
20. Let the tart cool completely on a wire rack before serving.
Crafting the Perfect Crust
H3: Choosing the Right Flour
All-purpose flour works well. Some bakers prefer pastry flour for a more tender crust. Experiment to find your preference.
H3: The Importance of Cold Butter
Cold butter is key to a flaky crust.
The cold fat creates pockets of steam as it bakes. This gives the crust its characteristic layers.
H3: Handling the Dough
Don’t overwork the dough! Overworking develops the gluten.
This results in a tough, rather than tender, crust. Handle the dough gently.
Mastering the Caramel
H3: The Secret to Smooth Caramel
Patience is key when making caramel. Don’t rush the process.
Low and slow heat helps prevent burning. Swirling the pan prevents crystallization.
H3: Choosing the Right Sugar
Granulated sugar is the standard choice. Avoid using brown sugar. It can change the flavor and texture.
H3: Troubleshooting Caramel Issues
If your caramel seizes up, don’t panic. Add a tablespoon or two of water.
Continue cooking over low heat until smooth. Be careful of steam!
Selecting and Preparing Apples
H3: Best Apple Varieties for Baking
Honeycrisp, Gala, and Fuji are excellent choices. They hold their shape well during baking.
Braeburn and Granny Smith are also popular options.
H3: The Importance of Lemon Juice
Lemon juice prevents browning. It also adds a touch of acidity. This complements the sweetness of the caramel and apples.
H3: Slicing Apples for Even Baking
Slice the apples evenly for uniform cooking. Aim for about 1/4-inch thick slices.
Thicker slices may take longer to bake. Thinner slices might become mushy.
Assembling and Baking the Tart
H3: Creating an Appealing Arrangement
Arrange the apple slices in concentric circles.
This creates a visually appealing pattern. Overlap the slices slightly for better coverage.
H3: Preventing a Soggy Crust
Blind baking the crust is sometimes recommended. This helps to prevent a soggy bottom.
However, this recipe usually doesn’t require it, since the caramel helps to seal the crust.
H3: Checking for Doneness
The tart is done when the crust is golden brown. The apples should be tender when pierced with a fork. The caramel should be bubbly.
Serving and Storing the Tart
H3: Letting the Tart Cool Properly
Allow the tart to cool completely before serving. This allows the caramel to set.
Cutting into a warm tart can result in a messy filling.
H3: Serving Suggestions
Serve the tart with a scoop of vanilla ice cream.
A dollop of whipped cream or a drizzle of extra caramel are also great additions.
H3: Storing Leftovers
Store leftover tart in the refrigerator. Cover it loosely with plastic wrap.
It’s best consumed within 2-3 days. The crust may become slightly softer over time.
FAQ
What kind of apples are best for apple caramel tart?
Honeycrisp, Gala, Fuji, Braeburn, and Granny Smith apples are all good choices.
Can I make the crust ahead of time?
Yes, the crust can be made ahead of time and stored in the refrigerator for up to 2 days. Or, you can freeze it for up to a month.
How do I prevent the crust from shrinking during baking?
Dock the bottom of the crust with a fork before baking. This prevents it from puffing up.
Also, chilling the dough thoroughly before baking helps minimize shrinkage.
Can I use store-bought caramel?
While homemade caramel is recommended, store-bought caramel can be used in a pinch. Look for a high-quality caramel sauce.
How long does apple caramel tart last?
Apple caramel tart lasts for 2-3 days when stored in the refrigerator.