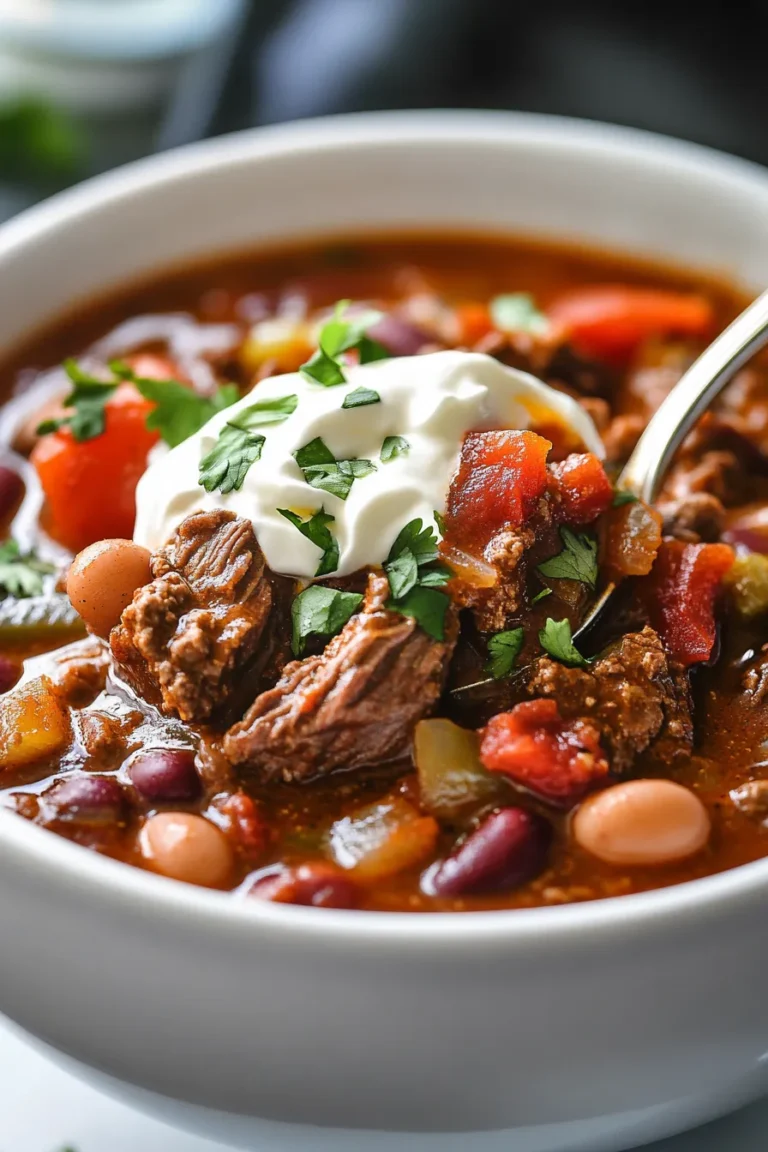
Classic Beef Chili: A Hearty & Flavorful Comfort Food
Chili. The very word conjures images of crackling fireplaces, crisp autumn evenings, and the satisfying warmth of a bowl brimming with flavor. While countless variations exist, the classic beef chili remains a timeless favorite. This article delves into the secrets of crafting a truly exceptional classic beef chili, exploring everything from ingredient selection to cooking techniques, ensuring a dish that will warm you from the inside out.
The Foundation: Choosing Your Ingredients Wisely
The success of any chili hinges on the quality of its ingredients. Opting for the best available will elevate your dish from ordinary to extraordinary.
Selecting the Right Beef
Ground beef is the cornerstone of classic beef chili. Lean ground beef (80/20) provides a good balance of flavor and texture. While leaner options exist, they can sometimes result in a drier chili. For an even richer flavor, consider using chuck roast, cut into small cubes. This method requires a longer cooking time but yields incredibly tender and flavorful beef.
The Holy Trinity: Onions, Peppers, and Garlic
This aromatic base forms the foundation of nearly every great chili. Yellow onions provide a mild sweetness, while bell peppers (typically green or red) contribute a subtle vegetal note. Garlic, of course, is essential for its pungent and savory flavor. Consider adding a jalapeño or two for a touch of heat, remembering to remove the seeds and membranes for a milder chili.
Tomatoes: Canned vs. Fresh
Canned tomatoes are a convenient and reliable option for chili. Diced tomatoes, crushed tomatoes, and tomato paste all play crucial roles. Diced tomatoes provide texture, crushed tomatoes create a rich sauce, and tomato paste adds depth of flavor. In a pinch, fresh tomatoes can be used, but they require peeling and seeding, and the flavor may be less intense, especially during the off-season.
Beans: A Matter of Preference
The inclusion of beans in chili is a hotly debated topic. Purists often argue against their use, while others consider them an essential element. Kidney beans, pinto beans, and black beans are all popular choices. Kidney beans offer a firm texture and slightly sweet flavor, pinto beans are creamy and earthy, and black beans provide a unique visual appeal and slightly smoky taste. If using canned beans, be sure to rinse and drain them thoroughly to remove excess sodium. If opting for dried beans, they will need to be soaked overnight and cooked separately before adding them to the chili.
Spices: Building Layers of Flavor
The spice blend is what truly sets a chili apart. Chili powder is the foundational spice, but don’t rely on it alone. Ground cumin, smoked paprika, oregano, and a pinch of cayenne pepper all contribute to a complex and balanced flavor profile. Experiment with different ratios to find your perfect blend. Some cooks also add a touch of cocoa powder or cinnamon for added depth and warmth.
The Cooking Process: Mastering the Technique
Proper cooking techniques are just as important as quality ingredients. Taking your time and following these steps will ensure a chili that is both flavorful and satisfying.
Browning the Beef: Developing Rich Flavor
Browning the beef is a crucial step in developing deep, rich flavor. Use a large, heavy-bottomed pot or Dutch oven to ensure even browning. Work in batches to avoid overcrowding the pot, which can lower the temperature and prevent proper browning. Season the beef generously with salt and pepper before browning.
Sautéing the Aromatics: Building the Base
Once the beef is browned, remove it from the pot and set aside. Add the onions and bell peppers to the pot and sauté until softened, about 5-7 minutes. Add the garlic and jalapeño (if using) and cook for another minute, until fragrant. Be careful not to burn the garlic.
Combining the Ingredients: Simmering for Flavor
Return the browned beef to the pot. Add the diced tomatoes, crushed tomatoes, tomato paste, beans (if using), and spices. Stir well to combine. Bring the mixture to a simmer, then reduce the heat to low, cover, and cook for at least 1-2 hours, or even longer for a richer flavor. Stir occasionally to prevent sticking.
Adjusting the Consistency: Achieving the Perfect Texture
During the simmering process, the chili will thicken. If it becomes too thick, add a little beef broth or water to thin it out. If it’s too thin, remove the lid and allow it to simmer for a longer period of time, allowing the excess liquid to evaporate.
Seasoning to Perfection: The Final Touch
Taste the chili and adjust the seasoning as needed. Add more salt, pepper, chili powder, or other spices to your liking. A splash of apple cider vinegar or lime juice can also brighten the flavors and add a touch of acidity.
Variations and Customization: Making It Your Own
One of the beautiful things about chili is its versatility. Feel free to experiment with different ingredients and techniques to create your own unique version.
Spicy Chili: Turning Up the Heat
For a spicier chili, add more cayenne pepper, jalapeños, or other hot peppers, such as serranos or habaneros. You can also use a spicier chili powder blend. Remember to start with a small amount and taste as you go, as it’s easier to add spice than to remove it.
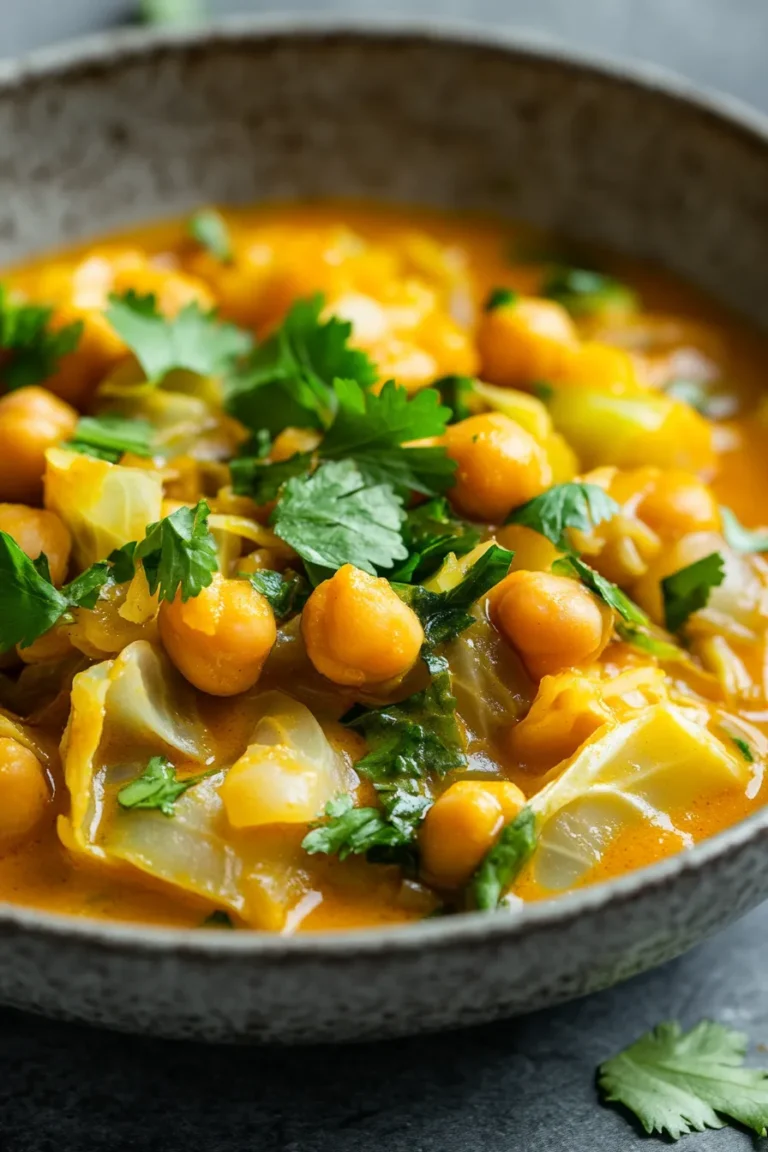
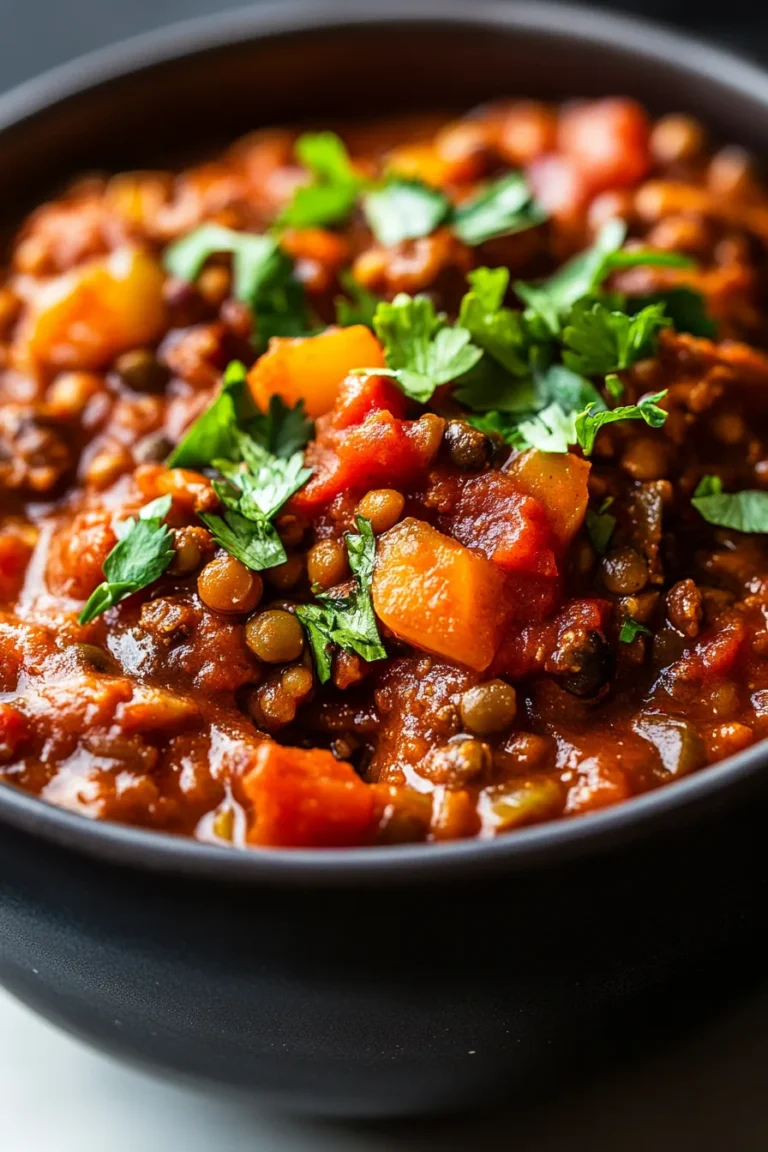
Vegetarian Chili: A Plant-Based Alternative
For a vegetarian chili, simply omit the beef and substitute it with a plant-based protein source, such as lentils, black beans, or crumbled tofu. You can also add more vegetables, such as corn, zucchini, or sweet potatoes.
White Bean Chicken Chili: A Lighter Option
For a lighter chili, try a white bean chicken chili. Substitute the beef with shredded chicken and use white beans, such as cannellini beans or great northern beans. This variation is often made with a broth-based sauce instead of a tomato-based sauce.
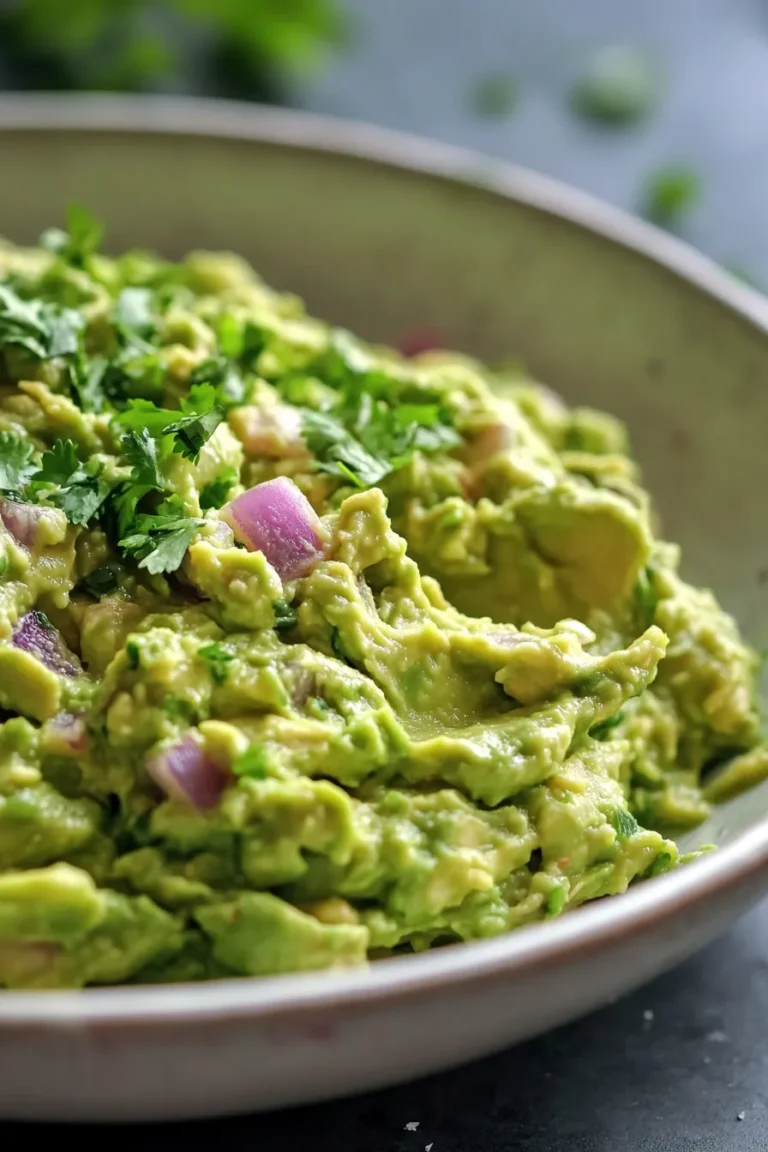
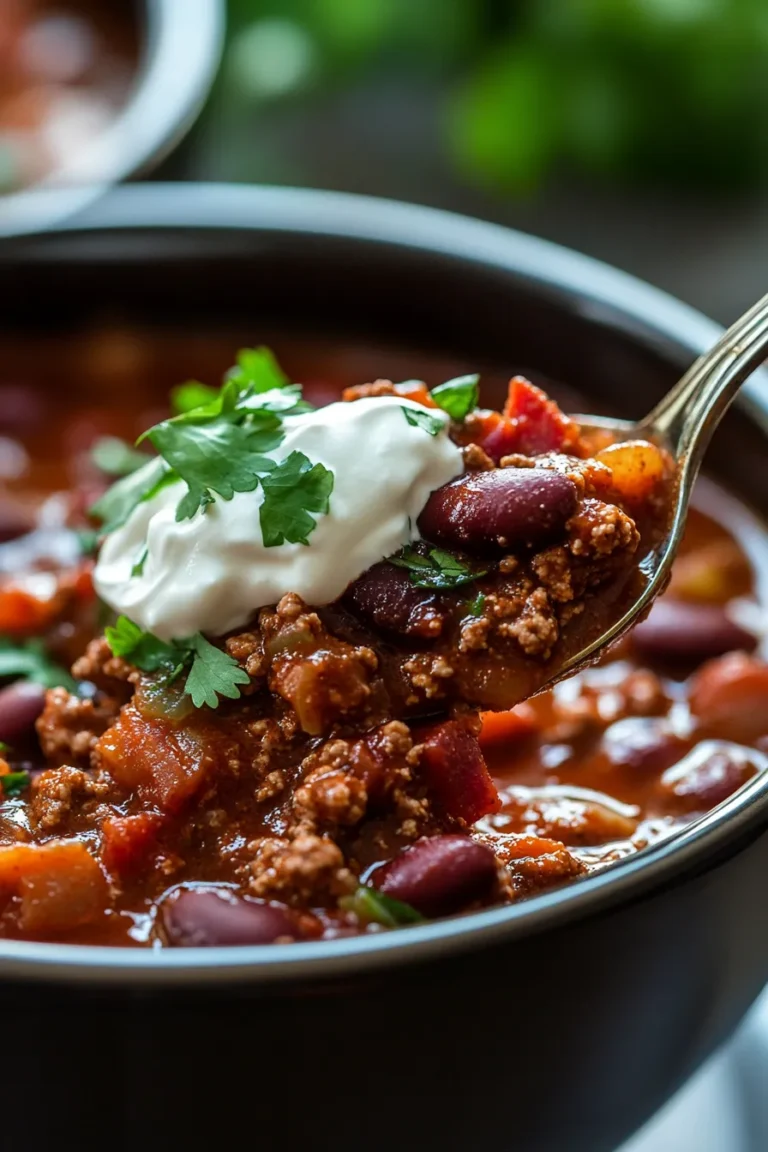
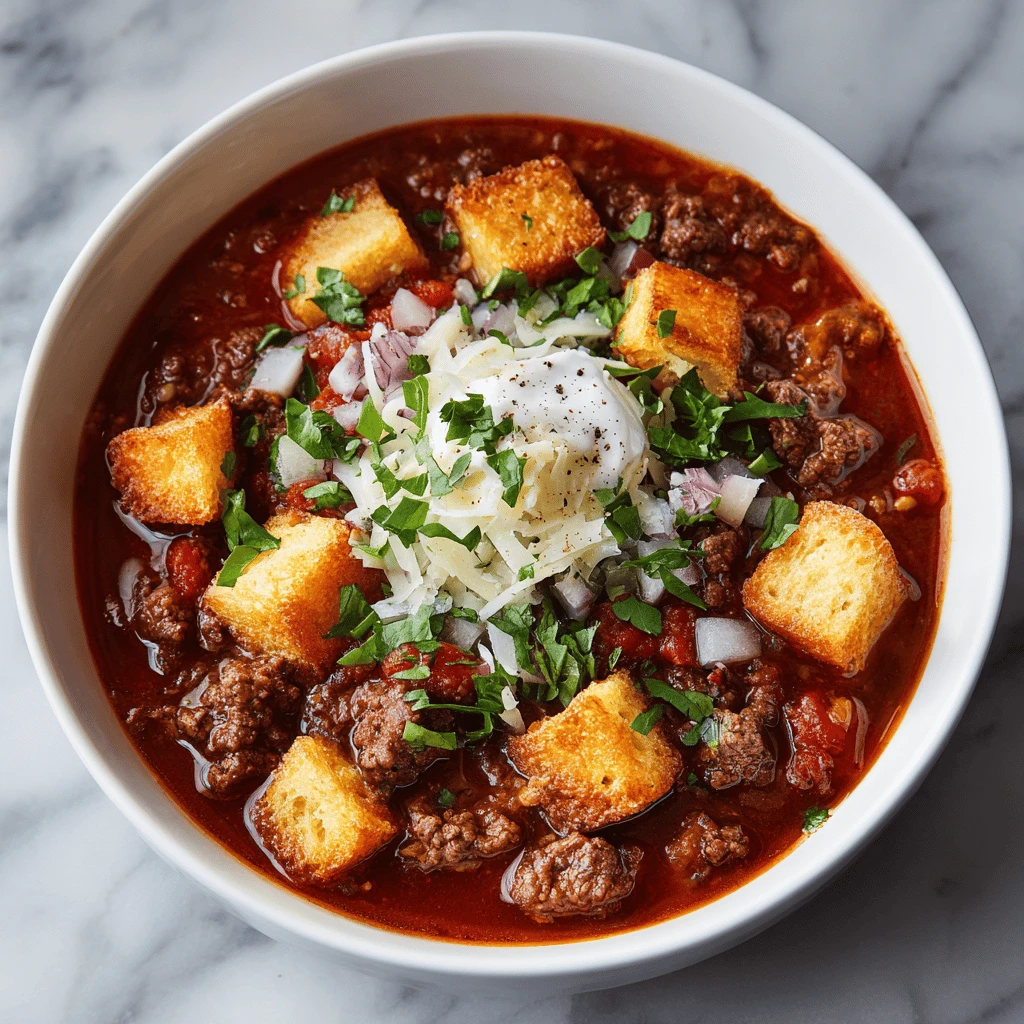
Toppings: Adding the Finishing Touches
Toppings are a great way to customize your chili and add extra flavor and texture. Some popular toppings include shredded cheese, sour cream, chopped onions, avocado, cilantro, and hot sauce.
Serving and Storing: Enjoying Your Creation
Chili is best served hot, garnished with your favorite toppings. It’s also a great make-ahead dish, as the flavors tend to meld and improve over time.
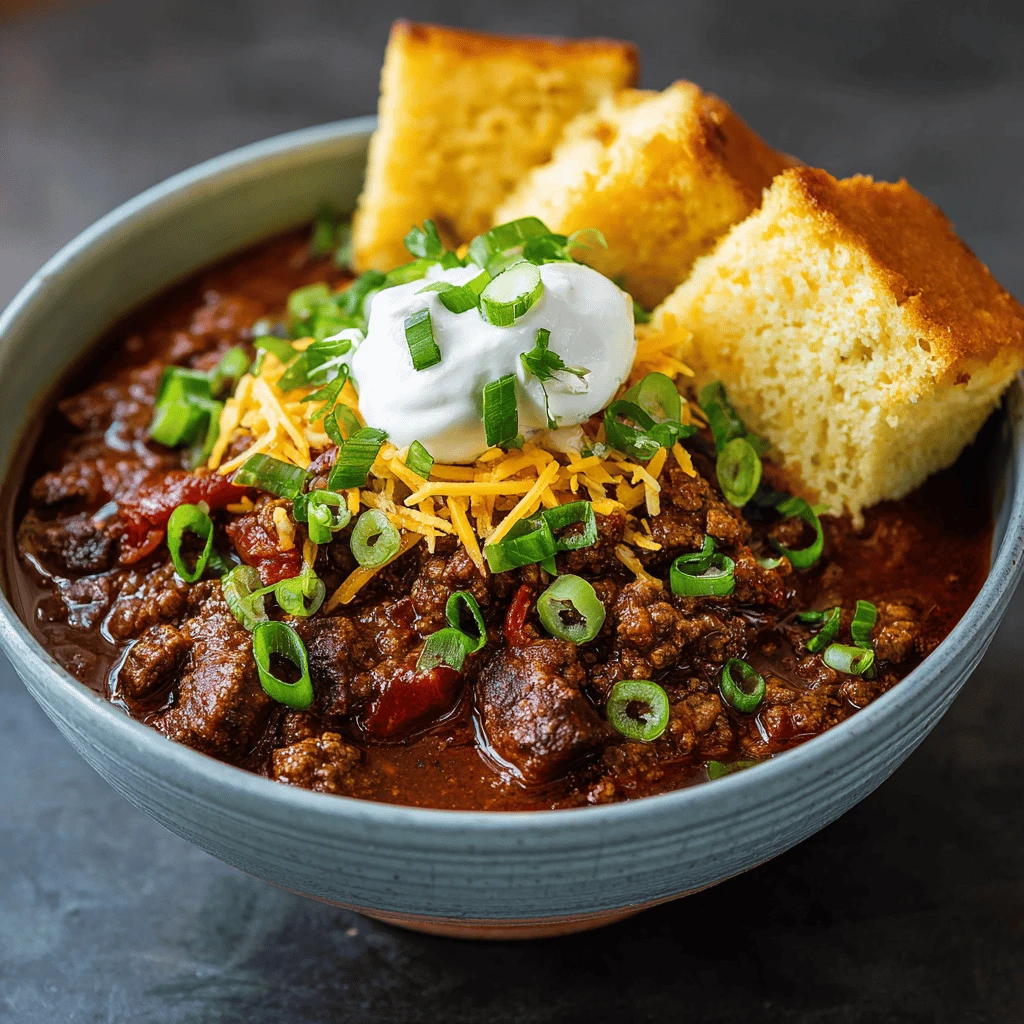
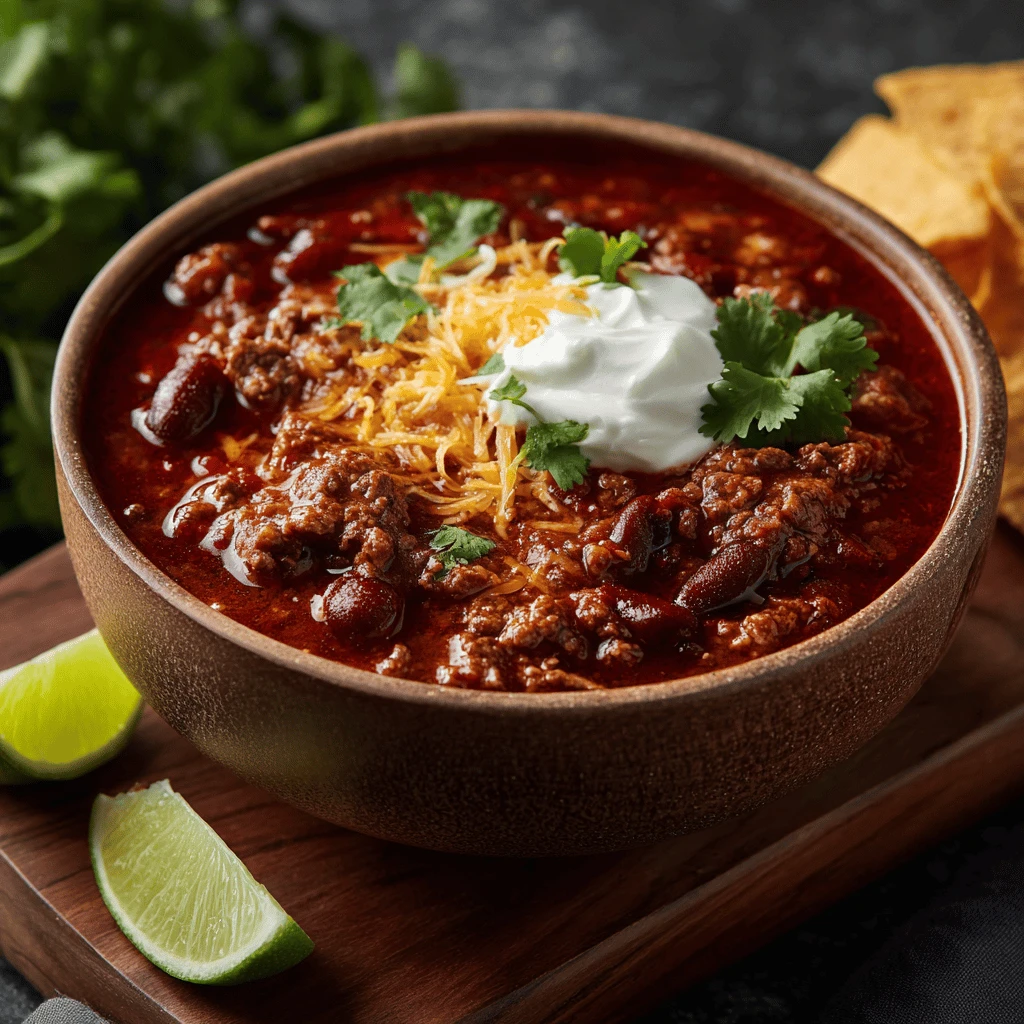
Serving Suggestions: Complementary Sides
Chili is delicious on its own, but it’s also great served with complementary sides. Cornbread, tortilla chips, and coleslaw are all popular choices. You can also serve it over rice or potatoes for a heartier meal.
Storage: Keeping it Fresh
Leftover chili can be stored in an airtight container in the refrigerator for up to 3-4 days. It can also be frozen for up to 2-3 months. To reheat, simply microwave or heat on the stovetop until warmed through.
Reheating Tips: Restoring Flavor
When reheating chili, add a splash of beef broth or water if it has thickened too much. You may also need to adjust the seasoning, as the flavors can mellow slightly during storage.
Frequently Asked Questions (FAQ)
- What is the best type of beef for chili? Lean ground beef (80/20) or cubed chuck roast are excellent choices.
- Can I make chili in a slow cooker? Yes, chili is perfect for slow cooking. Brown the beef and sauté the aromatics first, then transfer everything to the slow cooker and cook on low for 6-8 hours, or on high for 3-4 hours.
- How do I make chili less spicy? Remove the seeds and membranes from the jalapeños, or omit them altogether. You can also add a dollop of sour cream to each bowl to help cool down the heat.
- Can I use different types of beans? Absolutely! Kidney beans, pinto beans, and black beans are all popular choices. Experiment to find your favorite combination.
- How long does chili last in the refrigerator? Chili can be stored in an airtight container in the refrigerator for up to 3-4 days.