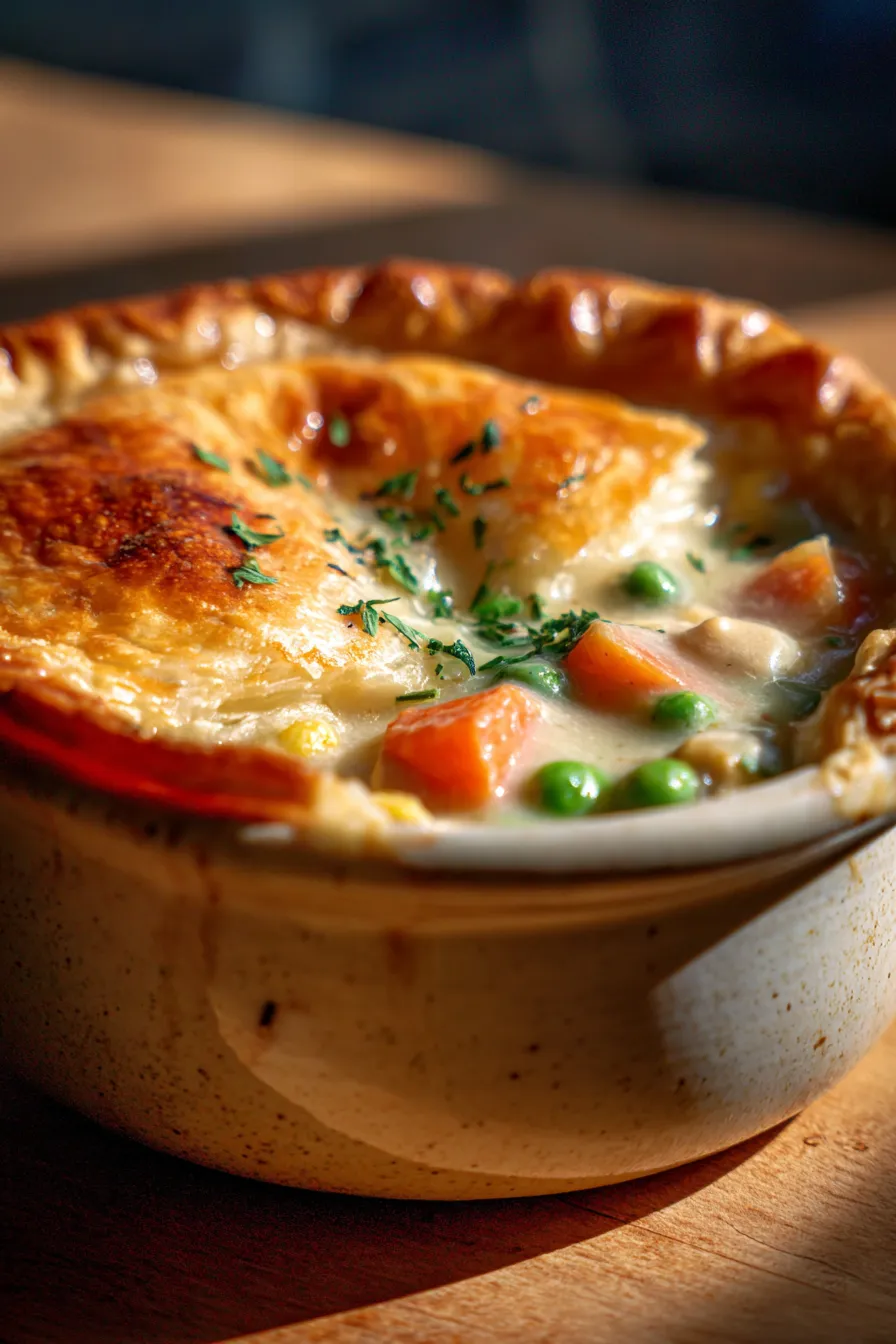
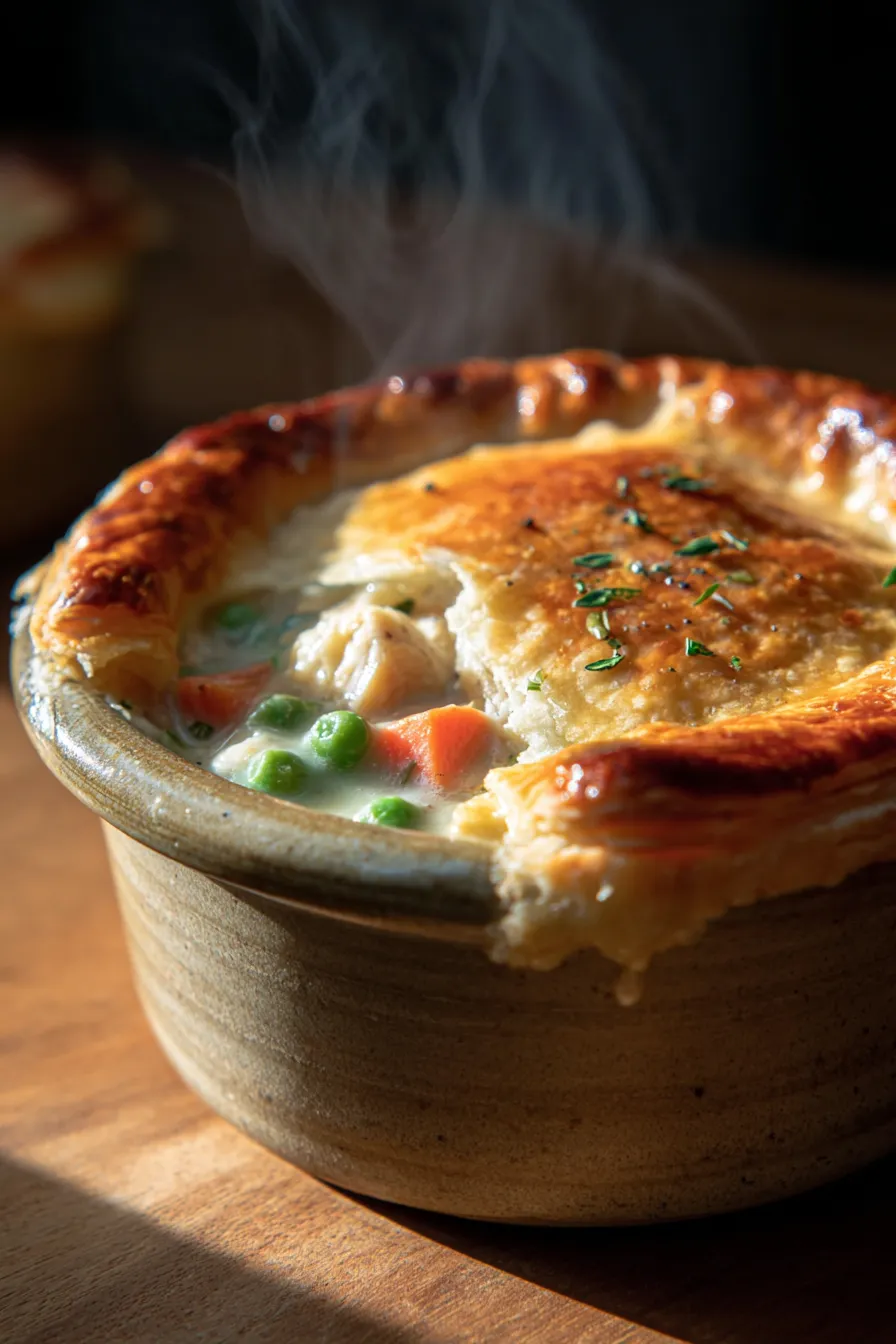
The Ultimate Classic Chicken Pot Pie with Flaky Golden Crust
There’s a warmth that only a truly great pot pie can bring. I remember rainy Sunday afternoons at my grandma’s house, the scent of baking pie filling the air, promising a cozy dinner. She’d always say, ‘A good pot pie is a hug in a dish, honey.’ This Classic Chicken Pot Pie with Flaky Golden Crust instantly transports me back to those cherished moments, a taste of pure comfort food that feels like home.
That feeling of nostalgia, combined with the pure joy of a perfectly balanced, savory filling under a golden, impossibly flaky crust, is exactly what I want to share with you today. This isn’t just a recipe; it’s an experience, a tested family favorite that brings smiles around the table. It’s the ultimate easy dinner solution for chilly evenings or whenever you need a hearty, soul-satisfying meal.
Over the years, I’ve perfected this version, ensuring every bite is packed with tender chicken, garden vegetables, and a creamy, herbed sauce, all crowned with that irresistible golden top. Trust me, this recipe is a keeper!

Why You’ll Love This Recipe
- ❤️ Unbeatable Flaky Crust: Our secret to an absolutely perfect pie starts with a crust that’s golden brown, light, and shatters with every forkful. It’s truly the crown jewel of this dish, providing an incredible textural contrast to the creamy filling.
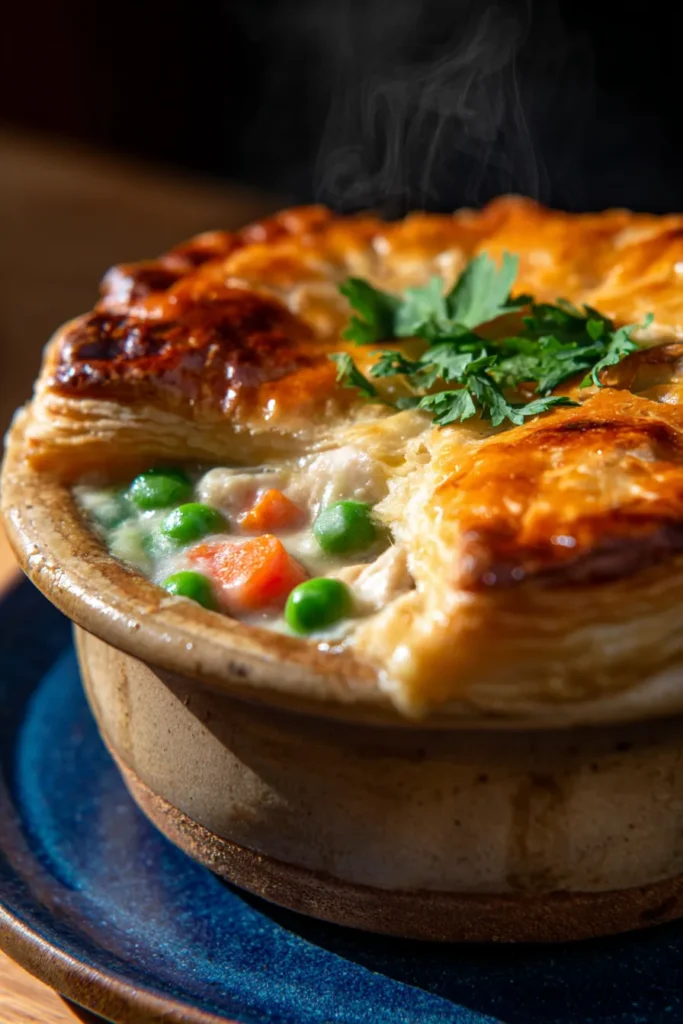
- ❤️ Rich, Creamy, and Flavorful Filling: Imagine tender chunks of succulent chicken, perfectly cooked carrots, sweet peas, and hearty potatoes, all swimming in a velvety, savory sauce infused with aromatic herbs like thyme and rosemary. Every spoonful is a burst of deliciousness that will satisfy even the pickiest eaters.
- ❤️ Ultimate Comfort Food: There’s a reason chicken pot pie is a timeless classic, cherished across generations. It’s the ultimate warm hug on a plate, ideal for cold evenings, festive family gatherings, or simply when you need a little culinary pick-me-up and a taste of pure nostalgia.
- ❤️ Easy to Customize: This recipe is incredibly versatile and forgiving! You can easily swap out vegetables based on seasonality or preference, add different herbs, or even use leftover holiday turkey. It’s perfect for adapting to what you have on hand, making it a truly flexible weeknight hero.
- ❤️ Freezer-Friendly: Want to get ahead on meal prep? This pot pie freezes beautifully, whether baked or unbaked, making it an excellent option for busy weeks. Enjoy homemade comfort whenever the craving strikes, with minimal effort.
- ❤️ Feeds a Crowd: A generous, hearty pie that’s perfect for feeding the whole family, satisfying hungry teenagers, or entertaining guests. It’s always a crowd-pleaser and often disappears fast, so consider making two!
What You Need
You only need a few simple pantry staples for this recipe! Most of these ingredients are likely already in your kitchen, making it easy to whip up this delicious comfort food without a special grocery run. Check the full printable recipe card below for detailed measurements and a complete list of everything you’ll need.
Expert Tips
- 💡 Mastering the Crust:
- Keep Ingredients Cold: For a truly flaky crust that shatters beautifully, ensure your butter and water are ice cold. This prevents the butter from melting too quickly into the flour, creating those crucial pockets of steam that expand and make the crust incredibly flaky.
- Don’t Overwork the Dough: Mix just until the dough comes together and no dry flour remains. Overworking develops gluten, which can lead to a tough, rather than tender, crust. Handle it gently and minimally.
- Vent Your Pie: Always cut a few slits (or decorative cut-outs) in the top crust before baking. This allows steam from the filling to escape, preventing a soggy crust and ensuring even cooking and a beautifully puffed top.
- Egg Wash for Golden Perfection: For that irresistible, shiny, deep golden-brown crust, brush the top with an egg wash (one egg beaten with a tablespoon of water or milk) just before baking. This also helps seal the edges.
- 💡 Perfecting the Filling:
- Pre-Cook Your Chicken: Using pre-cooked chicken (a store-bought rotisserie chicken is a fantastic shortcut!) saves considerable time and ensures your chicken is perfectly tender. If cooking raw chicken, chop it into small pieces and sauté until just cooked through before adding to the sauce.
- Don’t Overcook Veggies in the Filling: Sauté your mirepoix (carrots, celery, onions) until just tender-crisp. They will continue to cook and soften in the oven, so you want to avoid mushy vegetables in the final pie.
- Achieve the Right Consistency for the Sauce: The roux (butter and flour mixture) is absolutely key. Cook it for a minute or two to eliminate the raw flour taste. Add your chicken broth and milk gradually, whisking constantly, to prevent lumps and achieve a smooth, thick, luxurious sauce. It should be thick enough to coat the back of a spoon.
- Season Generously: Always taste the filling before assembling the pie and adjust seasonings as needed. Salt, black pepper, and classic herbs like dried thyme and rosemary are essential. A tiny pinch of ground nutmeg can also add a surprising warmth and depth of flavor.
- 💡 Assembling and Baking:
- Cool the Filling: Allow the savory filling to cool slightly (at least 15-20 minutes) before adding it to the pie crust. Hot filling can make the bottom crust soggy, which is everyone’s pot pie nightmare!
- Prevent Soggy Bottoms: For an extra crispy bottom crust, you can blind bake the bottom crust for 10-15 minutes before adding the filling. This creates a protective barrier, especially helpful if your filling is particularly moist.
- Edge Protection: If the edges of your crust are browning too quickly during baking, loosely cover them with strips of aluminum foil during the last 15-20 minutes. This ensures even browning without burning.
- Rest Before Serving: It’s crucial to let the baked pot pie rest for 10-15 minutes after removing it from the oven. This allows the creamy filling to set up properly, making it much easier to slice and serve without it falling apart.
Variations & Substitutions
One of the best things about Classic Chicken Pot Pie is how wonderfully adaptable it is! Feel free to get creative and customize it based on your preferences or what you have on hand in your pantry and fridge.
- Different Meats:
- Turkey Pot Pie: This is a fantastic recipe for Thanksgiving leftovers! Simply substitute cooked turkey (shredded or diced) for the chicken.
- Beef Pot Pie: For a richer flavor, use stew beef (cooked until fork-tender) and swap chicken broth for a rich beef-based broth.
- Vegetable Swaps:
- Don’t like peas? Use chopped green beans, corn, or a mix of both!
- Add chopped bell peppers, sliced mushrooms, or even a handful of fresh spinach (stirred in at the very end) for extra nutrients and flavor.
- Sweet potatoes can be diced and used in place of regular potatoes for a touch of sweetness and vibrant color.
- Gluten-Free Option:
- Use a high-quality gluten-free pie crust for both the top and bottom.
- Swap the all-purpose flour in the roux for a gluten-free all-purpose flour blend (ensure it contains xanthan gum or add a small amount for binding).
- Herbs & Spices:
- Experiment with different herb combinations. A bay leaf added to the sauce, a touch of dried sage, or fresh chopped parsley stirred in at the end can elevate the flavors beautifully.
- A tiny pinch of cayenne pepper can add a subtle warmth without making the pie spicy, balancing the richness.
- Creaminess Boost:
- For an extra rich and decadent filling, stir in a splash of heavy cream or a dollop of cream cheese at the very end of cooking the sauce.
Storage & Freezing
This Classic Chicken Pot Pie is just as delicious the next day, and it freezes beautifully too, making it an ideal candidate for meal prepping and enjoying homemade comfort on demand!
- Storing Leftovers (Refrigeration):
- Allow the baked pot pie to cool completely to room temperature before storing.
- Cover the pie dish tightly with plastic wrap or aluminum foil, or transfer individual servings to airtight containers.
- Store in the refrigerator for up to 3-4 days.
- To reheat, warm in the oven at 350°F (175°C) until warmed through (approx. 20-30 minutes for slices), or in the microwave for quicker individual portions (though the crust might not be as crispy).
- Freezing Unbaked Pot Pie:
- Assemble the pot pie completely in an oven-safe pie dish, but do not bake it.
- Wrap the entire pie (still in its dish) tightly with plastic wrap, then add an additional layer of heavy-duty aluminum foil to prevent freezer burn.
- Freeze for up to 2-3 months.
- To bake from frozen: Remove all plastic wrap and foil. Bake at 375°F (190°C) for about 60-90 minutes, or until the crust is golden brown and the filling is bubbling hot. You might need to cover the edges with foil during the last 30 minutes to prevent over-browning.
- Freezing Baked Pot Pie:
- Bake the pot pie as directed and allow it to cool completely to room temperature.
- You can freeze the whole pie or individual slices. Wrap tightly in plastic wrap and then in aluminum foil.
- Freeze for up to 2-3 months.
- To reheat: Thaw overnight in the refrigerator. Reheat in the oven at 350°F (175°C) until warmed through, approximately 20-30 minutes for slices or 45-60 minutes for a whole pie.
FAQ
Q: Can I use store-bought pie crust?
A: Absolutely! While a homemade crust is wonderfully satisfying, using a good quality store-bought pie crust or puff pastry is a fantastic time-saver and works perfectly. Just make sure you get enough for both the bottom and top (or just the top if you prefer a bottomless pie for less fuss).
Q: What kind of chicken should I use for pot pie?
A: Cooked chicken is best for this recipe. A rotisserie chicken is a superb shortcut, providing pre-seasoned, tender meat that’s easy to shred or dice. You can also boil or bake boneless, skinless chicken fillets or cutlets and then shred or dice them. Using leftover Thanksgiving turkey is also a delicious and practical option!
Q: How do I prevent a soggy bottom crust?
A: There are a few tricks to ensure a crisp bottom crust! First, make sure your filling isn’t too hot when you add it to the crust; let it cool slightly. You can also blind bake your bottom crust for 10-15 minutes before adding the filling, which creates a protective barrier. Additionally, ensuring your sauce is thick enough helps prevent excessive moisture from seeping into the crust.
Q: Can I make this chicken pot pie ahead of time?
A: Yes, absolutely! You can assemble the entire pie (without baking) up to a day in advance and store it, well-covered, in the refrigerator. Just be sure to let it come closer to room temperature for about 30 minutes before baking, and add a few extra minutes to the baking time. See our detailed freezing tips above for longer make-ahead options!
There you have it – the ultimate recipe for a Classic Chicken Pot Pie with Flaky Golden Crust that’s sure to become a beloved staple in your home. Whether it’s a chilly evening, a family gathering, or you’re simply craving that nostalgic taste of home, this pie delivers on every single promise of comfort and flavor. Don’t forget to pin this recipe for later, and share your beautiful creations with us! Happy baking!
Classic Chicken Pot Pie: Flaky Crust, Ultimate Comfort Food
Ingredients
- 1 pie crust package (2 crusts, or homemade)
- 2 cups cooked chicken, shredded or diced
- 1 cup chopped carrots (about 2 medium)
- 1 cup frozen peas
- 1 cup diced potatoes (about 1 medium)
- 1/2 cup chopped yellow onion (about 1 small)
- 1/2 cup unsalted butter
- 1/2 cup all-purpose flour
- 1 teaspoon salt
- 1/2 teaspoon black pepper
- 1/2 teaspoon dried thyme
- 1/4 teaspoon dried rosemary, crushed
- 2 cups chicken broth
- 1 cup whole milk
- 1 large egg, beaten (for egg wash)
Instructions
- Step 1 Preheat oven to 400°F (200°C). If using store-bought crust, let it sit at room temperature for 15 minutes.
- Step 2 In a large Dutch oven or deep skillet, melt butter over medium heat. Add onion, carrots, and potatoes; cook until vegetables are slightly tender, about 5-7 minutes.
- Step 3 Stir in flour, salt, pepper, thyme, and rosemary. Cook for 1 minute, stirring constantly, to cook out the raw flour taste.
- Step 4 Gradually whisk in chicken broth and milk. Bring the mixture to a simmer, stirring constantly, until the sauce has thickened to a gravy-like consistency. Remove from heat.
- Step 5 Stir in the cooked chicken and frozen peas until well combined.
- Step 6 Line a 9-inch pie plate with one pie crust. Pour the chicken and vegetable filling evenly into the crust.
- Step 7 Place the second pie crust over the filling. Trim and crimp the edges to seal. Cut several slits in the top crust (or create a decorative pattern) to allow steam to escape during baking. Brush the top crust with the beaten egg wash for a golden finish.
- Step 8 Bake for 35-45 minutes, or until the crust is deeply golden brown and the filling is bubbling hot. If the edges of the crust start to brown too quickly, loosely cover them with aluminum foil.
- Step 9 Let the pie stand for 10-15 minutes before slicing and serving. This allows the filling to set, making it easier to cut clean slices.