Cozy Homemade Chicken Pot Pie Casserole: Your Ultimate Comfort Food Guide
There are some dishes that just wrap you in a warm hug, and for me, that’s always been the magic of a good chicken pot pie. I remember chilly, rainy Sunday afternoons at my grandmother’s house, the smell of savory gravy and tender chicken wafting from her kitchen. She always had a knack for turning simple ingredients into something truly extraordinary, a true taste of home.
This Homemade Chicken Pot Pie Casserole is my modern tribute to those cherished memories. It captures all the beloved flavors and comforting essence of a classic pot pie but simplifies the process significantly, making it an incredibly easy dinner for even the busiest weeknights. It’s been taste-tested by my toughest critics (my kids!) and has quickly become a family favorite, delivering pure comfort food bliss with every single spoonful.
Forget the fuss of individual crusts or complex preparations; this one-dish wonder is your ticket to a satisfying, hearty meal that’s both simple to assemble and bursting with rich, savory flavor. Get ready to add this reliable, delicious recipe to your regular rotation!
❤️ Why You’ll Love This Recipe
- Effortless Comfort: This casserole brings all the nostalgic, soul-warming flavors of a traditional chicken pot pie without the extra effort of making a full double-crust pie. It’s a true one-dish wonder, perfect for satisfying those comfort food cravings with minimal fuss.
- Quick & Easy Assembly: Whether you’re a seasoned cook or just starting out, you’ll appreciate how quickly this dish comes together. With pre-cooked chicken and frozen vegetables, you can have it prepped and in the oven in under 15 minutes, making it ideal for busy weeknights when time is precious.
- Family-Friendly Favorite: The creamy filling, tender chicken, and familiar vegetables are universally loved, even by picky eaters. It’s a fantastic way to get a balanced meal on the table that everyone will eagerly dig into, ensuring no complaints at dinner time!
- Economical & Versatile: This recipe makes excellent use of pantry staples and leftover chicken, helping you save money while creating a delicious meal. You can easily adapt the vegetables to whatever you have on hand or what’s in season, making it incredibly flexible for your budget and preferences.
- Customizable for Any Taste: Beyond just swapping veggies, you can easily adjust seasonings, add a pinch of spice, or even incorporate different types of protein like turkey. It’s a fantastic canvas for culinary creativity, allowing you to tailor it perfectly to your family’s unique tastes.
- Perfect for Meal Prep: This casserole is a dream for meal preppers! It reheats beautifully, making it an excellent option for lunches throughout the week or even freezing individual portions for future quick meals. Prepare it on Sunday, and enjoy delicious dinners all week long.
- Crowd-Pleasing & Potluck Perfect: Need a dish to bring to a gathering or a potluck? This chicken pot pie casserole is always a hit! It’s easy to transport, serves a crowd generously, and is guaranteed to receive rave reviews from everyone who tries a slice.
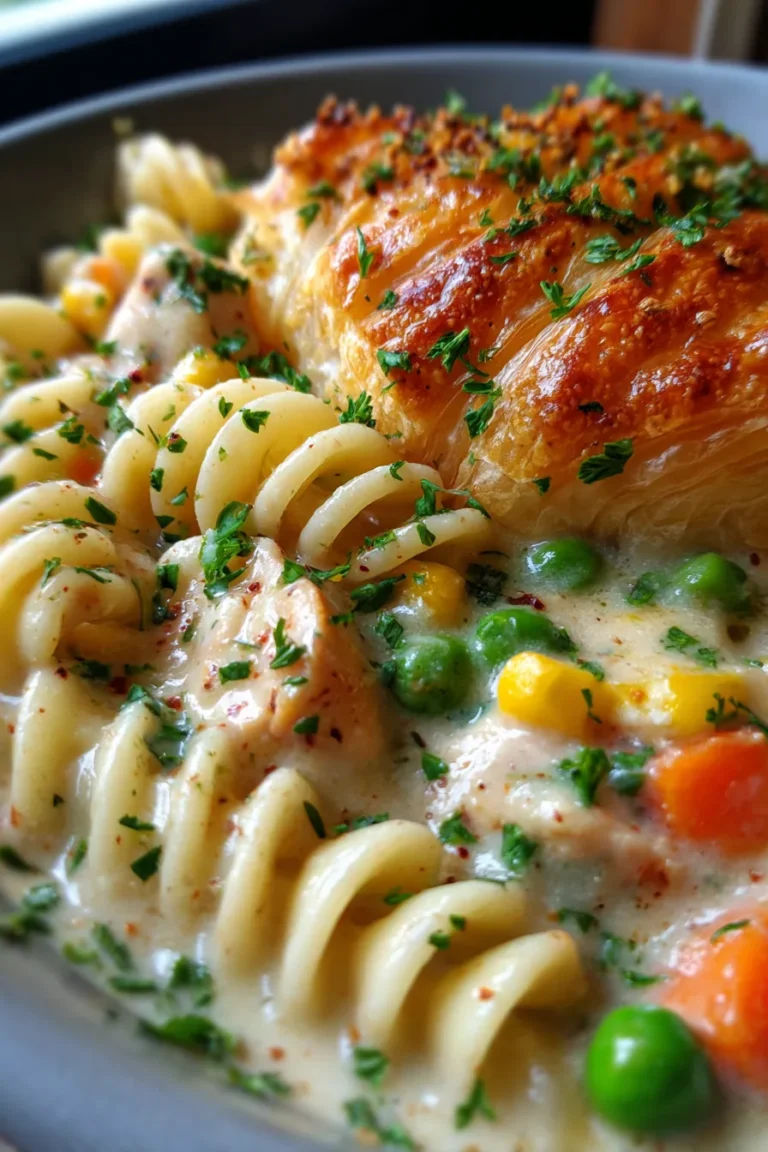
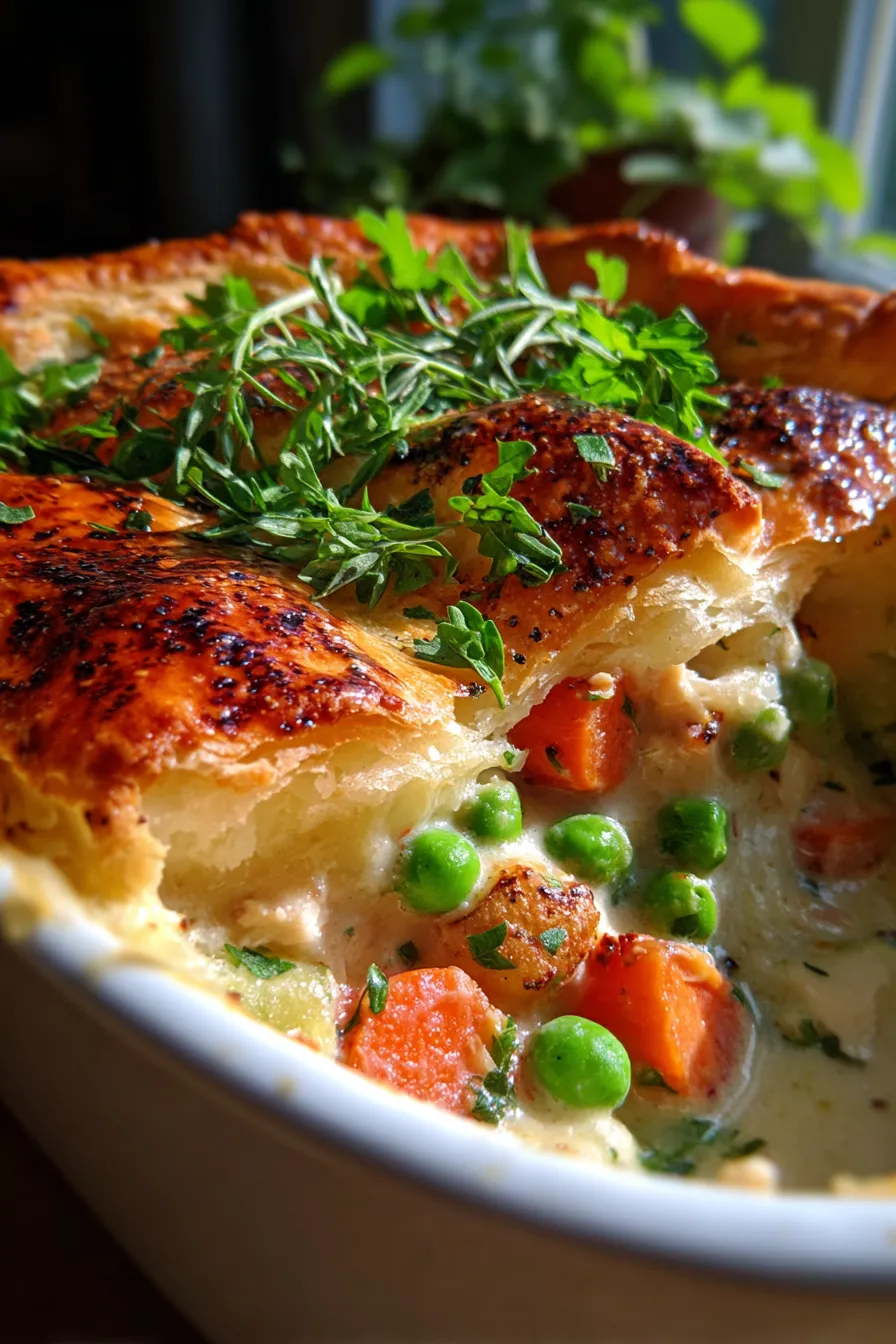
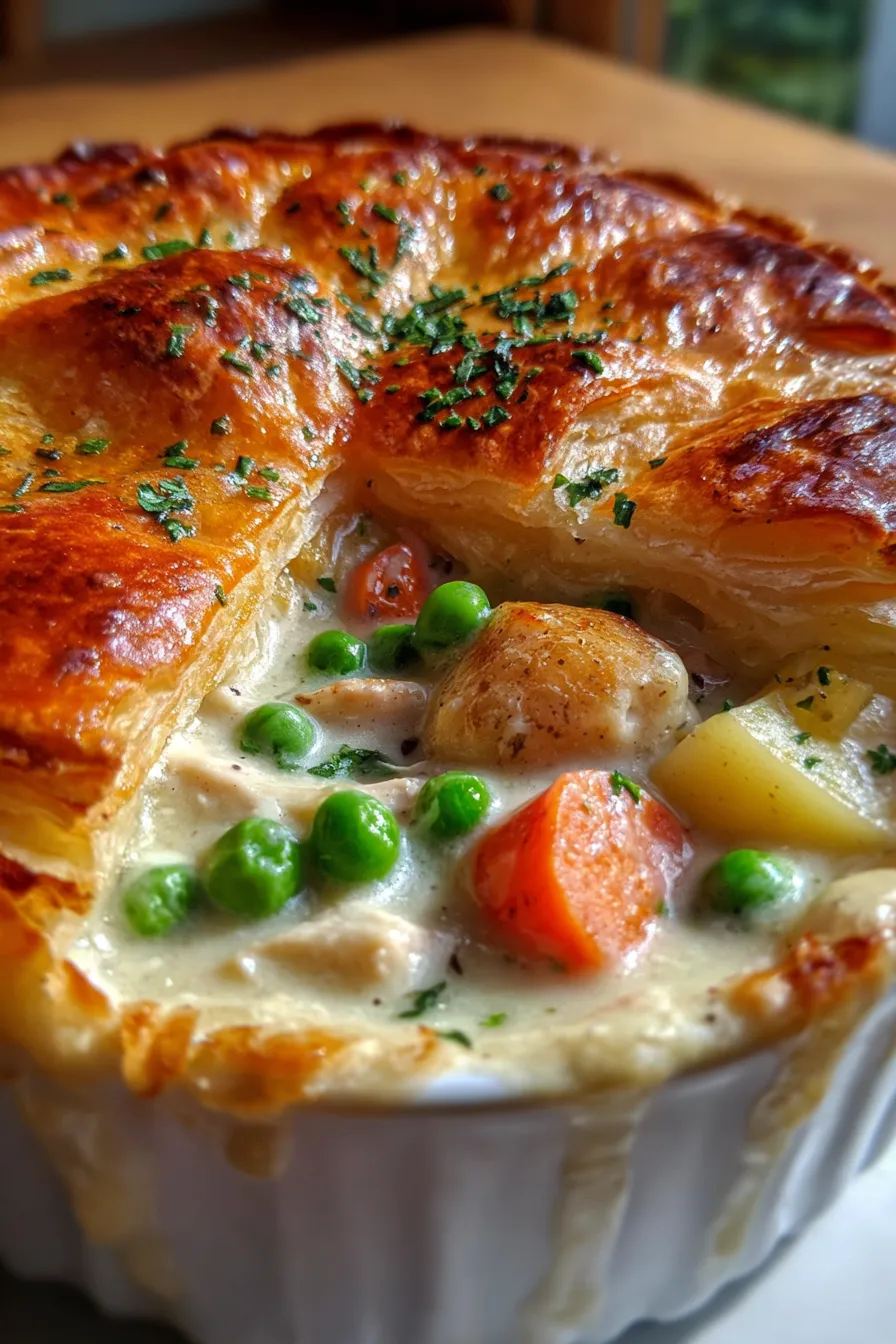
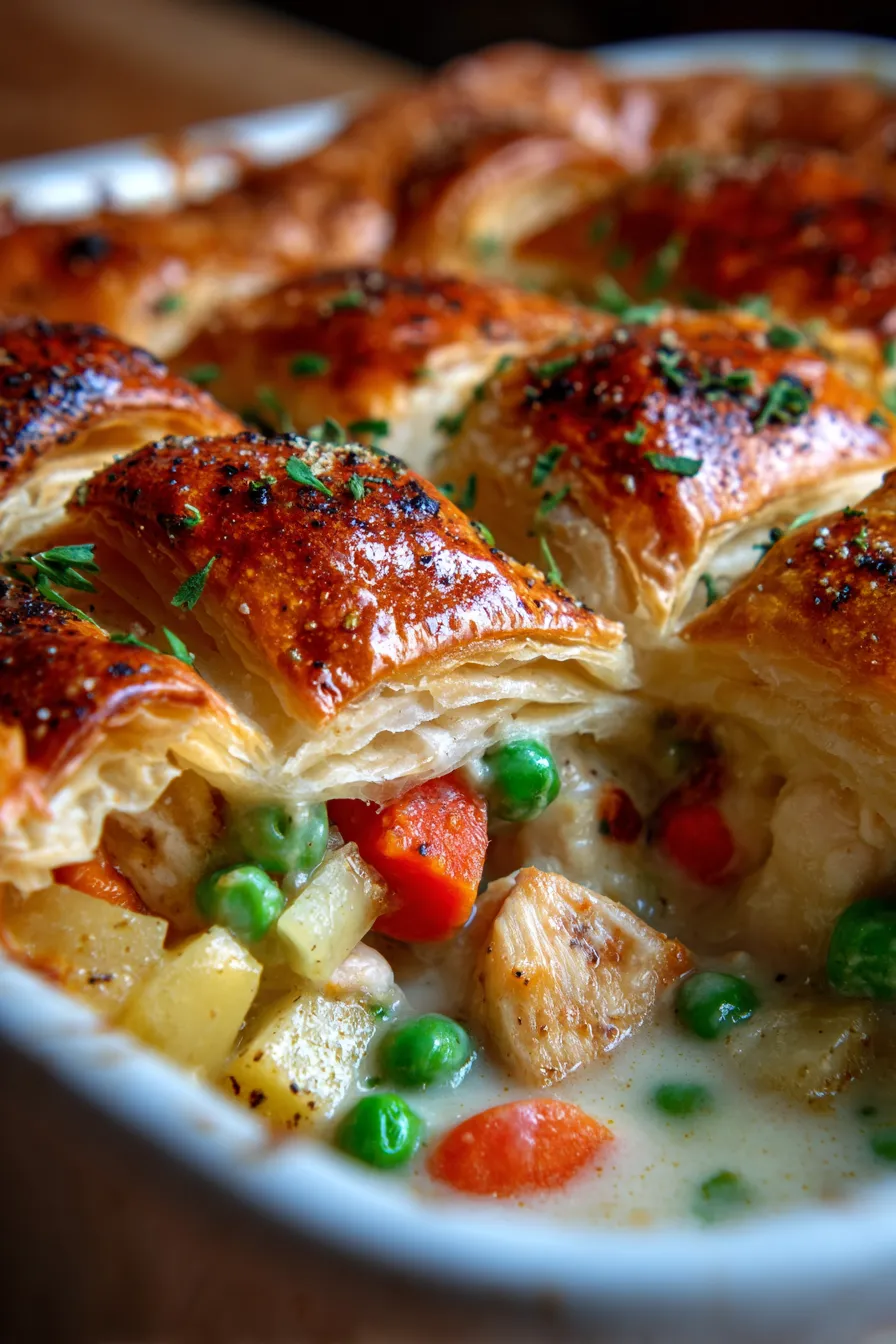
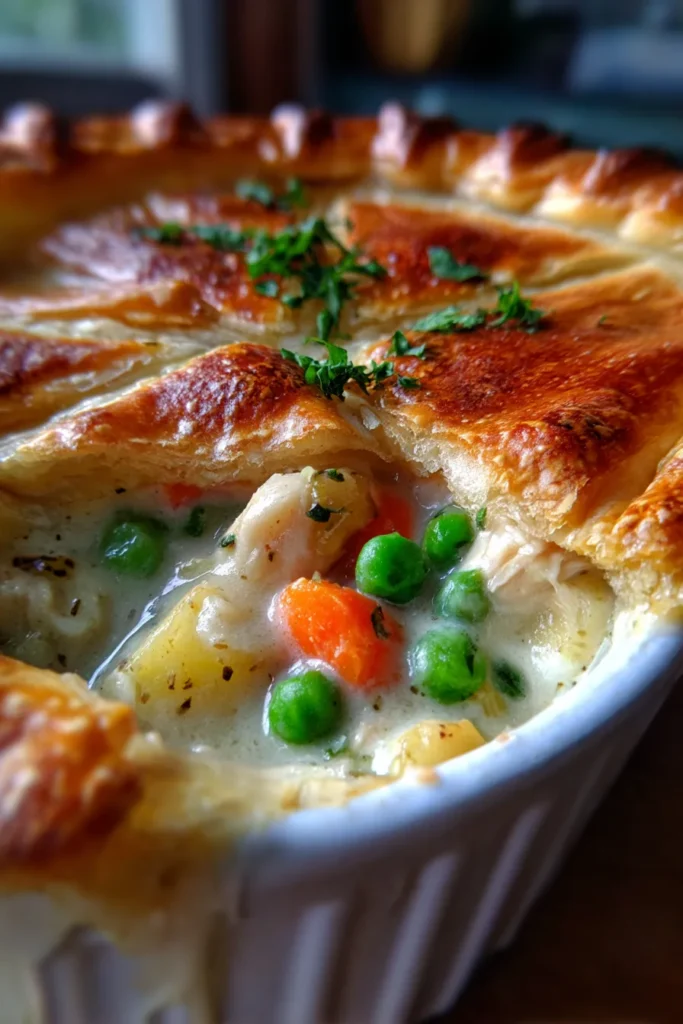
- The Ultimate Creamy Texture: Each bite delivers a harmonious blend of creamy, savory sauce, tender chunks of chicken, and perfectly cooked vegetables. Topped with a golden, flaky crust, it’s a textural masterpiece that’s incredibly satisfying.
What You Need
You only need a few simple pantry staples for this recipe! Most of these ingredients are likely already in your kitchen, making it super convenient. Check the full printable recipe card below for detailed measurements of all the essential components.
💡 Expert Tips
- Start with Pre-Cooked Chicken: To make this recipe truly quick and easy, use shredded rotisserie chicken, leftover cooked chicken fillets, or even canned chicken. If you’re cooking chicken from scratch, boil or bake about 2 cups of chopped chicken pieces until fully cooked, then shred or dice. This saves a huge amount of time!
- Don’t Skimp on Seasoning: While cream of chicken soup provides a good base, don’t forget to season your filling generously with salt, black pepper, and a touch of dried thyme or poultry seasoning. Taste the filling before adding the crust to ensure it’s perfectly seasoned to your liking. A pinch of garlic powder and onion powder can also elevate the flavor profile.
- Use Good Quality Pie Crust: A pre-made refrigerated pie crust is a fantastic shortcut. For the best result, choose a brand you trust for flakiness and flavor. You can also use puff pastry or even a layer of refrigerated biscuit dough for a different, equally delicious topping. Ensure the crust is at room temperature before unrolling to prevent cracking.
- Prevent a Soggy Bottom: If you’re concerned about the bottom crust (if you choose to add one) becoming soggy, you can blind bake it for about 8-10 minutes before adding the filling. Alternatively, a sprinkle of breadcrumbs or a thin layer of shredded cheese on the bottom crust before adding the filling can act as a barrier.
- Thicken the Filling Perfectly: If your filling seems a little thin after mixing, you can thicken it slightly by stirring in a tablespoon of flour or cornstarch mixed with a little cold water (a slurry) before heating. Cook for a minute or two until it thickens. The soup base usually provides enough thickness, but this trick is handy if you’ve added extra milk or vegetables.
- Vent the Crust: Before baking, remember to cut a few slits in the top pie crust to allow steam to escape. This prevents the crust from puffing up excessively and helps it bake evenly and achieve that beautiful golden-brown color. You can get creative with decorative cutouts too!
- Achieve a Golden Crust: For an extra golden and shiny crust, brush the top with an egg wash (one egg beaten with a tablespoon of water or milk) before baking. This simple step adds a professional touch and a lovely sheen.
- Let it Rest: Once the casserole comes out of the oven, it will be piping hot and the filling will be very liquid. Allow it to rest for at least 10-15 minutes before serving. This resting period allows the filling to set up, making it easier to serve clean slices and preventing it from being too runny.
- Custom Vegetable Mix: While classic mixed vegetables are great, feel free to get creative! Add diced potatoes, chopped celery, green beans, or even some sautéed mushrooms. Just ensure any fresh, harder vegetables are pre-cooked slightly before adding to the mix, so they soften properly during baking.
Variations & Substitutions
One of the best things about this Homemade Chicken Pot Pie Casserole is how adaptable it is! Feel free to get creative and tailor it to your dietary needs or what you have on hand.
- Gluten-Free: Easily make this recipe gluten-free by using a gluten-free pie crust or a layer of mashed potatoes instead of pastry. Ensure your cream of chicken soup is also gluten-free (many brands offer this option) or make your own GF cream sauce with a cornstarch slurry.
- Dairy-Free: Substitute regular milk with unsweetened almond milk or oat milk, and use a dairy-free cream of chicken soup alternative or make a simple dairy-free béchamel. Ensure your pie crust is also dairy-free.
- Vegetable Swaps: Don’t limit yourself to frozen mixed vegetables! Add fresh, diced carrots, peas, corn, green beans, celery, or even some sautéed mushrooms. Just make sure to par-cook harder vegetables like carrots or potatoes slightly before adding them to the filling so they finish cooking evenly in the oven.
- Protein Alternatives: Leftover cooked turkey is an excellent substitute for chicken, especially after Thanksgiving! You could also use shredded pork or even a mix of cooked sausage for a different flavor profile.
- Lighter Version: Use low-fat cream of chicken soup and skim milk. You can also load up on extra vegetables to make it heartier without adding too many calories.
- Different Toppings: Instead of a traditional pie crust, consider using canned biscuits (cut in half or left whole) placed on top, a layer of savory mashed potatoes for a shepherd’s pie twist, or even a sheet of puff pastry for an extra flaky finish.
Storage & Freezing
This casserole is fantastic for making ahead and enjoying later! It’s a great option for meal prepping and ensures you always have a comforting meal ready to go.
- Refrigeration: Leftovers can be stored in an airtight container in the refrigerator for up to 3-4 days. Simply reheat individual portions in the microwave or a larger portion in the oven until warmed through. Covering it with foil helps prevent the crust from drying out.
- Freezing (Baked): To freeze an already baked casserole, let it cool completely. You can freeze the entire casserole or individual portions in freezer-safe containers. Wrap tightly with plastic wrap and then foil to prevent freezer burn. It will keep for up to 2-3 months. Thaw in the refrigerator overnight before reheating in the oven (covered with foil) at 350°F (175°C) until bubbly and hot.
- Freezing (Unbaked): You can also prepare the filling and assemble the casserole (without baking) up to the point of adding the crust. Cover tightly and freeze. When ready to bake, thaw in the refrigerator, then add the crust and bake as directed, potentially adding an extra 10-15 minutes to the baking time if starting from cold.
FAQ
Q: Can I use raw chicken in this casserole?
A: While you could theoretically use raw chicken, I highly recommend using pre-cooked chicken. It ensures the chicken is tender and fully cooked when the casserole is ready, and it significantly cuts down on your prep and overall cooking time. If you use raw chicken, you’ll need to dice it very small and bake the casserole for a longer period to ensure it cooks through safely, potentially overcooking your vegetables.
Q: What if I don’t have cream of chicken soup?
A: No problem! You can easily make a homemade creamy sauce. Melt 1/4 cup butter in a saucepan, whisk in 1/4 cup all-purpose flour, and cook for 1 minute. Gradually whisk in 2 cups of chicken broth and 1 cup of milk (or half and half) until thickened and smooth. Season with salt, pepper, and a pinch of poultry seasoning. This makes an excellent substitute!
Q: Can I add cheese to my pot pie casserole?
A: Absolutely! While not traditional for pot pie, a layer of shredded cheddar, Monterey Jack, or a blend of cheeses sprinkled over the filling before adding the pie crust would be incredibly delicious. It adds an extra layer of richness and flavor that many people love. Just be mindful it might add a bit more grease.
Q: What are the best sides to serve with Chicken Pot Pie Casserole?
A: This casserole is quite hearty on its own, but a light green salad with a vinaigrette dressing provides a refreshing contrast. Other great options include steamed green beans, roasted asparagus, or a simple fruit salad to balance the richness of the dish.
There you have it – your ultimate guide to creating a truly comforting and easy Homemade Chicken Pot Pie Casserole! It’s more than just a meal; it’s a hug in a dish, bringing warmth and joy to your table. Give it a try this week, and don’t forget to share your creations. Pin this recipe for later so you always have this family favorite at your fingertips!
Cozy Chicken Pot Pie Casserole: Easy Family Dinner Recipe
Ingredients
- 2 cups cooked chicken, shredded or diced
- 1 (10.5 oz) can cream of chicken soup
- 1/2 cup milk
- 1 (14.5 oz) bag frozen mixed vegetables (peas, carrots, corn, green beans)
- 1/2 small onion, finely chopped (optional)
- 1 clove garlic, minced (optional)
- 1/2 tsp dried thyme
- 1/4 tsp black pepper
- Salt to taste
- 1 sheet refrigerated pie crust or puff pastry
Instructions
- Step 1 Preheat oven to 375°F (190°C). Lightly grease a 9x13 inch baking dish.
- Step 2 In a large bowl, combine the cooked chicken, cream of chicken soup, milk, frozen mixed vegetables, chopped onion (if using), minced garlic (if using), thyme, pepper, and salt. Mix until well combined.
- Step 3 Pour the chicken mixture into the prepared baking dish and spread evenly.
- Step 4 Unroll the pie crust or puff pastry and place it over the chicken mixture. Trim any excess dough if needed, and crimp the edges to seal.
- Step 5 Cut a few small slits in the top of the crust to allow steam to escape during baking. Optionally, brush with an egg wash for a golden finish.
- Step 6 Bake for 25-30 minutes, or until the crust is golden brown and the filling is bubbly and heated through.
- Step 7 Remove from oven and let stand for 10-15 minutes before serving to allow the filling to set.