The Ultimate Guide to Making Extra Crispy Chicken Quesadillas
The chicken quesadilla is a cornerstone of comfort food, celebrated for its perfect balance of savory protein, gooey melted cheese, and a satisfyingly golden exterior. While the basic concept is simple, achieving the elusive “extra crispy” texture requires a combination of the right ingredients and a few professional kitchen techniques. Whether you are looking for a quick weeknight dinner or a crowd-pleasing appetizer, mastering the art of the quesadilla ensures a meal that is consistently flavorful and never soggy. By focusing on moisture control and heat management, you can elevate this humble pantry staple into a restaurant-quality experience right in your own kitchen.
The Essential Crispy Chicken Quesadilla Recipe
Ingredients
-
Chicken: 2 cups cooked chicken, shredded or finely diced (rotisserie chicken works perfectly).
-
Tortillas: 4 large flour tortillas (burrito size).
-
Cheese: 2 cups freshly shredded cheese (a blend of Monterey Jack, Sharp Cheddar, or Oaxaca for the best melt).
-
Seasoning: 1 tablespoon taco seasoning (chili powder, cumin, garlic powder, onion powder, and smoked paprika).
-
Vegetables: ½ cup finely diced red onion and ½ cup chopped fresh cilantro.
-
Fat for Frying: 2 tablespoons neutral oil (vegetable or canola) or a very thin layer of mayonnaise.
-
Optional Kick: 1 tablespoon diced jalapeños or a drizzle of hot sauce.
Step-by-Step Instructions
-
Prepare the Filling: In a medium mixing bowl, toss your cooked chicken with the taco seasoning, diced onions, cilantro, and any optional peppers. Ensure the chicken is evenly coated to guarantee flavor in every bite.
-
Assemble the Quesadilla: Lay a tortilla flat on a clean surface. Sprinkle a generous layer of cheese over one-half of the tortilla. Add a layer of the seasoned chicken mixture on top of the cheese, then top with another thin layer of cheese. This “double-cheese” method acts as the glue to keep the filling secure.
-
Fold and Press: Fold the empty half of the tortilla over the filling to create a half-moon shape. Press down firmly with your hand to compact the ingredients.
-
Heat the Pan: Place a large non-stick skillet or cast-iron griddle over medium heat. Add a teaspoon of oil and swirl to coat, or lightly brush the outside of the tortilla with a thin layer of mayonnaise.
-
Cook to Perfection: Place the quesadilla in the pan. Cook for 3 to 4 minutes until the bottom is a deep golden brown and crispy.
-
The Flip: Carefully slide a spatula under the quesadilla and flip it over. Cook for another 2 to 3 minutes on the second side. The cheese should be fully melted, and the shell should be rigid and crunchy.
-
Rest and Slice: Transfer the quesadilla to a cutting board and let it rest for 60 seconds. This allows the cheese to set slightly so the filling doesn’t slide out when cutting. Slice into wedges and serve immediately.
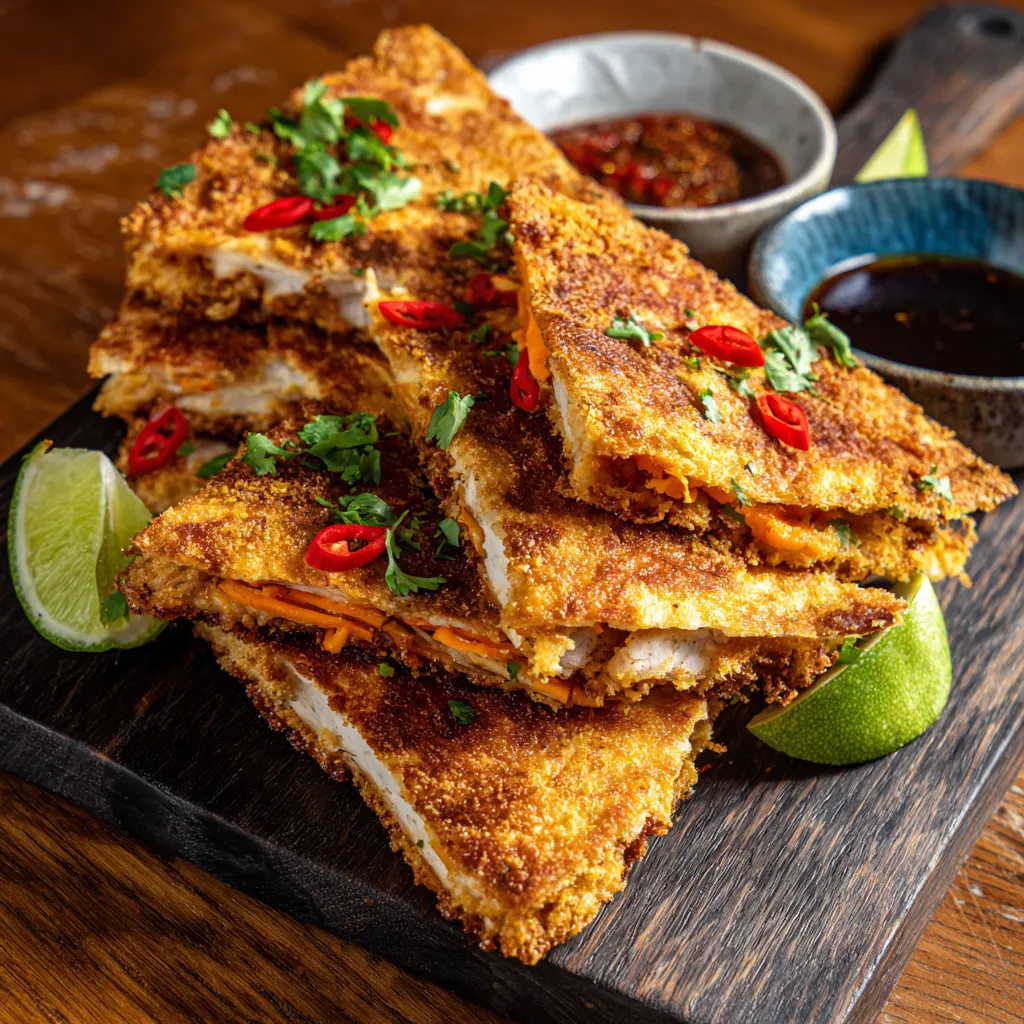
Mastering the Crunch: Essential Techniques for Texture
The difference between a mediocre quesadilla and a great one lies almost entirely in the texture of the tortilla. Many home cooks make the mistake of using too much oil or butter, which can lead to a greasy, heavy shell. For the ultimate crunch, a neutral oil with a high smoke point is preferable to butter, which contains water and milk solids that can soften the tortilla. Alternatively, many professional chefs use a thin layer of mayonnaise on the outside of the tortilla; the egg and oil in the mayo create a perfectly even, toasted brown crust that stays crispy longer.
Heat management is the second pillar of crispiness. It is tempting to use high heat to speed up the process, but this often results in a charred exterior and unmelted cheese on the inside. Medium or medium-low heat is the “sweet spot,” allowing the tortilla to dehydrate and crisp up slowly while the internal temperature rises sufficiently to create a molten cheese center. If you find your tortillas are browning too quickly, lower the heat and consider using a heavy press or another skillet to weigh the quesadilla down, ensuring maximum contact with the cooking surface.
Flavor Foundations: Optimizing Chicken and Cheese
While the crunch is the first thing you notice, the flavor of the filling is what sustains the meal. Using pre-cooked rotisserie chicken is a popular time-saver, but it benefits greatly from “re-seasoning.” Tossing the chicken in a blend of cumin, smoked paprika, and a splash of lime juice helps cut through the richness of the cheese. If you are cooking chicken from scratch, searing small cubes of chicken breast or thigh in a hot pan until they develop a browned crust (the Maillard reaction) will add a depth of flavor that boiled or poached chicken simply cannot match.
The choice of cheese is equally critical. For a truly authentic and functional quesadilla, you need a balance of “meltability” and “flavor.” Monterey Jack is the gold standard for melting, providing that classic cheese pull, while sharp cheddar adds the necessary saltiness and tang. For a more traditional Mexican profile, look for Oaxaca or Chihuahua cheese at your local market. Always avoid pre-shredded cheeses in bags if possible; these are coated in potato starch or cellulose to prevent clumping, which interferes with a smooth, gooey melt and can result in a grainy texture.
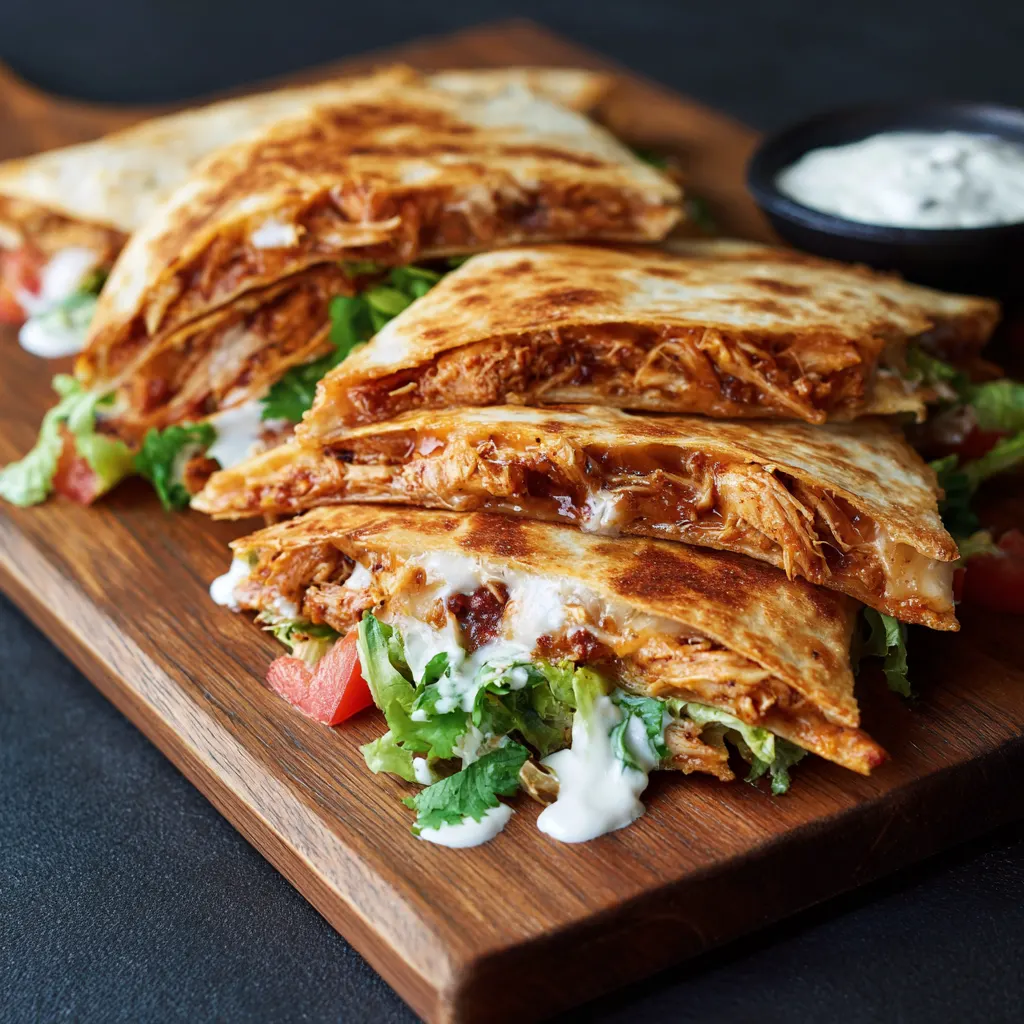
Customization and Creative Filling Variations
Once you have mastered the basic crispy chicken quesadilla, the format is endlessly adaptable. To add more nutrition and texture, consider incorporating “dry” vegetables. Sautéed bell peppers, corn, or black beans are excellent additions, but ensure they are well-drained. Excess moisture is the enemy of the crispy quesadilla, so if you are using ingredients like tomatoes or spinach, sauté them first to cook off their water content before adding them to the tortilla.
For those who enjoy a spicy profile, incorporating pickled jalapeños or a chipotle-in-adobo sauce into the chicken mixture provides a smoky heat that pairs beautifully with the charred tortilla. You can also experiment with different proteins using the same crispy technique; steak, shrimp, or even a hearty mushroom and black bean filling work under the same principles. The key is to keep the filling-to-cheese ratio balanced—too much filling will cause the quesadilla to fall apart, while too little will make it feel unsubstantial.
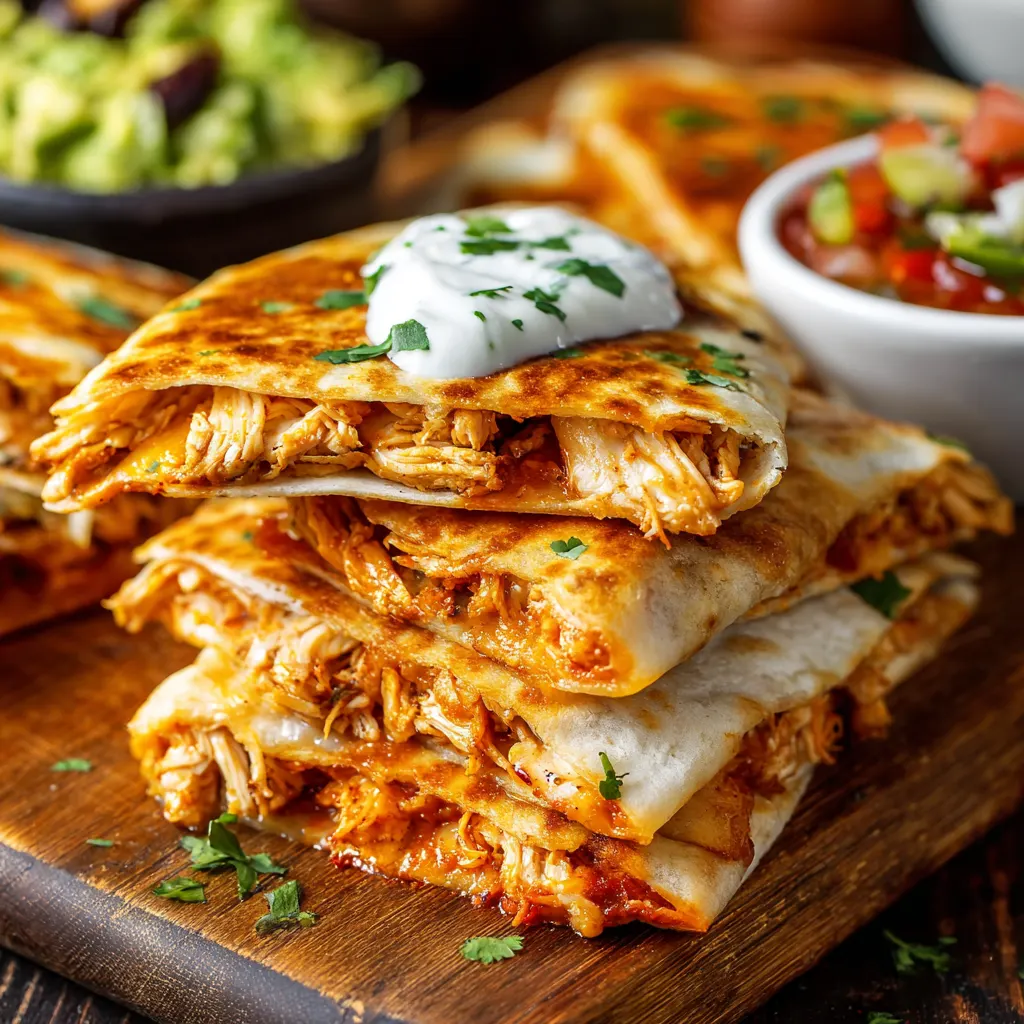
Serving Suggestions and Preserving the Crispy Finish
A crispy chicken quesadilla is only as good as its accompaniments. To balance the richness of the fried tortilla and cheese, serve your wedges with bright, acidic sides. A fresh pico de gallo, a dollop of cool sour cream, or a zesty guacamole are the traditional choices. For a modern twist, a creamy cilantro-lime ranch or a spicy chipotle mayo can provide a restaurant-style dipping experience that complements the seasoned chicken.
If you are cooking for a large group, you can keep the quesadillas crispy by placing them on a wire rack set over a baking sheet in a 200°F (95°C) oven. The wire rack allows air to circulate around the entire tortilla, preventing the bottom from becoming soggy while you finish the rest of the batch. If you have leftovers, avoid the microwave, which will turn the tortilla rubbery. Instead, reheat leftovers in a dry skillet over medium heat or in an air fryer for 2-3 minutes to restore that signature crunch. With these techniques, you can enjoy a perfect, crispy chicken quesadilla every time.