The Ultimate Crispy Chicken Sandwich: Master the Art of the Perfect Crunch
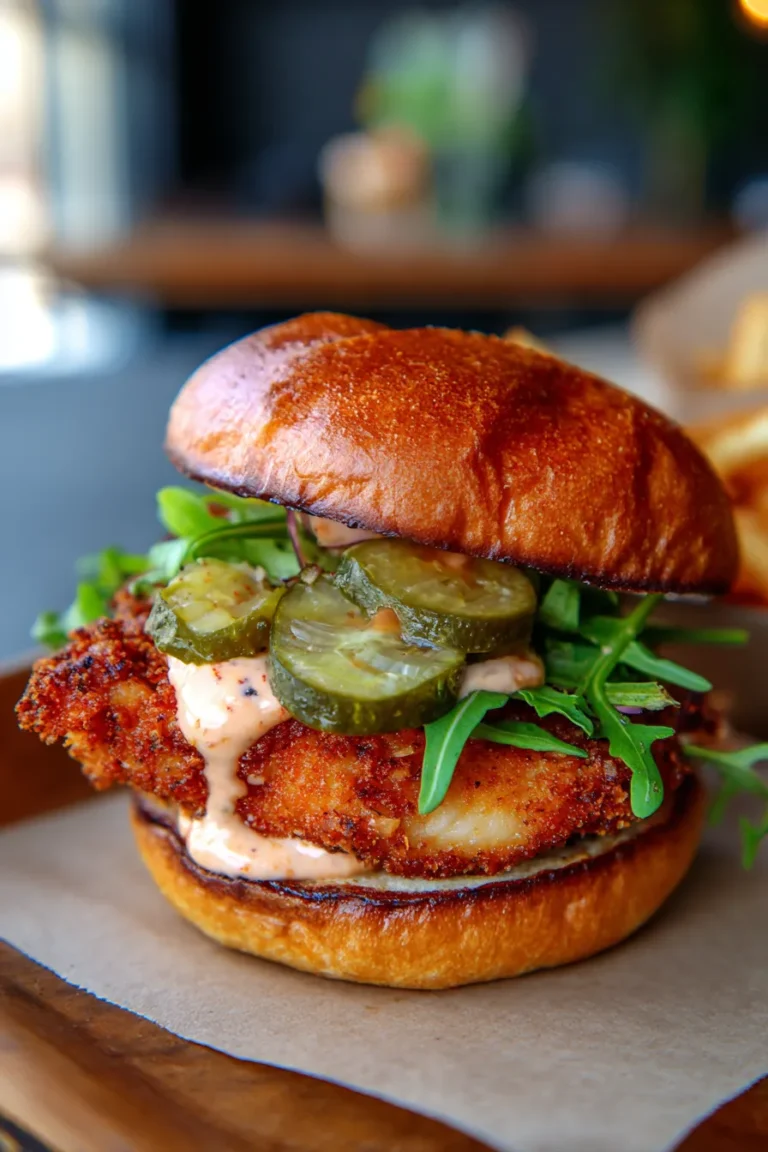
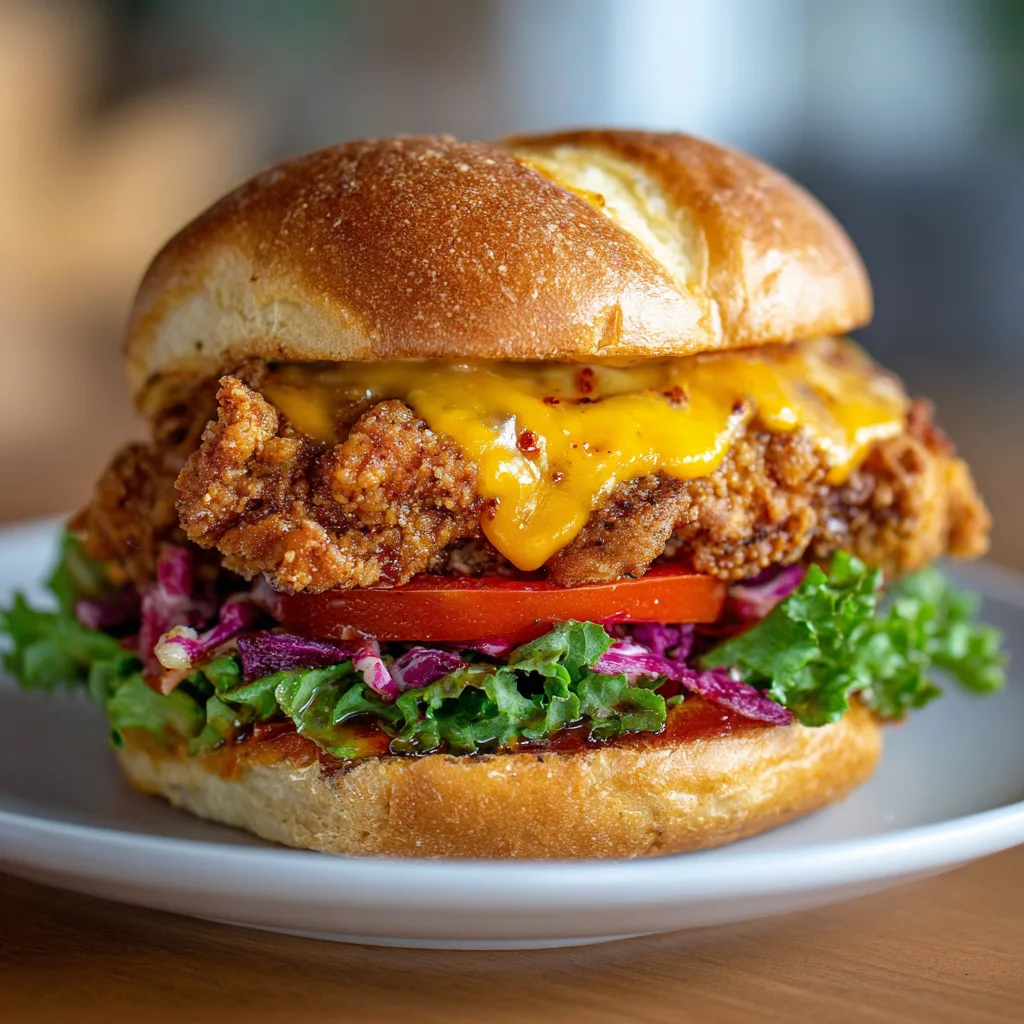
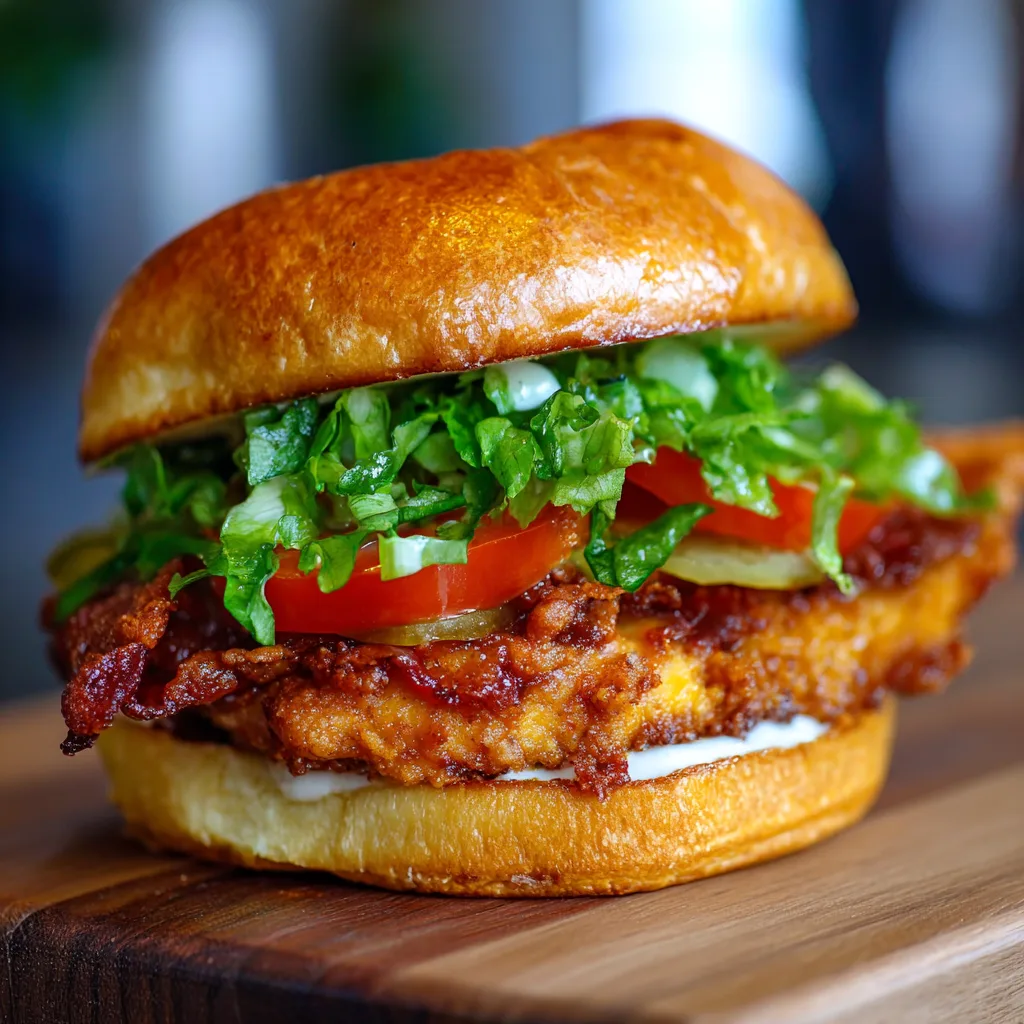
The crispy chicken sandwich has transcended its status as a fast-food staple to become a culinary icon. At its heart, the perfect sandwich is a study in contrasts: the shatteringly crisp exterior of the chicken, the succulent and tender meat within, the soft sweetness of a toasted brioche bun, and the sharp, tangy bite of pickles and signature sauce. Achieving this balance at home requires more than just frying meat; it involves a sequence of techniques—from brining to double-dredging—that ensure every bite delivers maximum flavor and texture. Whether you are looking to replicate your favorite restaurant version or create a new kitchen masterpiece, mastering these fundamental steps will elevate your sandwich game to professional heights.
The Ingredients for Success
To build a world-class crispy chicken sandwich, quality ingredients are non-negotiable. This recipe focuses on the classic “Southern-style” profile, characterized by a buttermilk brine and a seasoned flour coating.
For the Chicken and Brine:
-
2 large boneless, skinless chicken breasts (sliced horizontally into four even cutlets)
-
1 ½ cups buttermilk (the acid tenderizes the meat)
-
1 tablespoon hot sauce (adds depth without overwhelming heat)
-
1 teaspoon garlic powder
-
1 teaspoon onion powder
-
1 teaspoon salt and ½ teaspoon black pepper
For the Breading and Frying:
-
2 cups all-purpose flour
-
½ cup cornstarch (the secret to extra crunch)
-
1 tablespoon paprika (smoked or sweet)
-
1 teaspoon cayenne pepper (optional, for heat)
-
1 tablespoon garlic powder and 1 tablespoon onion powder
-
1 quart neutral oil with a high smoke point (peanut, vegetable, or canola)
For the Assembly:
-
4 high-quality brioche buns
-
Salted butter (for toasting)
-
Thick-cut dill pickle chips
-
Green leaf lettuce and sliced vine-ripened tomatoes
-
Signature Sauce: ½ cup mayonnaise, 1 tablespoon Dijon mustard, 1 teaspoon honey, and a dash of hot sauce.
Step-by-Step Instructions
1. Prepare and Brine the Chicken: Place your chicken cutlets between two sheets of plastic wrap and gently pound them with a meat mallet to an even thickness of about ½ inch. In a large bowl or zip-top bag, whisk together the buttermilk, hot sauce, and spices. Submerge the chicken in the brine and refrigerate for at least 4 hours, though overnight is ideal for the most tender results.
2. Create the Dredge: In a shallow dish, whisk together the flour, cornstarch, and all the spices. To achieve those signature “craggy” bits of extra-crispy crust, drizzle 2–3 tablespoons of the liquid buttermilk brine into the flour mixture and stir with a fork. This creates small clumps of dough that will adhere to the chicken and fry into crunchy nuggets.
3. Coat the Chicken: Remove a chicken cutlet from the brine, letting the excess liquid drip off. Press it firmly into the flour mixture, ensuring every crevice is covered. For an even thicker crust, you can dip it back into the buttermilk and then back into the flour (the double-dredge method). Place the coated chicken on a wire rack to rest for 10 minutes; this helps the coating set and prevents it from falling off in the oil.
4. The Frying Process: Heat your oil in a heavy-bottomed Dutch oven or deep skillet until it reaches 350°F (175°C). Carefully lower two cutlets into the oil at a time to avoid crowding. Fry for 3–5 minutes per side, or until the exterior is a deep golden brown and the internal temperature reaches 165°F. Transfer the chicken to a clean wire rack over a paper towel-lined baking sheet to drain. Season immediately with a pinch of sea salt.
5. Toast and Assemble: Melt butter in a pan over medium heat and toast the split brioche buns until they are golden brown and slightly crisp. Spread a generous layer of signature sauce on both the top and bottom buns. Place 3–4 pickles on the bottom bun, followed by the crispy chicken, lettuce, and tomato. Close the sandwich and serve immediately while the chicken is at its peak crispness.
The Science of the Crunch
Understanding why certain techniques work can help you troubleshoot and refine your sandwich. The inclusion of cornstarch in the flour dredge is perhaps the most critical “pro tip.” While flour provides structure, cornstarch prevents gluten development, resulting in a coating that is crisp and light rather than tough and doughy. Furthermore, the buttermilk brine serves a dual purpose: the lactic acid breaks down protein fibers to ensure the chicken stays juicy despite the high heat of frying, while the thick liquid acts as a “glue” for the flour.
The “resting period” after dredging is another often-overlooked step. When the flour meets the moisture of the chicken, it forms a paste. If you fry it immediately, the steam escaping the meat can blow the crust off. By letting it rest on a rack, the coating hydrates and bonds to the meat, ensuring that the crunch stays attached to the chicken through every bite.
Flavor Variations and Customization
While the classic sandwich is a masterpiece of simplicity, the format invites endless creativity. To pivot toward a “Nashville Hot” profile, whisk together a half-cup of the hot frying oil with plenty of cayenne pepper, brown sugar, and chili powder, then brush this spicy glaze over the chicken immediately after frying. This adds a sweet-and-savory heat that is iconic in Southern cuisine.
Alternatively, for a “Korean-Style” sandwich, replace the buttermilk with a ginger-soy marinade and use a potato starch-based batter. Toss the fried chicken in a gochujang-based glaze and top with a quick-pickled slaw of cabbage and scallions. Regardless of the flavor profile, the core principles of temperature control and moisture management remain the same. The choice of bun also plays a role; while brioche is the standard for its buttery richness, a toasted potato roll offers a nostalgic, soft texture that allows the chicken to remain the undisputed star of the show.
Achieving Professional Results at Home
To ensure your homemade sandwich rivals the best restaurants, pay close attention to oil temperature management. When you add cold chicken to hot oil, the temperature will naturally drop. Using a clip-on deep-fry thermometer allows you to monitor these fluctuations in real-time. If the oil is too cool, the chicken will absorb grease and become soggy; if it is too hot, the outside will burn before the inside is cooked through.
Finally, remember that the “assembly” is just as important as the cooking. Placing pickles directly against the chicken can sometimes introduce moisture that softens the breading. To keep the sandwich structural and crunchy for as long as possible, use the sauce as a moisture barrier on the bun and place the dryer elements, like lettuce, against the chicken. By following these professional nuances, you transform a simple meal into a gourmet experience that defines what a truly great crispy chicken sandwich should be.