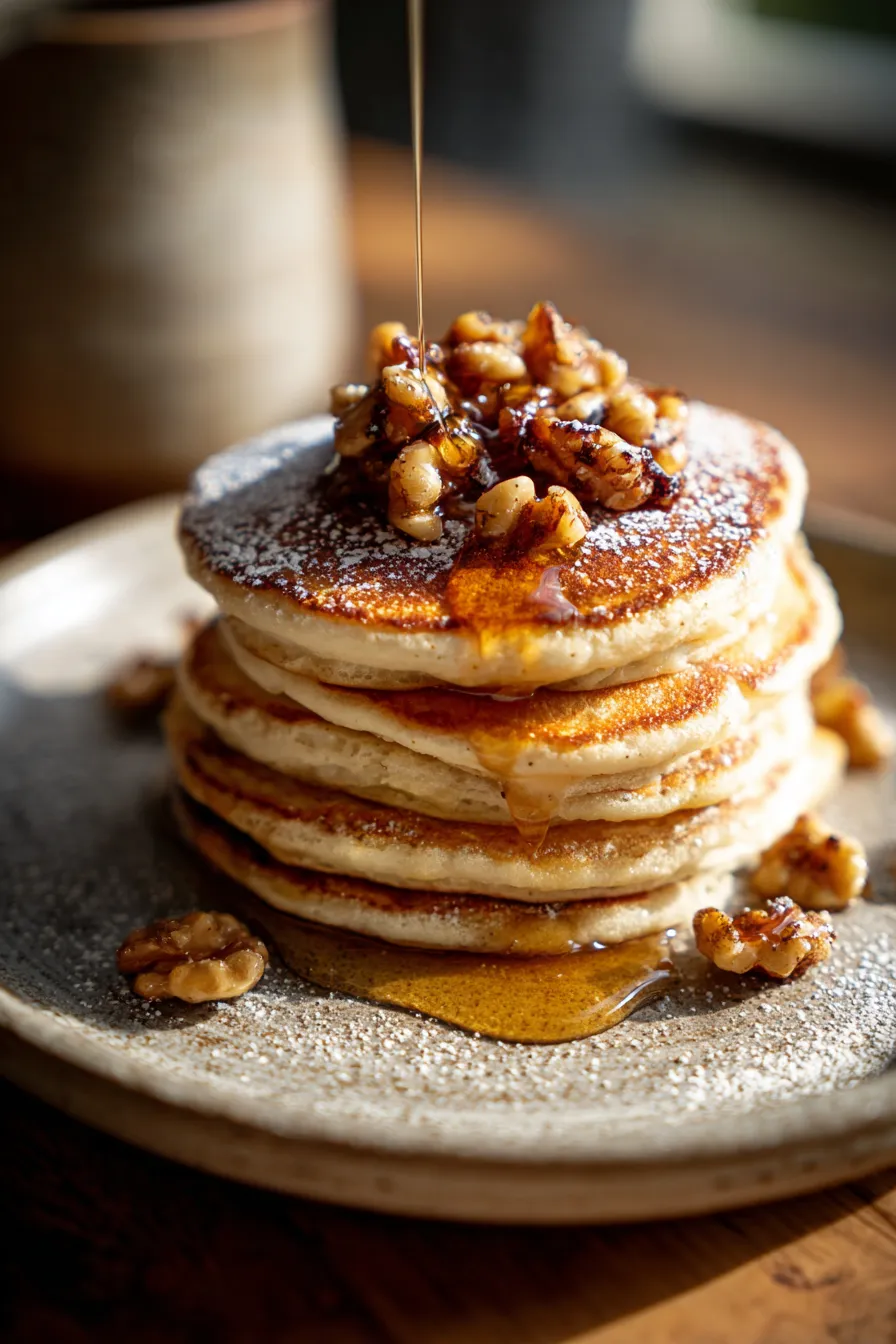
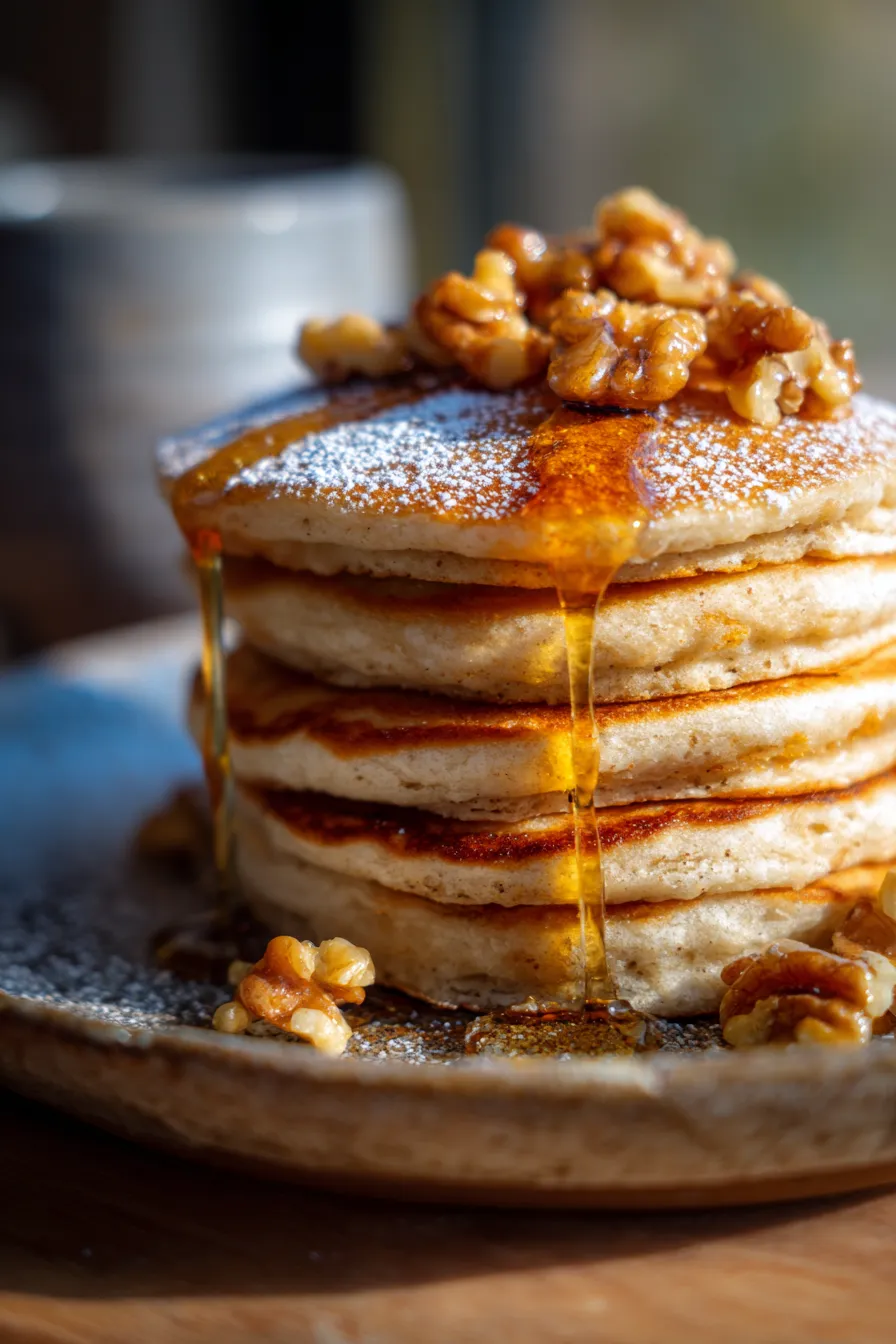
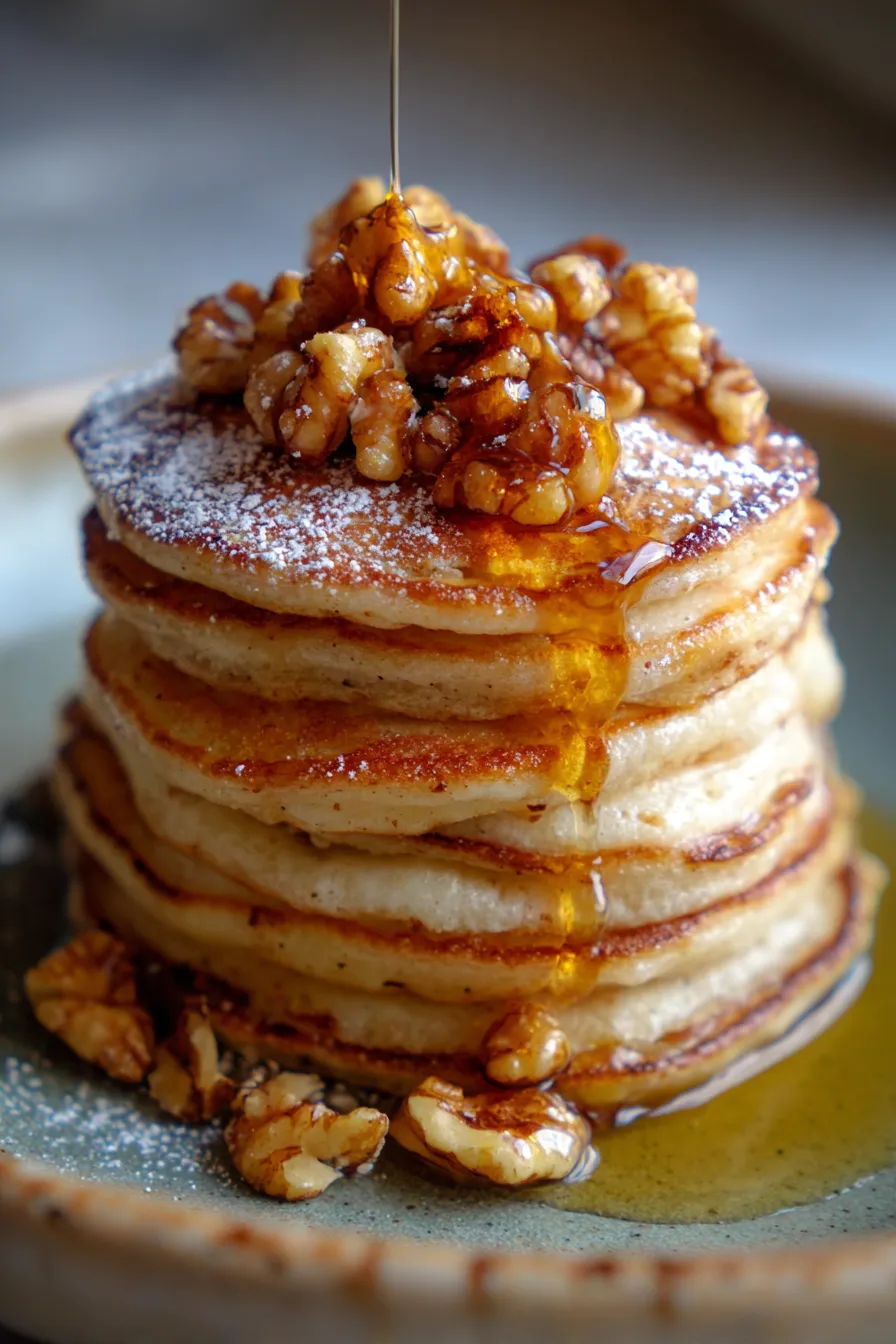
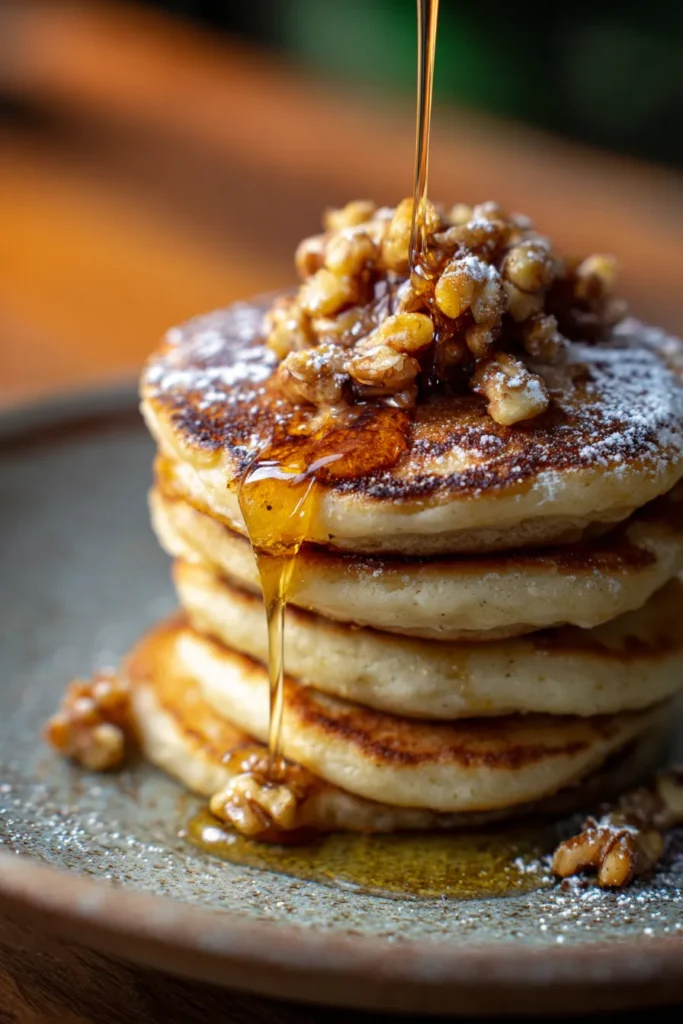
Fluffy Honey Walnut Pancakes: Your New Favorite Weekend Treat!
I still remember those crisp Saturday mornings, the smell of coffee brewing and my dad flipping pancakes filling our old kitchen. It was pure magic! While classic buttermilk pancakes hold a special place in my heart, I always craved a little something extra, a gourmet touch that felt both comforting and indulgent. That’s how my quest for the perfect Honey Walnut Pancakes began, turning a simple breakfast into an unforgettable culinary experience.
This recipe isn’t just about a stack of pancakes; it’s about creating moments, lingering over breakfast, and savoring every single bite. It’s a truly easy breakfast that feels incredibly special. After countless attempts and tweaking, I finally perfected these pancakes, a true family favorite that delivers on fluffiness, flavor, and pure comfort. Get ready to transform your weekend mornings into a celebration with this ultimate comfort food!
This tried-and-true recipe has been tested countless times in my own kitchen and has consistently wowed everyone who tries it. It’s validated by happy smiles and requests for seconds! You’re about to bake up a batch of pure joy, so let’s get started.
Why You’ll Love This Recipe
❤️ Here’s why these Honey Walnut Pancakes are about to become a staple in your kitchen:
- Unbelievably Fluffy Texture: We’re talking cloud-like, melt-in-your-mouth perfection here. The secret blend of leaveners and the right mixing technique ensures every single bite is airy, light, and wonderfully tender, a stark contrast to dense, heavy pancakes.
- Rich, Nutty & Sweet Flavor Profile: The delicate, natural sweetness of honey perfectly complements the earthy, slightly bitter crunch of toasted walnuts. This combination creates a sophisticated yet incredibly comforting taste that will have everyone asking for seconds. It’s truly a symphony of flavors in every stack!
- Incredibly Easy to Make: Don’t let the gourmet taste fool you! This recipe uses simple pantry staples and straightforward steps, making it accessible even for beginner cooks. You’ll be surprised how quickly you can whip up a batch of these beauties.
- Perfect for Any Occasion: Whether it’s a special holiday brunch, a lazy Sunday morning, or a weeknight ‘brinner’ (breakfast for dinner!), these pancakes elevate the meal. They feel indulgent and celebratory, yet require minimal effort.
- Family-Friendly & Customizable: Kids and adults alike adore these pancakes. Plus, they’re wonderfully adaptable! You can easily adjust the sweetness or add extra toppings to suit everyone’s preferences, making them a crowd-pleaser every time.
- Aromatic & Inviting: As these pancakes cook, your kitchen will be filled with the most delightful aroma of warm honey, toasted walnuts, and sweet vanilla. It’s an experience for all the senses, setting the perfect cozy mood for your meal.
- Tested and Perfected: I’ve poured my heart into perfecting this recipe, ensuring that every measurement and every step leads to consistent, delicious results. You can trust that this recipe will deliver on its promise of perfect pancakes every single time.
What You Need
You only need a few simple pantry staples for this incredibly delicious recipe! Most of these ingredients are likely already in your kitchen, making these pancakes a breeze to whip up any time the craving strikes. Check the full printable recipe card below for detailed measurements and a complete list of everything you’ll need to create these fluffy delights.
Expert Tips
💡 Master these simple tricks for the fluffiest, most flavorful Honey Walnut Pancakes every time:
- Don’t Overmix the Batter: This is perhaps the most crucial tip for achieving truly fluffy pancakes! Overmixing develops the gluten in the flour, leading to tough, chewy pancakes. Mix just until the wet and dry ingredients are combined. A few lumps are perfectly fine and even desired – they indicate you haven’t overdone it! Gentle folding is key here.
- Rest the Batter is a Must: Give your batter a little break! Letting it sit for 5-10 minutes allows the flour to fully hydrate and the gluten to relax. This leads to a more tender texture and helps the leavening agents (baking powder and soda) work their magic more effectively, resulting in taller, airier pancakes. Don’t skip this easy step!
- Perfect Griddle Temperature: Heat your griddle or non-stick pan over medium heat. A good test is to sprinkle a few drops of water on the surface; if they sizzle and evaporate within a second or two, it’s ready. Too hot, and your pancakes will burn before cooking through; too cool, and they’ll be greasy and flat. Consistency is key for even browning.
- Toast Your Walnuts: While optional, lightly toasting your chopped walnuts in a dry pan for a few minutes before adding them to the batter (or as a topping) significantly enhances their flavor and aroma. This deepens their nutty notes and adds an extra layer of deliciousness to your pancakes.
- Flip at the Right Time: Patience is a virtue when making pancakes! Wait until you see bubbles forming on the surface of the pancake and the edges look set and slightly dry. This indicates the bottom is golden brown and ready to flip. A single confident flip is usually all it takes.
- Keep Pancakes Warm: If you’re making a big batch, keep cooked pancakes warm by placing them on a wire rack on a baking sheet in a preheated oven at 200°F (90°C). This prevents them from getting soggy and ensures everyone gets to enjoy warm, fresh pancakes together.
- Grease Lightly: A very thin layer of butter or oil is all you need for cooking. Too much grease can make the pancakes flat and heavy. Use a paper towel to wipe off excess oil between batches if necessary.
Variations & Substitutions
These Honey Walnut Pancakes are wonderfully versatile! Feel free to get creative and adapt them to your dietary needs or flavor preferences:
- Gluten-Free Delight: Simply swap out the all-purpose flour for your favorite 1:1 gluten-free baking blend. Brands like King Arthur or Bob’s Red Mill work wonderfully. You might need to add a touch more milk if the batter seems too thick, as GF flours can absorb liquids differently.
- Dairy-Free Option: Easily make these pancakes dairy-free by using an unsweetened non-dairy milk alternative like almond, soy, or oat milk. Just ensure it’s unsweetened to control the overall sweetness of the pancakes. You can also use a plant-based butter alternative for greasing your griddle.
- Nutty Swaps: Not a fan of walnuts, or simply want to try something new? Pecans, almonds, or even a mix of nuts would be delicious! Ensure they are chopped to a similar size for even distribution and bite.
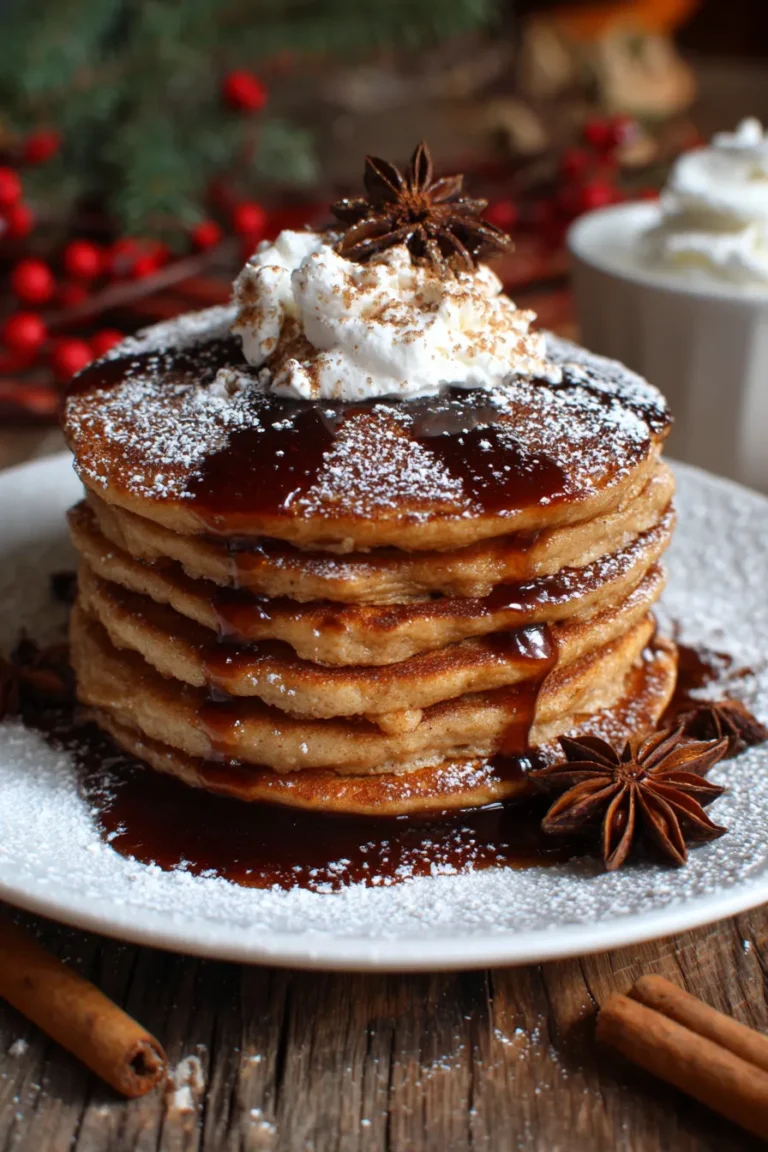
- Add Spices: Enhance the warmth by adding a pinch of cinnamon, nutmeg, or a dash of pumpkin pie spice to your dry ingredients. These spices pair beautifully with honey and walnuts.
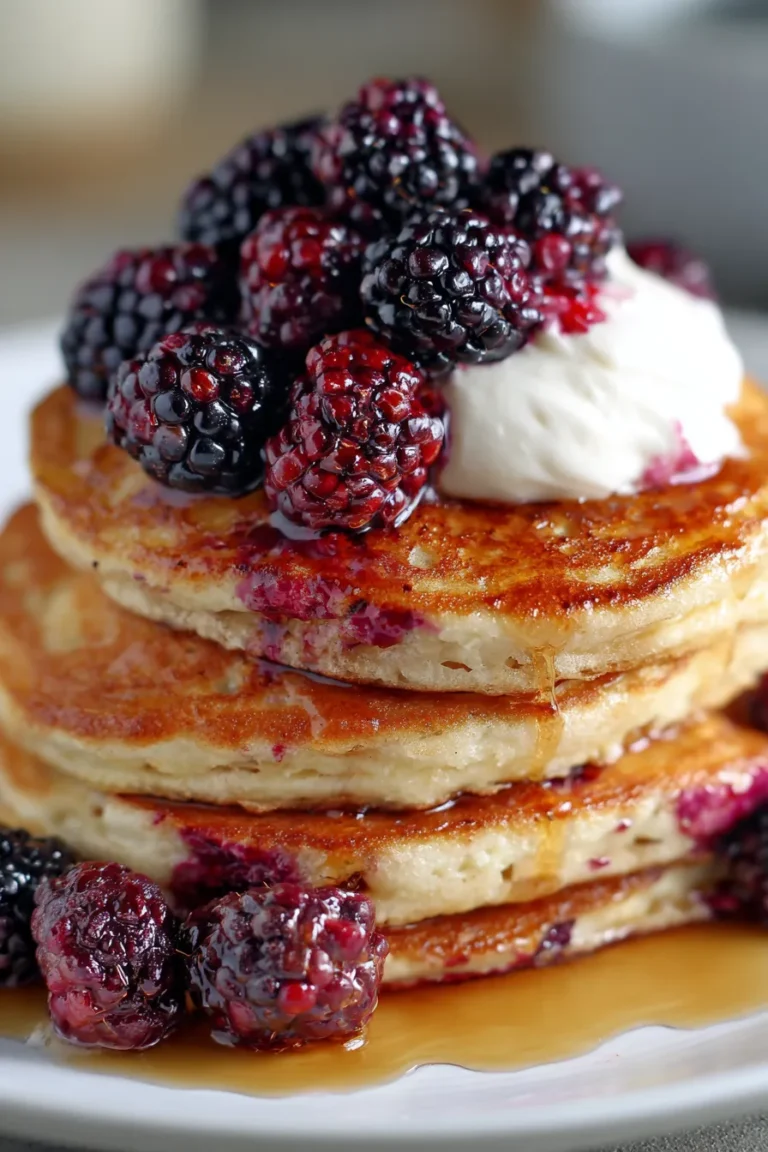
- Fruity Boost: Fold in a handful of fresh blueberries, sliced bananas, or diced apples along with the walnuts for an extra layer of flavor and moisture.
- Sweetener Alternatives: If you prefer, you can swap a portion of the honey for maple syrup or a touch more granulated sugar in the batter. Remember that honey contributes to the unique flavor profile, so taste and adjust!
Storage & Freezing
Making a big batch of these delicious pancakes is a fantastic idea for quick breakfasts throughout the week! Here’s how to store and freeze them properly:
- Refrigeration: Allow leftover pancakes to cool completely. Store them in an airtight container or a resealable bag in the refrigerator for up to 3-4 days. When ready to eat, reheat them in a toaster, microwave, or on a griddle until warmed through.
- Freezing: For longer storage, flash freeze cooled pancakes in a single layer on a baking sheet for about 15-20 minutes until firm. This prevents them from sticking together. Once firm, transfer them to a freezer-safe bag or airtight container, separating layers with parchment paper. They will keep well in the freezer for up to 2-3 months.
- Reheating from Frozen: You can reheat frozen pancakes directly in a toaster (on a low setting for a few cycles), in the microwave, or on a warm griddle. They’ll be ready in minutes, making them perfect for busy mornings!
FAQ
Q: Why are my Honey Walnut Pancakes flat?
A: Flat pancakes are usually caused by overmixing the batter (which develops gluten and deflates air bubbles) or using expired leavening agents (baking powder/soda). Make sure your baking powder and soda are fresh and mix the batter just until combined, leaving some lumps.
Q: Can I make the batter ahead of time?
A: While freshly made batter yields the fluffiest results, you can prepare the dry ingredients and wet ingredients separately and combine them just before cooking. If you mix the full batter ahead of time, the leavening agents will lose some of their potency, which might result in slightly less fluffy pancakes. If you do make it ahead, store it in the fridge for no more than 12 hours.
Q: What’s the best syrup or topping for these pancakes?
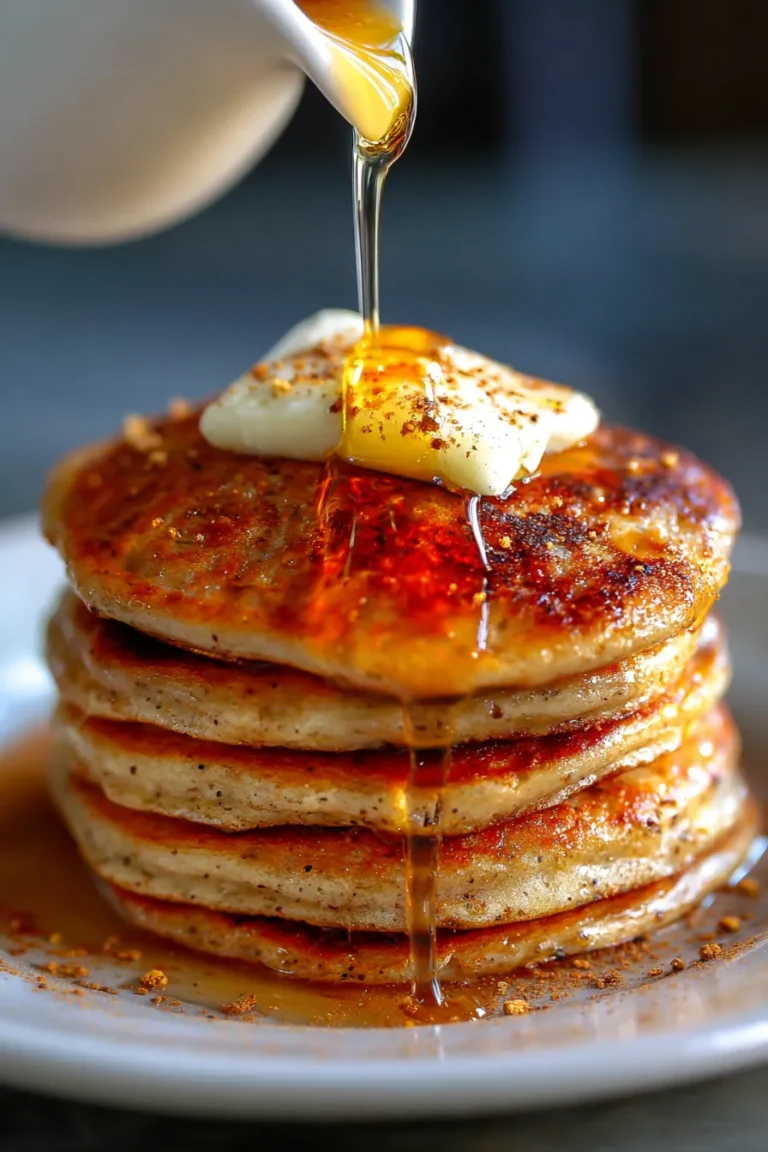
A: A generous drizzle of pure maple syrup or extra honey is classic and highlights the flavors beautifully. Other fantastic toppings include a dusting of powdered sugar, a dollop of whipped cream, fresh berries, or even a sprinkle of extra toasted walnuts. Get creative!
Q: How do I know when the pancakes are cooked through?
A: Look for bubbles forming on the surface of the pancake and edges that appear set and slightly dry. The uncooked batter in the middle should start to look solid. Once you flip, the second side typically cooks faster, turning golden brown within 1-2 minutes.
Whether it’s a lazy Sunday brunch or a special holiday morning, these Honey Walnut Pancakes are sure to become a cherished tradition in your home. Their irresistible fluffiness and rich flavor profile make them a true showstopper. Don’t forget to pin this recipe for later and share your delicious creations with me on social media! Happy pancake making!
Fluffy Honey Walnut Pancakes: Best Easy Breakfast Recipe
Ingredients
- 1 ½ cups all-purpose flour
- 2 tablespoons granulated sugar
- 2 teaspoons baking powder
- ½ teaspoon baking soda
- ½ teaspoon salt
- 1 ¼ cups milk (dairy or non-dairy)
- 1 large egg
- 2 tablespoons unsalted butter, melted (plus extra for cooking)
- 2 tablespoons honey
- 1 teaspoon vanilla extract
- ¾ cup chopped walnuts, lightly toasted
Instructions
- Step 1 In a large bowl, whisk together the flour, sugar, baking powder, baking soda, and salt. Ensure there are no lumps in the dry mixture.
- Step 2 In a separate medium bowl, whisk together the milk, egg, melted butter, honey, and vanilla extract until well combined and smooth.
- Step 3 Pour the wet ingredients into the dry ingredients. Mix gently with a whisk or spatula until just combined. A few small lumps are perfectly fine and even desired u2013 do not overmix! Gently fold in the toasted walnuts.
- Step 4 Let the batter rest for 5-10 minutes. This allows the flour to hydrate and the leavening agents to activate, resulting in fluffier pancakes.
- Step 5 Heat a lightly oiled griddle or large non-stick pan over medium heat. A good test is to flick a few drops of water onto the surface; they should sizzle and evaporate immediately.
- Step 6 Pour ¼ cup of batter per pancake onto the hot griddle. Cook for 2-3 minutes per side, or until golden brown. You'll see bubbles forming on the surface and the edges looking set before it's time to flip.
- Step 7 Flip the pancakes and cook for another 1-2 minutes on the second side, until cooked through and golden brown. Repeat with the remaining batter, lightly greasing the pan between batches as needed.
- Step 8 Serve immediately with extra honey, pure maple syrup, a dusting of powdered sugar, and any desired additional toppings. Enjoy your incredibly fluffy Honey Walnut Pancakes!