Garlic and Herb Roasted Chicken
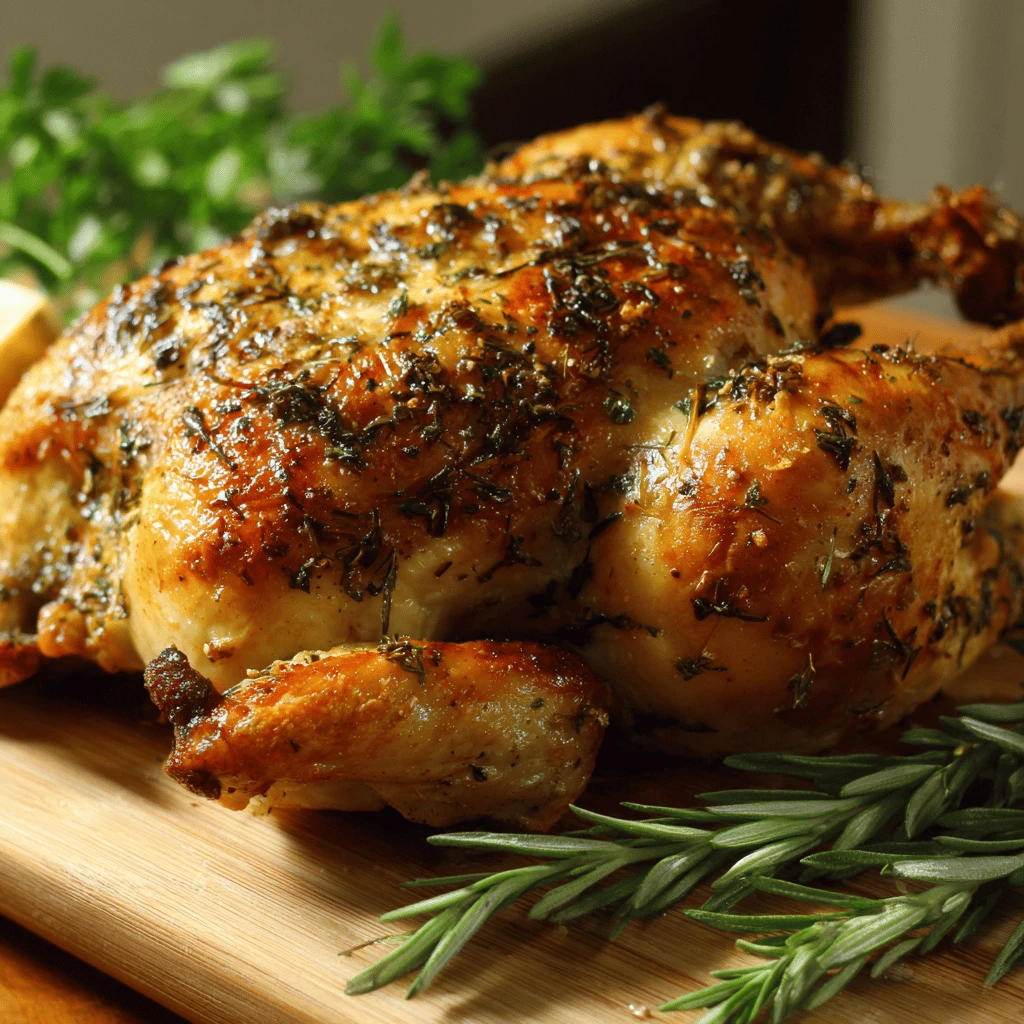
Garlic and herb roasted chicken is a timeless classic, celebrated for its simplicity and incredible flavor. This recipe delivers a succulent, juicy bird with crispy skin, infused with aromatic herbs and pungent garlic. Perfect for a weeknight dinner or a special occasion, this dish is guaranteed to impress.
Why Garlic and Herb Roasted Chicken is a Winner
Garlic and herb roasted chicken stands out as a family favorite for numerous reasons. Its ease of preparation makes it accessible for cooks of all skill levels. Unlike more complex dishes, this recipe relies on a few simple ingredients and straightforward techniques. The result is a deeply flavorful and satisfying meal. Furthermore, roasting a whole chicken is an economical way to feed a crowd, providing ample leftovers for sandwiches, salads, or soups. The aroma that fills your kitchen as the chicken roasts is an added bonus, creating a warm and inviting atmosphere. Finally, the versatility of the recipe allows for endless customization with different herbs, vegetables, and seasonings.
The Secret to Juicy and Flavorful Chicken
The key to a truly exceptional roasted chicken lies in several factors. First, start with a high-quality chicken, preferably free-range or organic. Second, properly prepare the chicken by patting it dry inside and out. This helps the skin crisp up during roasting. Third, don’t be afraid to use plenty of garlic and herbs. These aromatics infuse the chicken with flavor from the inside out. Finally, using a roasting rack allows air to circulate around the chicken, ensuring even cooking and crispy skin all over.
Essential Tools and Equipment
Before you begin, gather your essential tools and equipment. You will need:
- Roasting pan: Choose a sturdy roasting pan that is large enough to accommodate your chicken comfortably.
- Roasting rack: This elevates the chicken, promoting even cooking and crispy skin.
- Meat thermometer: An instant-read meat thermometer is crucial for ensuring the chicken is cooked to a safe internal temperature.
- Chef’s knife: A sharp chef’s knife is essential for prepping the garlic and herbs.
- Kitchen twine: This is used to truss the chicken, which helps it cook evenly and maintains its shape.
- Mixing bowl: For preparing the garlic and herb mixture.
Mastering the Recipe: A Step-by-Step Guide
Roasting a garlic and herb chicken is surprisingly simple. Follow these steps for perfect results every time.
Preparing the Chicken
Begin by removing the chicken from its packaging. Pat it dry inside and out with paper towels. This is a crucial step for achieving crispy skin. Trim away any excess fat around the cavity. If desired, remove the giblets from the cavity.
Creating the Garlic and Herb Infusion
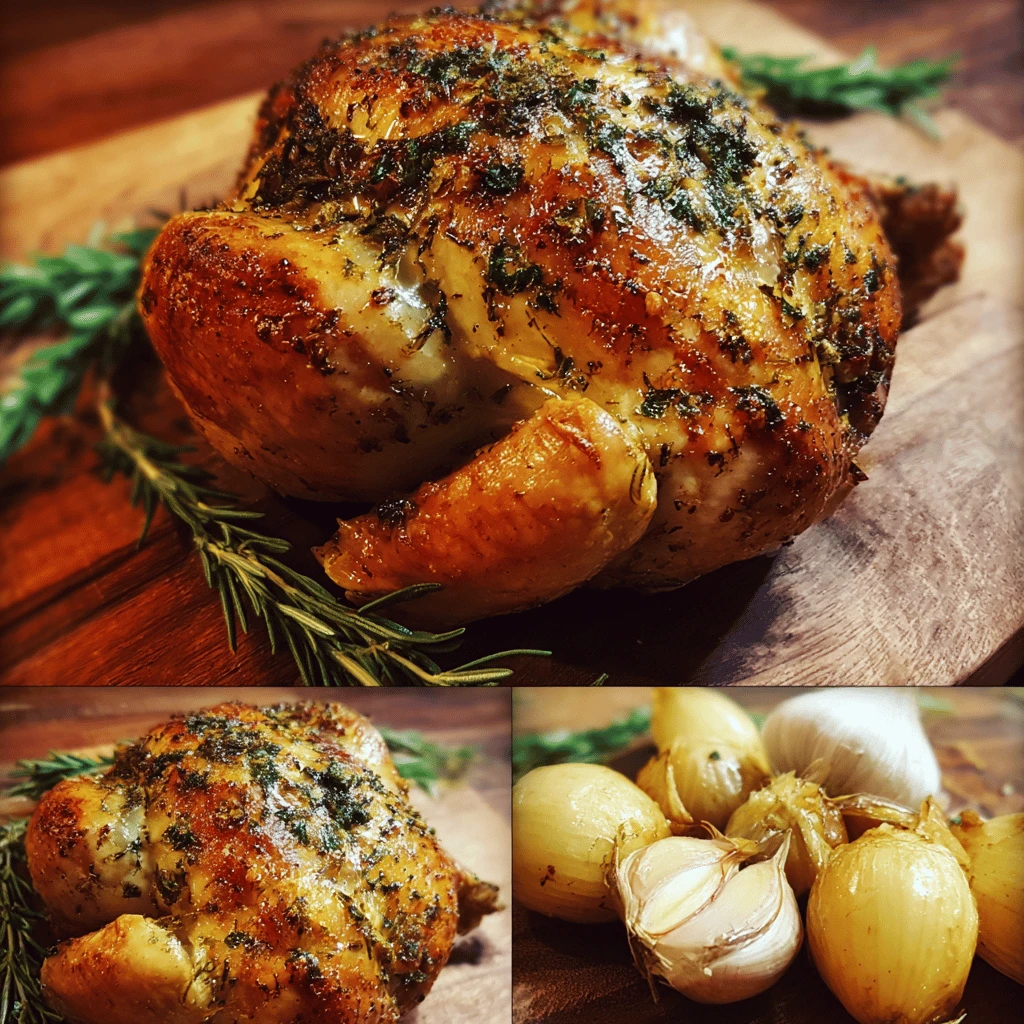
In a mixing bowl, combine minced garlic, chopped fresh herbs (such as rosemary, thyme, and parsley), olive oil, salt, and pepper. Mix well to create a fragrant paste. You can also add lemon zest for an extra layer of flavor.
Trussing for Even Cooking
Trussing the chicken helps it cook evenly and maintains its shape during roasting. To truss, use kitchen twine to tie the legs together and then wrap the twine around the body of the chicken to secure the wings.
Roasting to Perfection
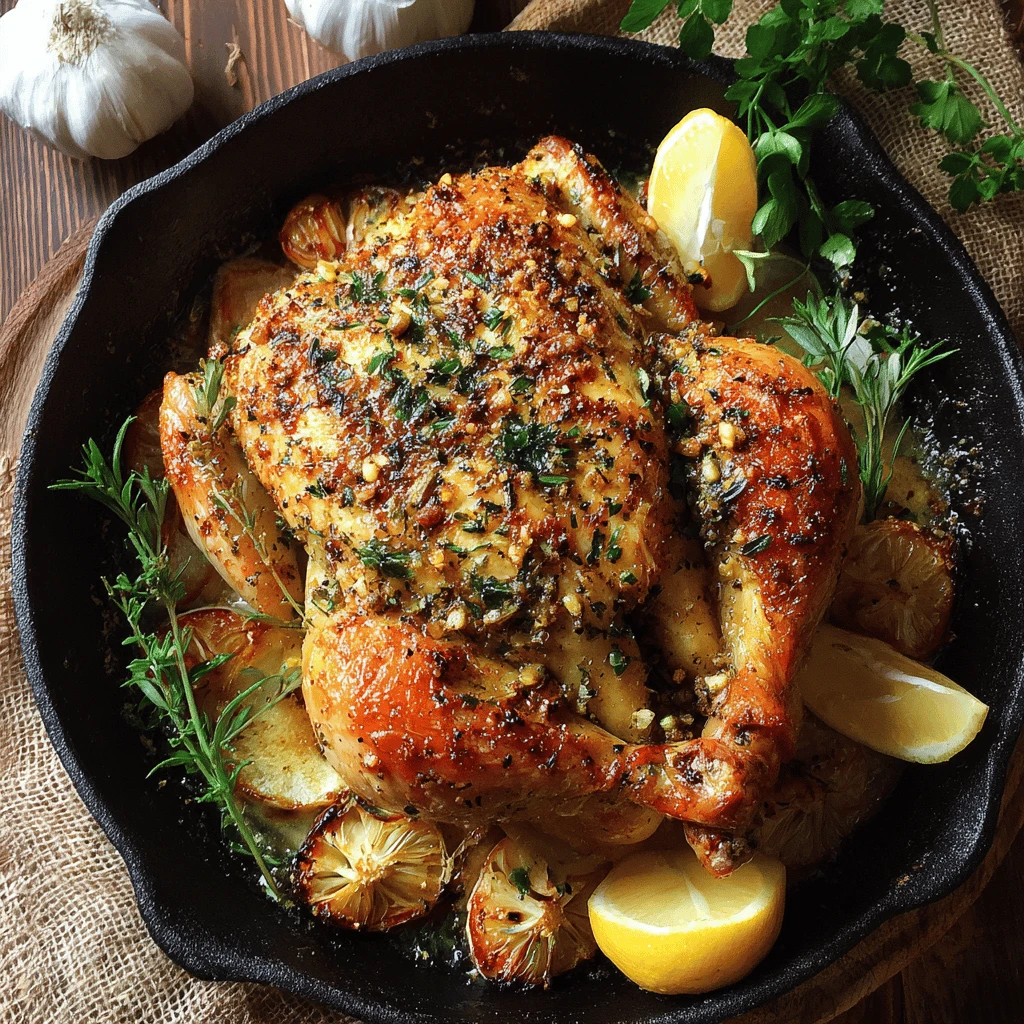
Preheat your oven to 425°F (220°C). Place the chicken on a roasting rack in a roasting pan. Rub the garlic and herb mixture all over the chicken, making sure to get it under the skin of the breast for maximum flavor. Add about 1 cup of chicken broth or water to the bottom of the roasting pan. This helps to keep the chicken moist and prevents the pan drippings from burning. Roast the chicken for about 1 hour and 15 minutes to 1 hour and 30 minutes, or until the internal temperature reaches 165°F (74°C) in the thickest part of the thigh. Basting the chicken with pan drippings every 20-30 minutes will help keep it moist and promote even browning.
Resting and Carving
Once the chicken is cooked, remove it from the oven and let it rest for at least 15 minutes before carving. This allows the juices to redistribute throughout the meat, resulting in a more tender and flavorful bird. Carve the chicken and serve with your favorite sides.
Elevating Your Roasted Chicken: Tips and Tricks
While the basic recipe is foolproof, there are several ways to elevate your garlic and herb roasted chicken to the next level.
Adding Vegetables for a Complete Meal
Roast vegetables alongside the chicken for a complete and convenient meal. Root vegetables like carrots, potatoes, and sweet potatoes are excellent choices. Toss them with olive oil, salt, pepper, and your favorite herbs before adding them to the roasting pan. Add the vegetables to the pan about 45 minutes into the roasting time, so they don’t overcook.
Experimenting with Herbs and Spices
Feel free to experiment with different herbs and spices to create your own signature flavor profile. Consider adding paprika, garlic powder, onion powder, or a pinch of red pepper flakes for a bit of heat. Other herbs that pair well with chicken include sage, oregano, and marjoram.
Making Pan Gravy
Don’t let those flavorful pan drippings go to waste! Use them to make a delicious pan gravy. After removing the chicken from the roasting pan, strain the drippings into a saucepan. Skim off any excess fat. In a separate bowl, whisk together 2 tablespoons of flour with 1/4 cup of cold water to create a slurry. Add the slurry to the saucepan and whisk constantly over medium heat until the gravy thickens. Season with salt and pepper to taste.
Brining for Extra Moisture
For an extra juicy chicken, consider brining it before roasting. Brining involves soaking the chicken in a salt water solution for several hours. This helps the chicken retain moisture during cooking. To brine, combine 1/2 cup of salt and 1/4 cup of sugar with 8 cups of water in a large pot. Submerge the chicken in the brine and refrigerate for 4-6 hours. Rinse the chicken thoroughly before patting it dry and proceeding with the recipe.
Serving Suggestions and Accompaniments
Garlic and herb roasted chicken is a versatile dish that pairs well with a variety of sides.
Classic Side Dishes
Classic side dishes like mashed potatoes, roasted vegetables, and green beans are always a good choice. A simple salad with a vinaigrette dressing also complements the richness of the chicken.
Creative Pairings
For a more creative pairing, consider serving the chicken with quinoa, couscous, or wild rice. Roasted asparagus, Brussels sprouts, or broccoli are also excellent choices.
Wine Pairing
A crisp white wine like Sauvignon Blanc or Pinot Grigio pairs well with garlic and herb roasted chicken. A light-bodied red wine like Pinot Noir is also a good option.
Storing and Reheating Leftovers
Properly storing and reheating leftovers will ensure that they remain safe and delicious.
Safe Storage Practices
Allow the chicken to cool completely before storing it in an airtight container in the refrigerator. Leftover chicken can be stored for up to 3-4 days.
Reheating Methods
There are several ways to reheat leftover roasted chicken. You can reheat it in the oven, microwave, or on the stovetop. To reheat in the oven, preheat the oven to 350°F (175°C). Place the chicken in a baking dish with a little bit of chicken broth or water to keep it moist. Cover the dish with foil and bake for 15-20 minutes, or until heated through. To reheat in the microwave, place the chicken on a microwave-safe plate and cover it with a damp paper towel. Microwave on medium power for 1-2 minutes, or until heated through. To reheat on the stovetop, shred the chicken and add it to a skillet with a little bit of olive oil or chicken broth. Heat over medium heat until heated through.
Frequently Asked Questions (FAQ)
Q: How do I ensure my roasted chicken is cooked through?
A: Use a meat thermometer to check the internal temperature. It should reach 165°F (74°C) in the thickest part of the thigh.
Q: What if my chicken skin isn’t crispy enough?
A: Make sure the chicken is thoroughly dry before roasting. You can also increase the oven temperature for the last 15-20 minutes of cooking.
Q: Can I use dried herbs instead of fresh?
A: Yes, but use about 1/3 the amount, as dried herbs are more potent.
Q: How long should I let the chicken rest before carving?
A: At least 15 minutes. This allows the juices to redistribute, resulting in a more tender and flavorful chicken.
Q: Can I roast the chicken without a roasting rack?
A: While a roasting rack is recommended for optimal results, you can use vegetables like carrots and celery as a makeshift rack.