Ultimate Garlic Herb Chicken Meal Prep Guide
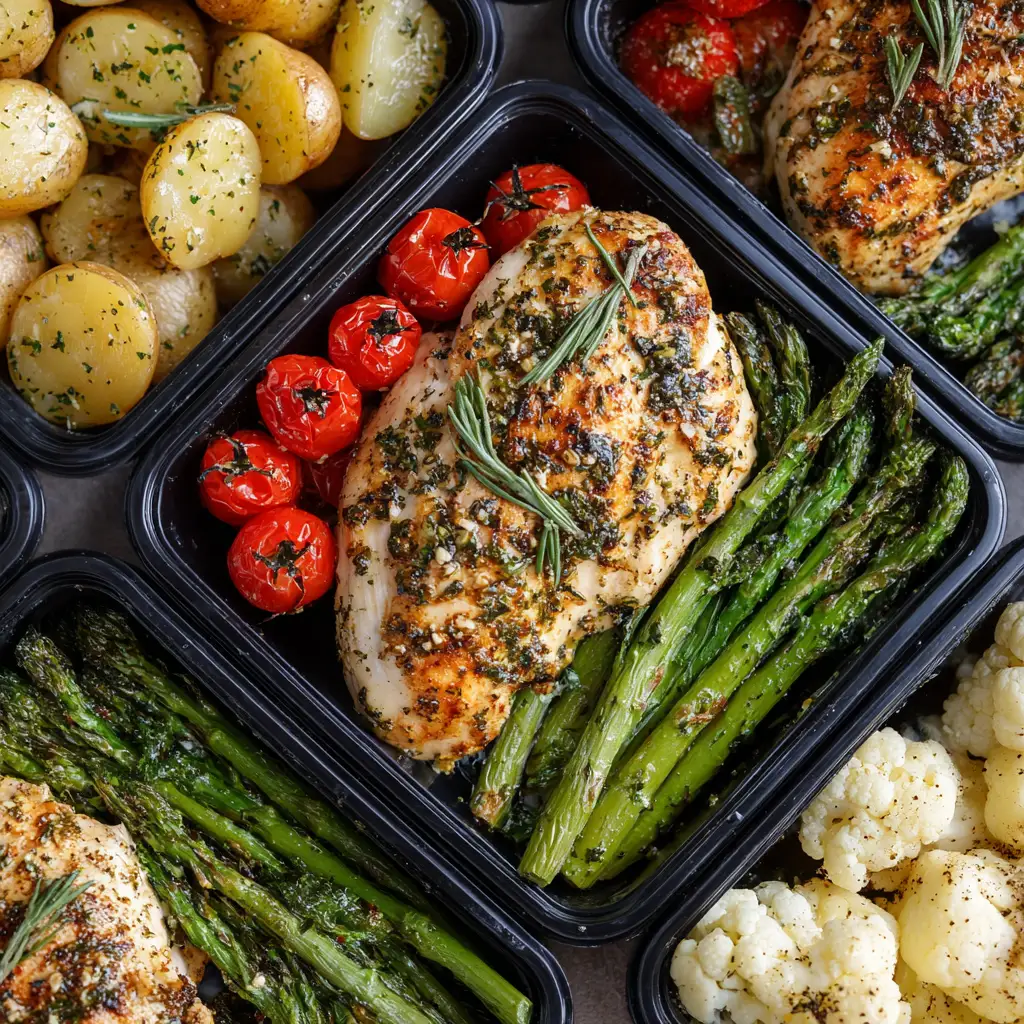
Garlic herb chicken is the cornerstone of a successful meal prep routine. It strikes the perfect balance between high-quality protein and a flavor profile that is both sophisticated and versatile. By mastering this single preparation, you unlock a week’s worth of diverse meals, from vibrant Mediterranean bowls to hearty roasted vegetable plates. This guide will teach you how to achieve juicy, tender chicken every time, ensuring your prepared lunches remain just as delicious on Thursday as they were on Monday.
Ingredients
For the Chicken:
-
2 lbs Chicken Breast or Thighs: Boneless and skinless. Thighs are more forgiving and stay juicy when reheated, while breasts are leaner.
-
2 tbsp Olive Oil: Helps the seasoning stick and ensures a golden sear.
-
3 tbsp Unsalted Butter: Divided; used for richness during the final stages of cooking.
-
5-6 Garlic Cloves: Minced fresh for the most punchy, aromatic flavor.
The Herb Blend:
-
1 tsp Dried Thyme
-
1 tsp Dried Rosemary (crushed)
-
1 tsp Dried Oregano
-
2 tbsp Fresh Parsley: Finely chopped (added at the end for brightness).
-
1 tsp Onion Powder
-
1 tsp Sea Salt & ½ tsp Black Pepper
-
Optional: 1 tsp Lemon Zest or a squeeze of fresh lemon juice for acidity.
For the Meal Prep Containers:
-
Base: 2 cups cooked quinoa, brown rice, or cauliflower rice.
-
Vegetables: 4 cups roasted broccoli, asparagus, or green beans.

Step-by-Step Preparation
1. Prep and Season the Chicken Start by patting the chicken dry with paper towels; removing surface moisture is the secret to a perfect golden crust. If using chicken breasts, pound them to an even thickness or slice them into cutlets to ensure they cook uniformly. In a small bowl, whisk together the olive oil, dried thyme, rosemary, oregano, onion powder, salt, and pepper. Rub this mixture over all sides of the chicken until evenly coated.
2. Sear for Maximum Flavor Heat a large skillet over medium-high heat. Once the pan is hot, add the chicken in a single layer. Do not overcrowd the pan; cook in batches if necessary. Let the chicken sear undisturbed for 5–7 minutes on the first side until a deep golden-brown crust forms. Flip the chicken and cook for another 5 minutes.
3. Infuse with Garlic and Butter Reduce the heat to medium-low. Move the chicken to the edges of the skillet and add the butter and minced garlic to the center. Once the butter melts and the garlic becomes fragrant (about 1 minute), spoon the garlic butter over the chicken repeatedly. This “basting” technique infuses the meat with moisture and fat.
4. Final Cook and Rest Continue cooking until the internal temperature reaches 165°F (74°C). Remove the chicken from the heat and transfer it to a cutting board. Crucially, let the chicken rest for at least 5 to 10 minutes before slicing. This allows the juices to redistribute, preventing the meat from drying out during storage.
5. Assemble Your Meal Prep While the chicken rests, prepare your storage containers. Divide your chosen base (rice or quinoa) and steamed or roasted vegetables into four airtight containers. Slice the rested chicken and place it on top. Garnish with fresh parsley and an extra squeeze of lemon juice to keep the flavors vibrant.
Essential Tips for Juicy Results
The biggest challenge with meal-prepped chicken is the “reheat dry-out.” To combat this, consider using boneless, skinless chicken thighs. Thighs have a higher fat content than breasts, which protects them from becoming rubbery in the microwave. If you prefer chicken breast, always ensure you are slicing against the grain. This breaks up the muscle fibers, resulting in a more tender bite.
Another professional tip is to undercook your vegetables slightly. Since you will likely be reheating these meals in a microwave, the vegetables will finish “steaming” during that second heat cycle. This prevents your broccoli or asparagus from becoming mushy by the end of the week.
Creative Flavor Variations
While the garlic and herb foundation is a classic, you can easily pivot the flavor profile to keep your palate engaged. For a Creamy Garlic Herb version, deglaze the pan with a splash of chicken broth and stir in a tablespoon of heavy cream or a dollop of Greek yogurt after the chicken is cooked. This creates a light sauce that coats the meat and prevents it from drying out.
If you prefer a Zesty Mediterranean vibe, add dried basil to the herb mix and serve the chicken alongside a cold salad of cucumber, cherry tomatoes, and feta cheese. For those who enjoy a hint of heat, a teaspoon of red pepper flakes added into the garlic butter provides a subtle “kick” that cuts through the richness of the butter.
Storage and Reheating Best Practices
Proper storage is the final step in ensuring meal prep success. Allow the chicken to cool to room temperature before sealing the lids on your containers; sealing them while hot creates steam, which can lead to soggy textures and faster spoilage. Garlic herb chicken stays fresh and safe to eat for up to four days when stored in an airtight container in the refrigerator.
When it comes time to eat, reheat your meal on medium power rather than high. Adding a damp paper towel over the top of the container while microwaving creates a small steam chamber, which helps rehydrate the chicken and keeps the herbs tasting fresh. If you have the time, reheating the chicken in a covered skillet on the stovetop with a teaspoon of water or broth will yield the best, “just-cooked” results.