The Ultimate Grilled Lemon Pepper Chicken: Juicy, Zesty, and Perfectly Charred
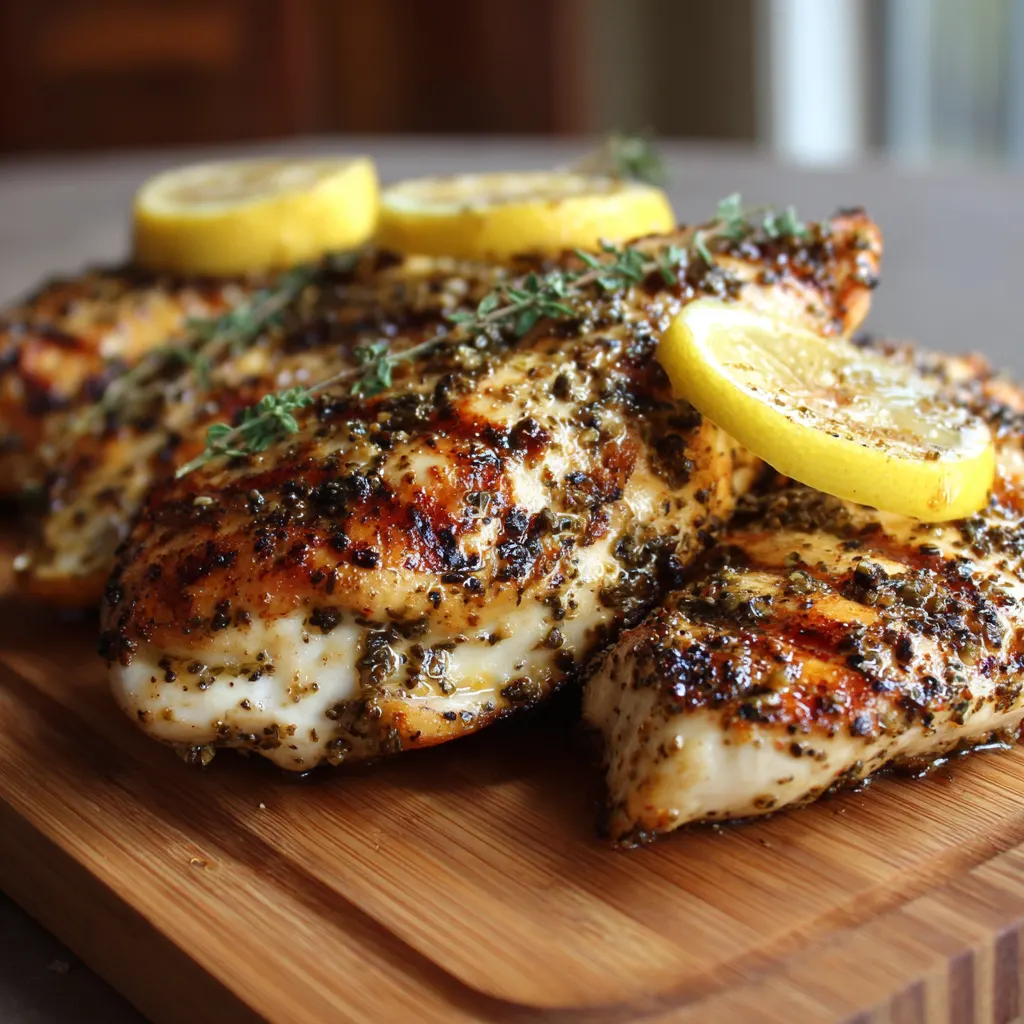
Grilled lemon pepper chicken is a timeless classic that strikes the perfect balance between bright acidity, bold spice, and smoky char. Whether you are hosting a summer backyard barbecue or looking for a healthy, high-protein weeknight dinner, this dish is a universal favorite. The secret to a truly exceptional lemon pepper chicken lies in the harmony between the fresh citrus zest and the coarse bite of cracked black pepper. When prepared correctly, the chicken remains incredibly moist on the inside while developing a golden, caramelized crust on the outside. This recipe focuses on using fresh ingredients to elevate the flavors far beyond what a store-bought seasoning packet can achieve.
Ingredients You’ll Need
-
Chicken: 2 lbs boneless, skinless chicken breasts or thighs (pounded to even thickness).
-
Lemons: 3 large lemons (2 for zesting and juicing, 1 for slicing into rounds to grill).
-
Black Pepper: 1 tablespoon freshly cracked black pepper (coarse grind is best).
-
Olive Oil: 1/4 cup extra-virgin olive oil.
-
Garlic: 4 cloves minced garlic.
-
Salt: 1 teaspoon kosher salt (adjust to taste).
-
Honey or Agave: 1 teaspoon (to balance the acidity).
-
Fresh Herbs: 1 tablespoon fresh thyme or rosemary, finely chopped (optional).
Step-by-Step Instructions
-
Prepare the Marinade: In a medium bowl, whisk together the olive oil, lemon zest, lemon juice, minced garlic, cracked black pepper, salt, honey, and fresh herbs.
-
Marinate the Chicken: Place the chicken in a large resealable bag or a shallow dish. Pour the marinade over the chicken, ensuring every piece is thoroughly coated. Seal the bag and refrigerate for at least 30 minutes, but no longer than 4 hours, as the acid in the lemon juice can begin to “cook” the meat and affect the texture.
-
Preheat the Grill: Preheat your grill to medium-high heat (about 400°F to 450°F). Clean the grates and lightly oil them to prevent sticking.
-
Grill the Chicken: Remove the chicken from the marinade, letting the excess drip off. Place the chicken on the grill. Cook for 6 to 7 minutes per side.
-
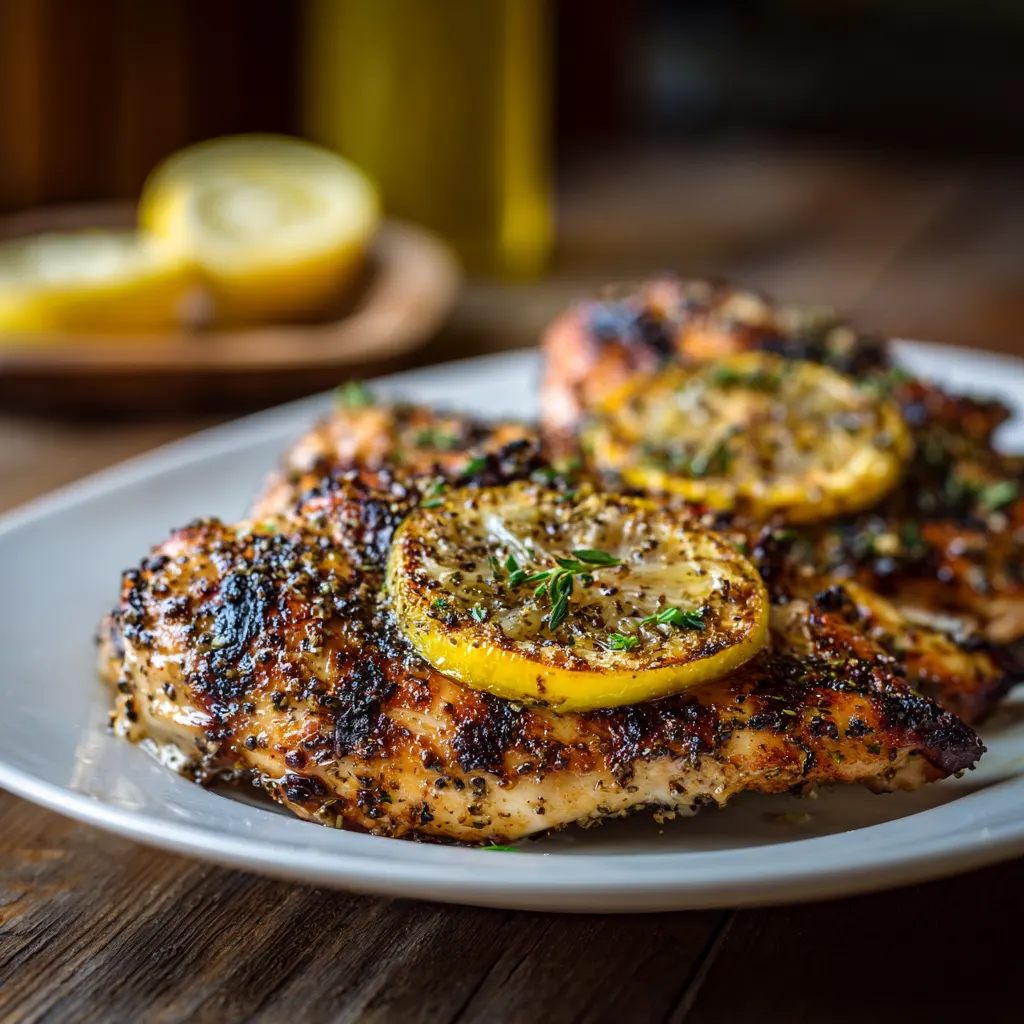
Grill the Lemon Slices: During the last 3 minutes of cooking, place the lemon rounds directly on the grill grates until they have distinct char marks.
-
Check for Doneness: Use a meat thermometer to ensure the thickest part of the chicken reaches an internal temperature of 165°F.
-
Rest and Serve: Transfer the chicken to a platter and top with the grilled lemon slices. Let the meat rest for 5 minutes before slicing to allow the juices to redistribute.
The Science of the Perfect Marinade
A successful grilled chicken dish starts long before the meat hits the grates. The marinade serves two primary purposes: flavoring and tenderizing. In this recipe, the lemon juice acts as the acid, breaking down the tough protein fibers to ensure a tender bite. However, timing is critical. Leaving chicken in a citrus-heavy marinade for too long (over 6 hours) can result in a mealy or rubbery texture.
The inclusion of olive oil is equally important, as it acts as a carrier for the fat-soluble flavors in the pepper and garlic, while also protecting the chicken from the intense direct heat of the grill. To achieve that signature “lemon pepper” punch, we use both the juice and the zest. The juice provides the tartness, while the zest contains the essential oils that provide that deep, floral citrus aroma that doesn’t evaporate under high heat.
Mastering the Grill for Maximum Juiciness
One of the most common challenges with grilled chicken—especially lean breasts—is the tendency to dry out. To prevent this, the first step is ensuring your chicken pieces are of uniform thickness. Pounding the thicker end of a chicken breast with a meat mallet ensures that the entire piece cooks at the same rate, preventing the edges from drying out before the center is done.
When you place the chicken on the grill, resist the urge to move it immediately. Letting the chicken sear undisturbed for the first few minutes allows for the Maillard reaction to occur, creating those savory brown crusts and preventing the meat from sticking to the grates. Once the chicken releases easily from the grill, it’s ready to be flipped. Using a meat thermometer is the only foolproof way to ensure doneness; pulling the chicken off at exactly 165°F ensures it stays succulent.
Customizing Your Flavor Profile
While the classic lemon and pepper combination is iconic, this recipe is highly adaptable to suit different palates. If you prefer a bit of heat, adding a teaspoon of red chili flakes or a dash of cayenne pepper to the marinade can provide a “lemon pepper wet” vibe common in Southern cuisine. For a more Mediterranean flair, increase the amount of fresh oregano and serve the chicken alongside a dollop of tzatziki sauce.
For those who prefer a smokier profile, you can swap the standard kosher salt for smoked sea salt. If you find the lemon too sharp, increasing the honey or adding a tablespoon of Dijon mustard to the marinade can create a creamy, emulsified coating that offers a more mellow, savory finish.
Best Sides and Pairing Suggestions
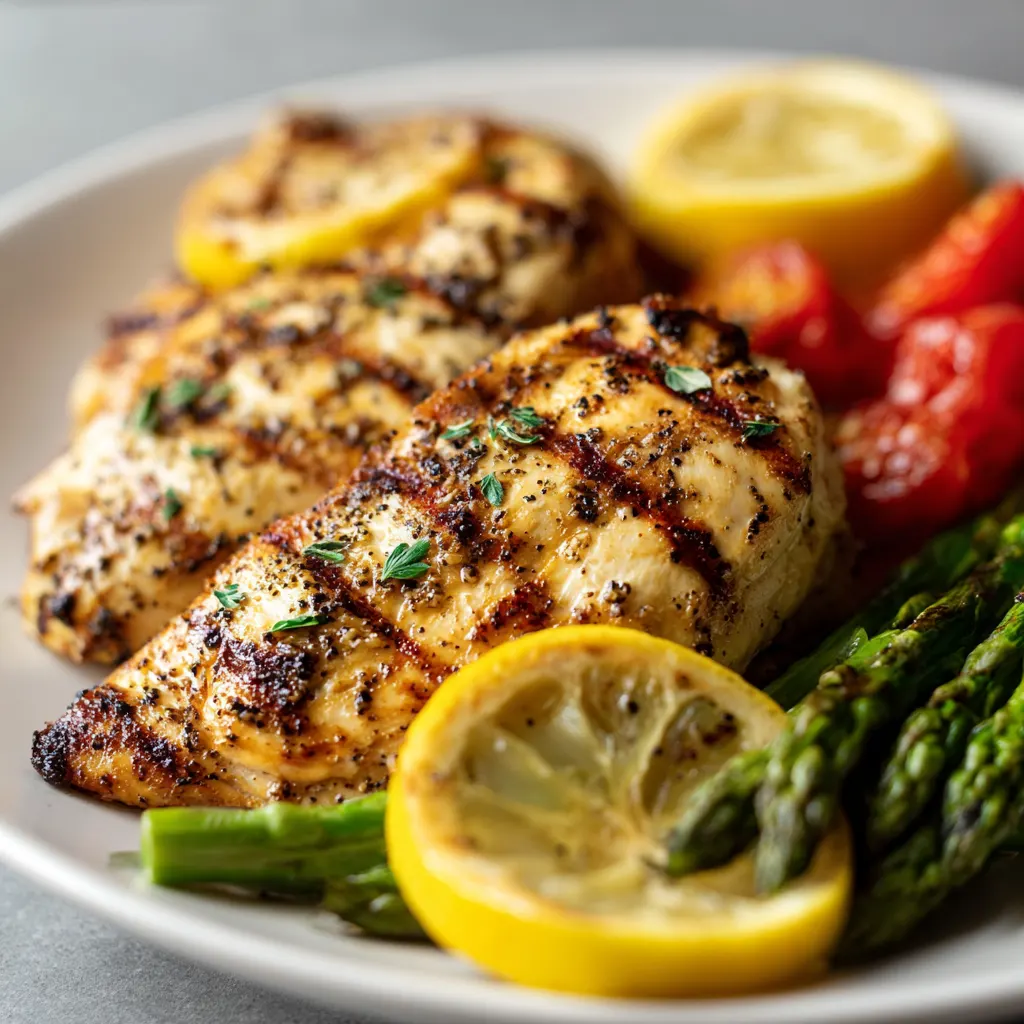
Grilled lemon pepper chicken is an incredibly versatile main dish that pairs beautifully with a variety of sides. For a light summer meal, serve it over a bed of mixed greens with a champagne vinaigrette or alongside a crisp Caesar salad. The bright acidity of the chicken cuts through the richness of creamy dressings perfectly.
If you are looking for something heartier, roasted baby potatoes with rosemary or a chilled quinoa salad with cucumbers and feta make excellent accompaniments. For a low-carb option, grilled asparagus or charred broccolini drizzled with a little extra lemon juice will complement the flavors of the chicken without overpowering them. No matter how you serve it, this dish stands as a testament to the fact that simple, fresh ingredients—when treated with the right technique—produce the most satisfying results.