Homemade Granola Bars: The Perfect Snack

Introduction: Why Homemade Granola Bars Are the Ultimate Snack
In a world of processed snacks filled with questionable ingredients, the humble granola bar stands as a beacon of wholesome goodness. But store-bought versions often fall short, laden with excess sugar and artificial additives. Enter the homemade granola bar: a customizable, healthy, and utterly delicious alternative. Crafting your own granola bars allows you to control exactly what goes into your body, tailor the flavors to your preferences, and save money in the process. Whether you’re fueling a hike, packing a lunchbox, or simply craving a satisfying treat, homemade granola bars are the perfect solution. They’re easy to make, incredibly versatile, and a guaranteed crowd-pleaser. This guide will walk you through everything you need to know to create perfect granola bars every single time.
Section 1: The Building Blocks: Essential Ingredients for Homemade Granola Bars
The beauty of homemade granola bars lies in their adaptability. However, some core ingredients are essential for achieving the desired texture, flavor, and nutritional profile.
Oats: The Heart of the Bar
Rolled oats, also known as old-fashioned oats, form the foundation of most granola bar recipes. Their chewy texture and nutty flavor provide a satisfying base. Quick oats can also be used, but they will result in a denser, less textured bar. Avoid using instant oats, as they tend to become mushy.
Nuts and Seeds: Adding Crunch and Nutrition
Nuts and seeds contribute healthy fats, protein, and a delightful crunch. Popular choices include almonds, walnuts, pecans, cashews, pumpkin seeds, sunflower seeds, and chia seeds. Feel free to experiment with different combinations to find your favorite blend. Toasting the nuts and seeds before adding them to the mix enhances their flavor and adds extra crispness.
Binder: Holding It All Together
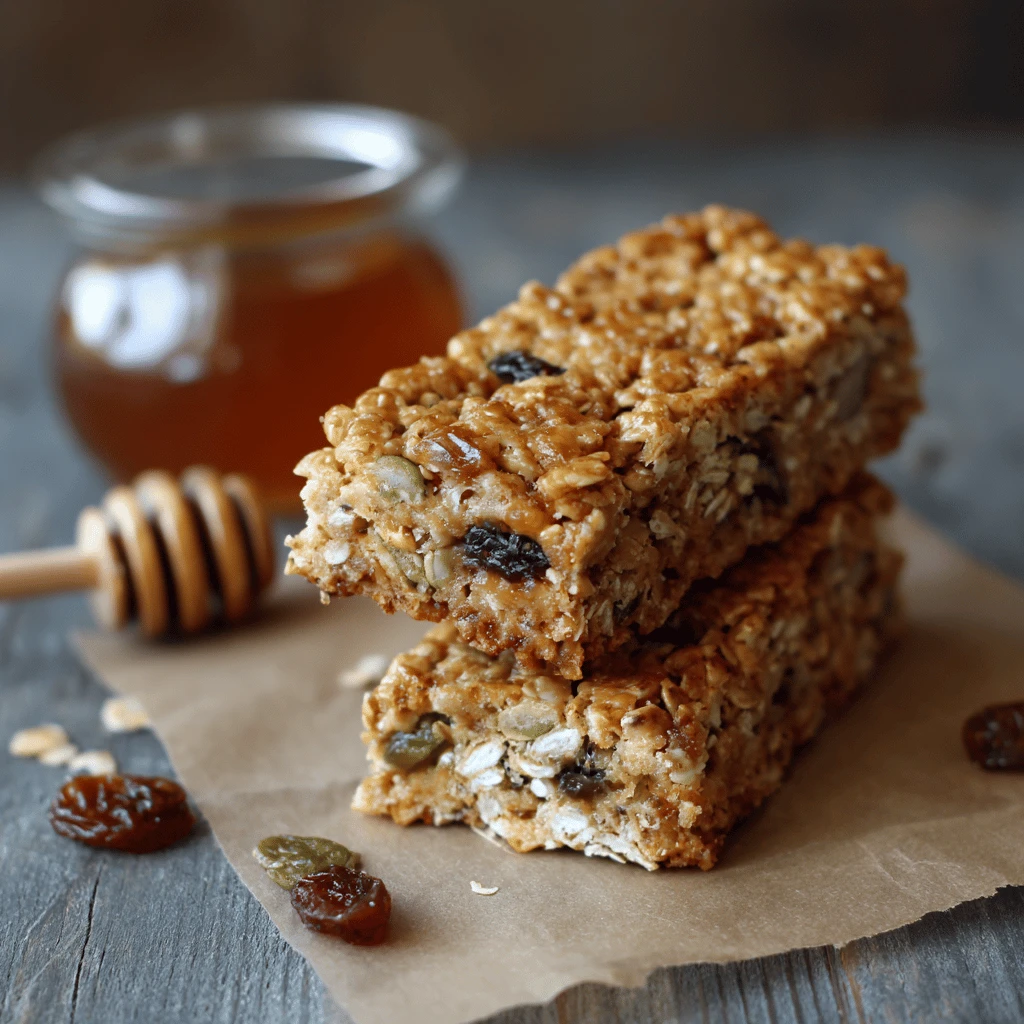
The binder is crucial for ensuring that your granola bars hold their shape. Common binders include honey, maple syrup, brown rice syrup, and agave nectar. These sweeteners not only provide stickiness but also contribute to the overall flavor profile. Using a combination of binders can create a more complex and nuanced taste. For example, honey offers a floral sweetness, while maple syrup provides a rich, caramel-like flavor. Nut butters can also act as a binder, adding both flavor and healthy fats.
Dried Fruit: Sweetness and Chewy Texture
Dried fruit adds natural sweetness and a chewy texture to granola bars. Popular options include raisins, cranberries, chopped dates, apricots, and cherries. Ensure that the dried fruit is chopped into small pieces to prevent the bars from becoming too difficult to cut. You can also soak dried fruit in warm water for a few minutes to soften it before adding it to the mixture.
Optional Add-ins: Customizing Your Bars
This is where you can truly let your creativity shine. Chocolate chips, shredded coconut, spices (such as cinnamon or nutmeg), vanilla extract, protein powder, and even chopped candies can be added to customize your granola bars to your liking. Consider adding a pinch of salt to enhance the sweetness and balance the flavors. For a decadent treat, drizzle melted chocolate over the finished bars.
Section 2: Mastering the Technique: Step-by-Step Granola Bar Creation
Making granola bars at home is a straightforward process, but following these steps will ensure success.
Preparing the Ingredients
Begin by gathering all your ingredients and measuring them accurately. Chop any large nuts or dried fruit into smaller pieces. If desired, toast the nuts and seeds in a dry skillet over medium heat for 5-7 minutes, stirring frequently, until fragrant and lightly browned. This step enhances their flavor and adds a satisfying crunch.
Combining the Dry Ingredients
In a large bowl, combine the oats, nuts, seeds, and any dry add-ins, such as spices or protein powder. Toss everything together to ensure that the ingredients are evenly distributed.
Preparing the Wet Ingredients
In a separate saucepan, combine the binder (honey, maple syrup, etc.) and any nut butter (if using). Heat the mixture over low heat, stirring constantly, until it is smooth and melted. Be careful not to boil the mixture, as this can alter its texture and flavor. Remove the saucepan from the heat and stir in vanilla extract (if using).
Combining Wet and Dry Ingredients
Pour the wet ingredients over the dry ingredients and mix thoroughly until everything is evenly coated. Use a spatula to scrape the bottom of the bowl and ensure that no dry ingredients are left behind. The mixture should be sticky and well combined.
Pressing and Baking (or No-Bake)
For baked granola bars: Preheat your oven to 325°F (160°C). Line an 8×8 inch baking pan with parchment paper, leaving an overhang on the sides for easy removal. Press the granola mixture firmly into the prepared pan, using the back of a spatula or your hands to create an even layer. Bake for 20-25 minutes, or until the edges are golden brown. Let the bars cool completely in the pan before cutting them into squares or rectangles.
For no-bake granola bars: Line an 8×8 inch baking pan with parchment paper, leaving an overhang on the sides for easy removal. Press the granola mixture firmly into the prepared pan, using the back of a spatula or your hands to create an even layer. Cover the pan and refrigerate for at least 2 hours, or until the bars are firm. Cut the bars into squares or rectangles.
Section 3: Troubleshooting Common Granola Bar Problems
Even with the best intentions, granola bars can sometimes present challenges. Here’s how to overcome some common issues.
Bars That Are Too Crumbly
The most common cause of crumbly granola bars is insufficient binder. Make sure you’re using enough honey, maple syrup, or other sticky ingredients to hold the bars together. Another factor could be uneven distribution of the binder. Ensure that the wet ingredients are thoroughly mixed with the dry ingredients. Pressing the mixture firmly into the pan is also crucial for creating a cohesive bar. If you’re still having trouble, try adding a tablespoon or two of nut butter to the mixture for extra binding power.
Bars That Are Too Hard
Overbaking is the primary culprit for hard granola bars. Keep a close eye on the bars while they’re in the oven and remove them as soon as the edges are golden brown. Overcooking can also dry out the bars, making them tough. Using too much binder can also contribute to hardness. Measure your ingredients carefully and avoid adding extra binder. If you’re making no-bake bars, avoid leaving them in the refrigerator for too long, as this can also make them harder.
Bars That Are Too Soft
If your granola bars are too soft, they may not have been baked long enough, or the binder-to-dry ingredient ratio may be off. Ensure that you bake the bars for the recommended time and temperature. If you’re making no-bake bars, ensure that they are refrigerated for sufficient time. If the bars are still too soft, try adding a tablespoon or two of oats to the mixture to absorb excess moisture. Also, avoid using overly ripe or juicy dried fruit, as this can contribute to excess moisture.
Bars That Are Too Sweet
If you find your granola bars too sweet, reduce the amount of honey, maple syrup, or other sweeteners in the recipe. You can also try using a combination of sweeteners, such as honey and unsweetened applesauce, to reduce the overall sugar content. Adding a pinch of salt can also help to balance the sweetness.
Section 4: Flavor Variations: Expanding Your Granola Bar Repertoire
Once you’ve mastered the basic granola bar recipe, the possibilities are endless. Here are a few flavor variations to inspire your creativity.
Chocolate Chip Granola Bars
Add 1/2 cup of chocolate chips to the basic granola bar recipe. For a richer flavor, use dark chocolate chips. You can also drizzle melted chocolate over the finished bars for an extra decadent touch.
Peanut Butter Granola Bars
Add 1/2 cup of peanut butter to the wet ingredients. You can also add chopped peanuts to the dry ingredients for extra crunch. For a twist, try using other nut butters, such as almond butter or cashew butter.
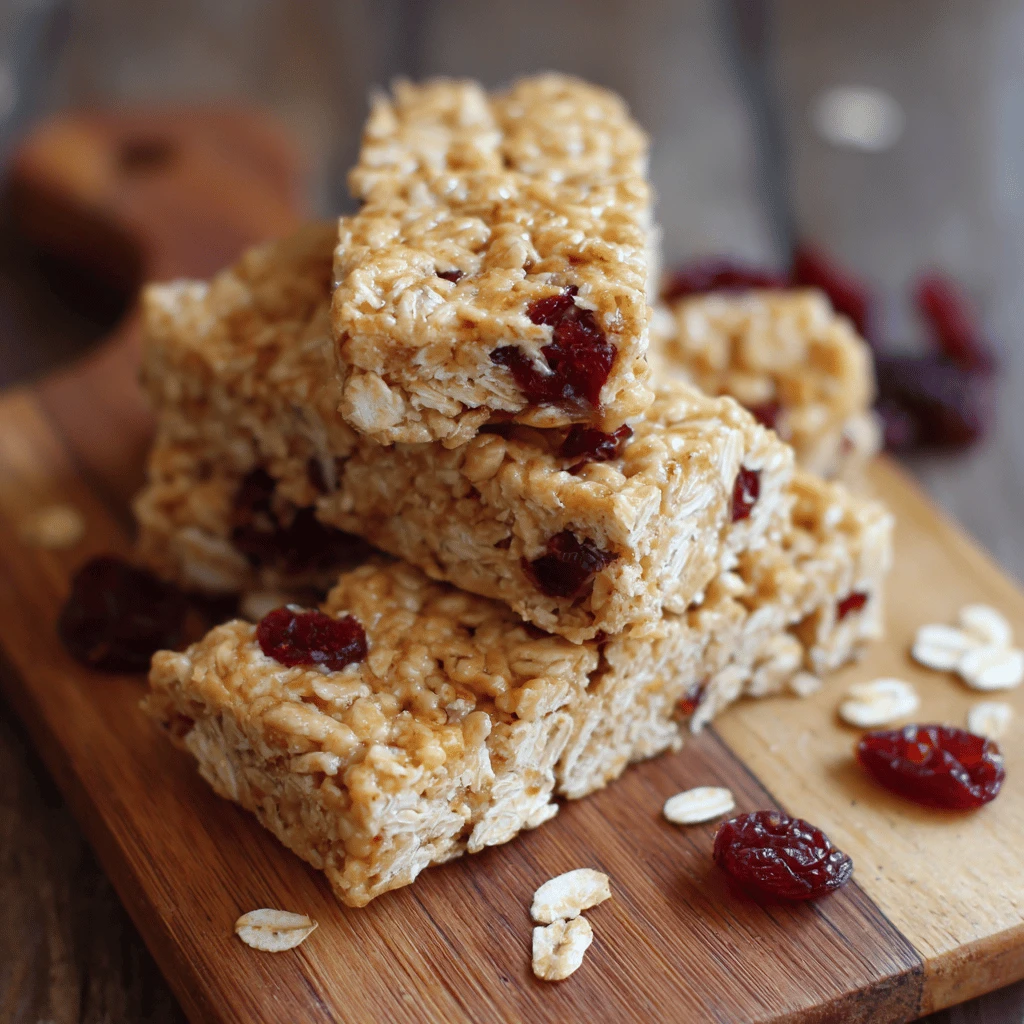
Berry Granola Bars
Add 1/2 cup of dried cranberries, blueberries, or raspberries to the dry ingredients. You can also add a teaspoon of lemon zest for a bright, citrusy flavor.
Pumpkin Spice Granola Bars
Add 1 teaspoon of pumpkin pie spice to the dry ingredients. You can also add 1/2 cup of pumpkin puree to the wet ingredients.
Tropical Granola Bars
Add 1/2 cup of shredded coconut and 1/4 cup of chopped macadamia nuts to the dry ingredients. You can also add chopped pineapple or mango for a tropical twist.
Section 5: Storage and Longevity: Keeping Your Granola Bars Fresh
Proper storage is essential for maintaining the freshness and quality of your homemade granola bars.
Storage Methods
Store baked granola bars in an airtight container at room temperature for up to one week. For longer storage, you can freeze the bars for up to two months. Wrap each bar individually in plastic wrap or parchment paper before freezing. No-bake granola bars should be stored in the refrigerator in an airtight container for up to one week.
Signs of Spoilage
Discard any granola bars that show signs of spoilage, such as mold, discoloration, or an off odor.
Tips for Maintaining Freshness
To prevent granola bars from becoming stale, avoid storing them in a humid environment. If you live in a particularly humid area, consider adding a silica gel packet to the storage container to absorb excess moisture. You can also revive slightly stale granola bars by warming them in the oven for a few minutes.
Frequently Asked Questions (FAQs)
Q: Can I make granola bars without oats?
A: Yes, you can substitute the oats with other grains like quinoa flakes, puffed rice, or a mix of nuts and seeds for a grain-free option.
Q: How do I make vegan granola bars?
A: Simply replace honey with maple syrup, agave nectar, or brown rice syrup. Ensure any chocolate chips or other add-ins are also vegan-friendly.
Q: Can I use a different type of nut butter?
A: Absolutely! Almond butter, cashew butter, sunflower seed butter, or any nut butter you prefer can be used in place of peanut butter.
Q: How do I make sure the granola bars aren’t too sticky?
A: Use the recommended amount of binder and press the mixture firmly into the pan. Chilling the bars properly before cutting also helps.
Q: What if I’m allergic to nuts?
A: Substitute the nuts with seeds like pumpkin seeds, sunflower seeds, or hemp seeds. Ensure all other ingredients are nut-free as well.