Honey Garlic Chicken Meal Prep Bowls: Delicious & Easy Recipe
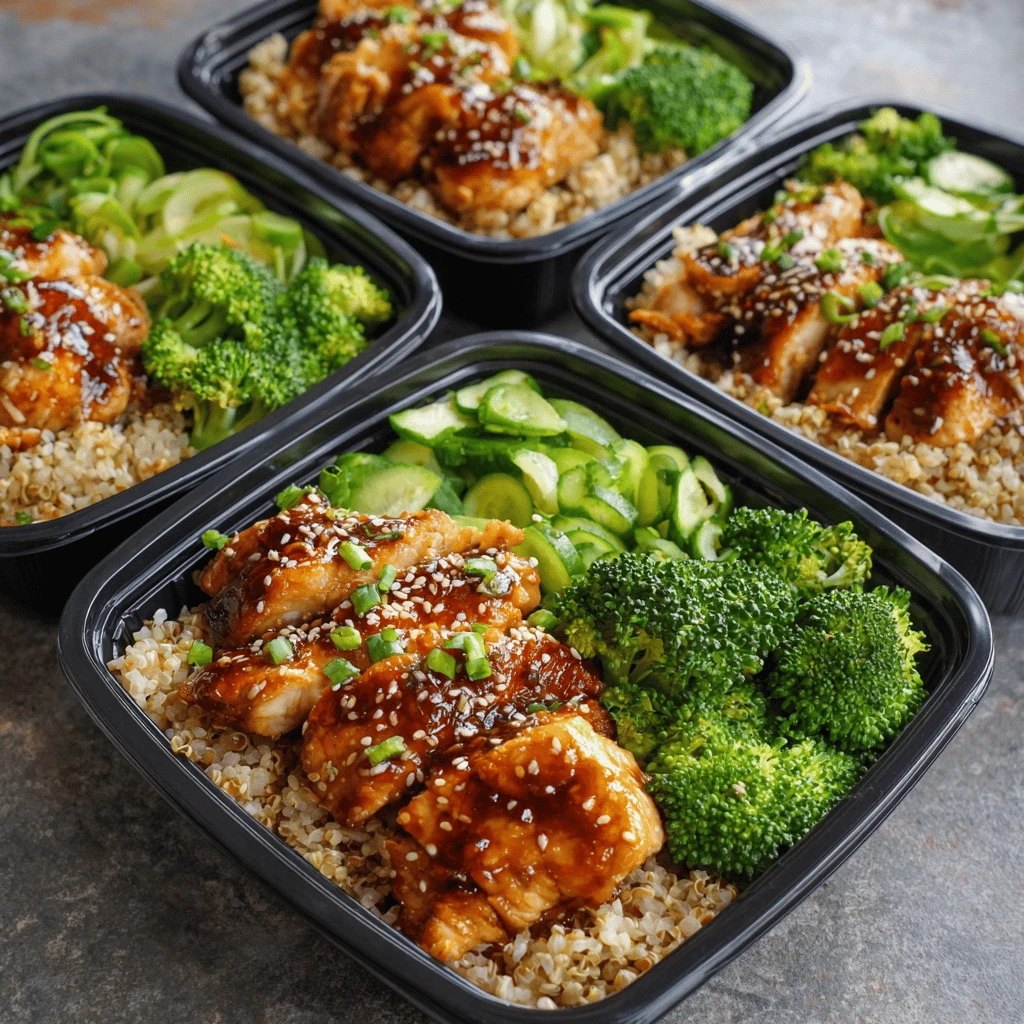
Meal prep is a game-changer for busy individuals seeking healthy and delicious lunches or dinners without the daily cooking hassle. These Honey Garlic Chicken Meal Prep Bowls offer the perfect solution, combining savory, sweet, and protein-packed goodness in one convenient package. This recipe is easy to customize, budget-friendly, and guaranteed to satisfy your taste buds throughout the week.
Why Honey Garlic Chicken Meal Prep Bowls Are a Must-Try
Honey garlic chicken bowls are a popular meal prep choice for several reasons:
- Flavor: The sweet and savory honey garlic sauce is universally appealing.
- Convenience: Preparing a batch on Sunday ensures you have readily available meals for the work week.
- Health: This recipe allows control over ingredients, making it easier to opt for healthier options compared to takeout.
- Customization: You can adjust the protein, vegetables, and grains based on dietary needs and preferences.
- Cost-Effective: Cooking at home is generally cheaper than eating out, especially with meal prep.
This guide covers everything you need to know to create mouthwatering honey garlic chicken meal prep bowls, from the essential ingredients and step-by-step instructions to storage tips and creative variations.
Building Your Perfect Honey Garlic Chicken Meal Prep Bowls
Creating your ideal honey garlic chicken meal prep bowl involves three key components: the chicken, the sauce, and the base/sides.
The Honey Garlic Chicken
The chicken is the star of the show, providing the protein that keeps you feeling full and energized.
Choosing Your Chicken:
- Chicken Breast: A lean and versatile option. Cut into bite-sized pieces before cooking for faster and even cooking.
- Chicken Thighs: More flavorful and often more budget-friendly than breast. Boneless, skinless thighs are recommended for convenience.
Preparing the Chicken:
1. Cut the Chicken: If using chicken breast, cut it into 1-inch cubes. Chicken thighs can also be cubed or left in smaller, more manageable pieces.
2. Marinate (Optional): Marinating the chicken for at least 30 minutes (or even overnight) enhances the flavor and tenderness. Use a portion of the honey garlic sauce as a marinade.
3. Cooking the Chicken:
Pan-Seared: Heat a skillet over medium-high heat with a little oil. Add the chicken in a single layer and cook for 5-7 minutes, flipping halfway through, until cooked through and golden brown.
Baked: Preheat your oven to 400°F (200°C). Toss the chicken with oil and seasoning, then spread in a single layer on a baking sheet. Bake for 15-20 minutes, or until cooked through.
Air Fryer: Preheat your air fryer to 375°F (190°C). Toss the chicken with oil and seasoning, then place in the air fryer basket in a single layer. Cook for 8-10 minutes, shaking halfway through, until cooked through.
Honey Garlic Sauce Recipe:
This sauce is the heart of the recipe. Adjust the sweetness and spice levels to your liking.
-
- Ingredients:
1/4 cup honey
1/4 cup soy sauce (use low-sodium for a healthier option)
2-3 cloves garlic, minced
1 tablespoon rice vinegar (or apple cider vinegar)
1 teaspoon sesame oil
1/2 teaspoon ginger, grated (or 1/4 teaspoon ginger powder)
1/4 teaspoon red pepper flakes (optional, for heat)
1 tablespoon cornstarch (mixed with 2 tablespoons water to create a slurry)
-
- Instructions:
1. In a small saucepan, whisk together honey, soy sauce, minced garlic, rice vinegar, sesame oil, ginger, and red pepper flakes (if using).
2. Bring the mixture to a simmer over medium heat.
3. Add the cornstarch slurry and stir constantly until the sauce thickens, about 1-2 minutes.
4. Remove from heat and let cool slightly.
Combining Chicken and Sauce:
Once the chicken is cooked, pour the honey garlic sauce over it and stir to coat evenly.
Choosing Your Base and Sides
The base and sides contribute to the overall nutritional value and flavor profile of your meal prep bowls.
Base Options:
- Rice: Brown rice, white rice, or jasmine rice are all good choices. Brown rice offers more fiber. Quinoa is also a good alternative.
- Quinoa: A protein-rich and gluten-free grain.
- Noodles: Rice noodles, soba noodles, or even whole wheat pasta can be used.
- Cauliflower Rice: A low-carb option.
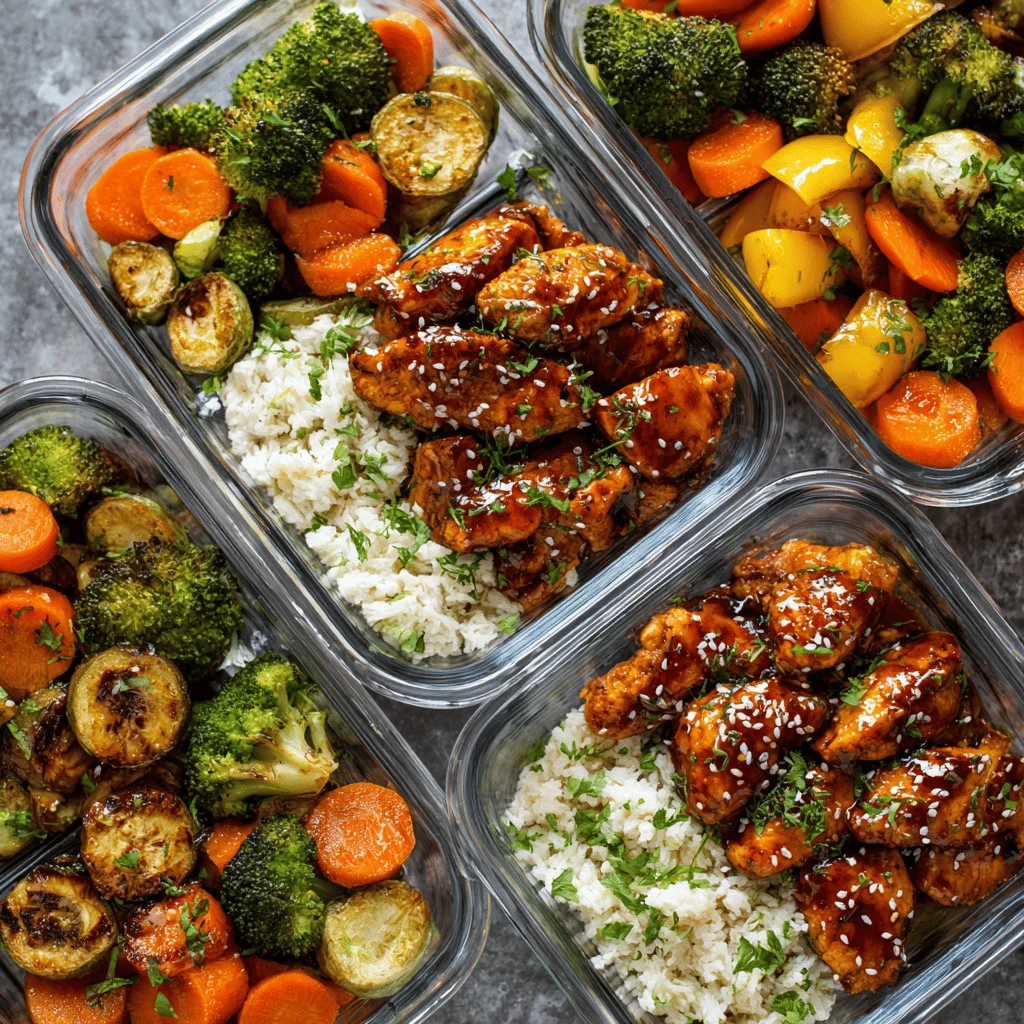
Vegetable Sides:
- Broccoli: Steamed, roasted, or stir-fried.
- Carrots: Roasted, steamed, or raw.
- Bell Peppers: Sliced and stir-fried or roasted.
- Snap Peas: A crisp and sweet addition.
- Edamame: A protein-rich legume.
- Zucchini: Sliced and stir-fried or roasted.
- Asparagus: Roasted or grilled.
Preparing the Base and Sides:
Cook the base (rice, quinoa, noodles, etc.) according to package directions. Prepare the vegetables by roasting, steaming, or stir-frying them to your liking. Roasting vegetables often enhances their flavor.
Assembling Your Meal Prep Bowls
Now comes the fun part: putting everything together!
1. Divide the Base: Portion the cooked rice, quinoa, or noodles evenly into the meal prep containers.
2. Add the Chicken: Top the base with the honey garlic chicken.
3. Arrange the Vegetables: Add your chosen vegetable sides to the bowls.
4. Garnish (Optional): Sprinkle with sesame seeds, chopped green onions, or red pepper flakes for added flavor and visual appeal.
Storage and Reheating Tips
Proper storage and reheating are crucial for maintaining the quality and safety of your meal prep bowls.
Storage:
- Cool Completely: Allow the honey garlic chicken and all components to cool completely before assembling the bowls. This prevents condensation and bacterial growth.
- Airtight Containers: Use airtight containers to keep the food fresh. Glass or BPA-free plastic containers are good options.
- Refrigeration: Store the meal prep bowls in the refrigerator for up to 4-5 days.
Reheating:
- Microwave: The quickest and easiest method. Microwave on high for 2-3 minutes, or until heated through. Stir halfway through to ensure even heating.
- Oven: Preheat your oven to 350°F (175°C). Place the meal prep bowl in an oven-safe dish and heat for 15-20 minutes, or until heated through.
- Skillet: Heat a skillet over medium heat. Add the contents of the meal prep bowl and stir-fry until heated through.
Tips for Best Results:
- Add a splash of water or broth when reheating in the microwave to prevent the chicken and rice from drying out.
- If you’re adding a sauce on top of the bowls, store it separately and add it just before reheating to prevent the base from becoming soggy.
Variations and Customizations
One of the best things about honey garlic chicken meal prep bowls is their versatility. Here are some ideas to customize the recipe to your liking:
-
- Protein Variations:
Tofu: Use firm or extra-firm tofu instead of chicken. Press the tofu to remove excess water, then cube and pan-fry or bake it.
Shrimp: A quick and easy option. Cook the shrimp in the honey garlic sauce until pink and opaque.
Pork: Use pork tenderloin or pork chops, cut into bite-sized pieces and cooked in the same way as the chicken.
-
- Vegetable Variations:
Add greens: Spinach, kale, or bok choy are great additions.
Try different root vegetables: Sweet potatoes, parsnips, or turnips add sweetness and heartiness.
Include pickled vegetables: Pickled carrots, cucumbers, or radishes add a tangy crunch.
-
- Sauce Variations:
Spicy: Add more red pepper flakes or a dash of sriracha for extra heat.
Tangy: Add a squeeze of lemon or lime juice for a brighter flavor.
Savory: Add a teaspoon of Worcestershire sauce or fish sauce for a deeper umami flavor.
-
- Dietary Considerations:
Gluten-Free: Use gluten-free soy sauce (tamari) and ensure all other ingredients are gluten-free.
Low-Carb: Use cauliflower rice or shirataki noodles as the base and load up on non-starchy vegetables.
Vegetarian/Vegan: Use tofu or tempeh as the protein source.
Frequently Asked Questions (FAQ)
Q: How long do honey garlic chicken meal prep bowls last?
A: Properly stored in airtight containers in the refrigerator, honey garlic chicken meal prep bowls will last for 4-5 days.
Q: Can I freeze honey garlic chicken meal prep bowls?
A: While you can freeze them, the texture of the rice and vegetables may change slightly. It’s best to freeze them before adding the sauce, and then add the sauce after reheating.
Q: Can I make the honey garlic sauce ahead of time?
A: Absolutely! The honey garlic sauce can be made up to a week in advance and stored in an airtight container in the refrigerator.
Q: What’s the best way to prevent the chicken from drying out?
A: Don’t overcook the chicken, and add a splash of water or broth when reheating in the microwave. Marinating the chicken beforehand also helps to keep it moist.
Q: Can I use frozen vegetables in my meal prep bowls?
A: Yes, frozen vegetables are a convenient and nutritious option. Just make sure to cook them thoroughly before adding them to your meal prep bowls.