Pumpkin Fudge for Thanksgiving: A Creamy, Dreamy Dessert
Thanksgiving is a time for traditions, family, and, of course, delicious food. While pumpkin pie often steals the show, why not add a new twist to your dessert table with Pumpkin Fudge? This creamy, dreamy confection is surprisingly easy to make and offers a delightful burst of fall flavor that will impress your guests.
The Allure of Pumpkin Fudge
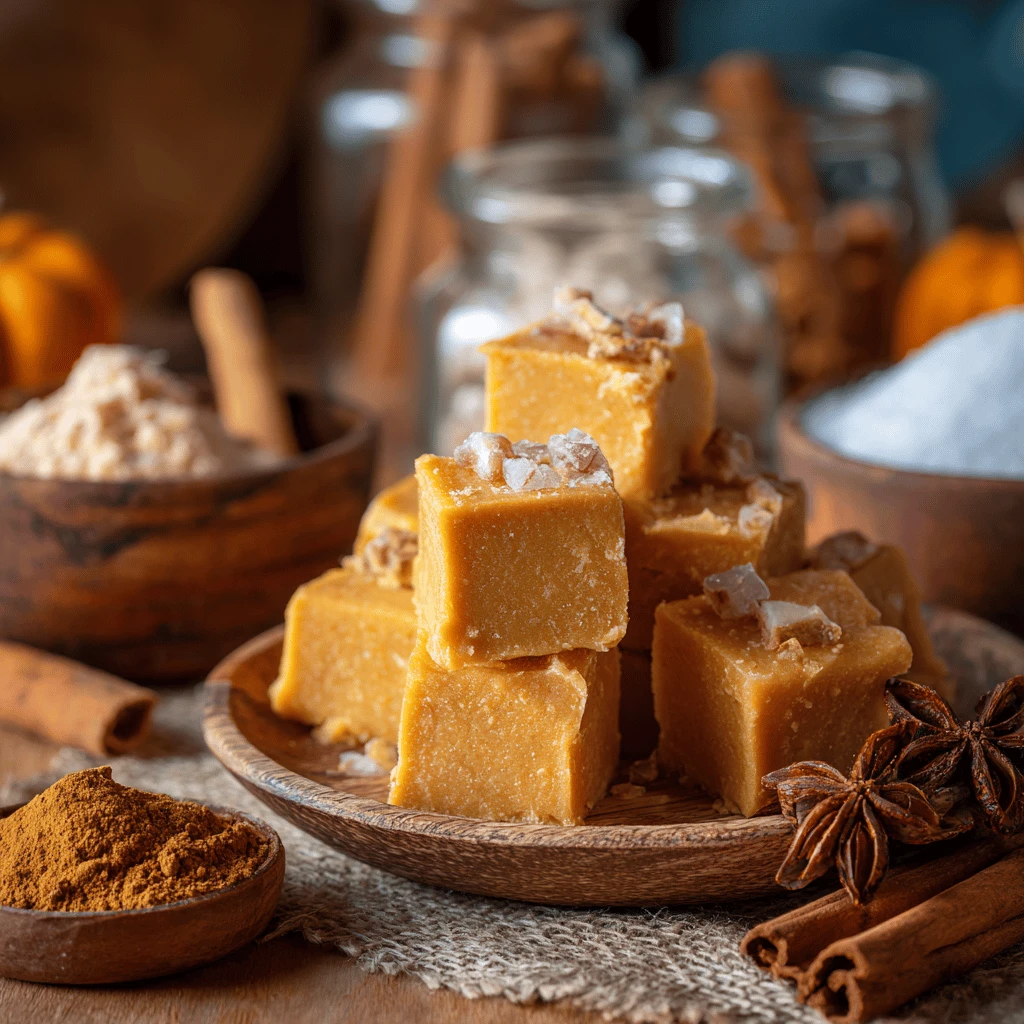
Pumpkin fudge is more than just a sweet treat; it’s an experience. Imagine the smooth, velvety texture melting in your mouth, releasing the warm spices of cinnamon, nutmeg, and cloves, perfectly complemented by the earthy sweetness of pumpkin. It’s a decadent indulgence that captures the essence of autumn in every bite.
Why Choose Pumpkin Fudge Over Pumpkin Pie?
While pumpkin pie is a Thanksgiving staple, pumpkin fudge offers several advantages. It’s easier to make, requires fewer ingredients, and can be prepared well in advance. Plus, it’s a welcome departure from the traditional, offering a unique and exciting flavor profile that will tantalize taste buds. Fudge is also naturally gluten-free (depending on the specific recipe), making it a great option for guests with dietary restrictions.
The Versatility of Pumpkin Fudge
Pumpkin fudge is incredibly versatile. It can be served as a standalone dessert, added to a dessert platter, or even used as a topping for ice cream or other treats. Its rich flavor pairs well with coffee, tea, or even a glass of chilled milk. You can also customize it with different toppings and mix-ins, such as chopped nuts, chocolate chips, or a drizzle of caramel.
Mastering the Art of Pumpkin Fudge: A Step-by-Step Guide
Making pumpkin fudge might seem intimidating, but it’s actually quite simple. With the right recipe and a few key techniques, you can create a batch of perfect fudge that will wow your friends and family.
The Essential Ingredients
The heart of any great pumpkin fudge lies in its ingredients. Here’s what you’ll need to create a truly unforgettable treat:
- Pumpkin Puree: Make sure to use 100% pure pumpkin puree, not pumpkin pie filling. Pie filling contains added spices and sugar, which can throw off the flavor and consistency of your fudge.
- Sugar: Granulated sugar provides the sweetness and structure for the fudge.
- Sweetened Condensed Milk: This key ingredient adds richness and creaminess, giving the fudge its signature melt-in-your-mouth texture.
- Butter: Butter contributes to the fudge’s smooth, velvety texture and enhances its overall flavor.
- White Chocolate Chips: White chocolate chips complement the pumpkin flavor beautifully and create a visually appealing contrast.
- Pumpkin Pie Spice: This blend of warm spices, including cinnamon, nutmeg, ginger, and cloves, is essential for achieving that classic pumpkin spice flavor.
- Vanilla Extract: Vanilla extract enhances the other flavors and adds a touch of elegance.
- Salt: A pinch of salt balances the sweetness and intensifies the other flavors.
The Simple Recipe
Here’s a simple and reliable recipe for homemade pumpkin fudge:
Ingredients:
- 3 cups granulated sugar
- 3/4 cup butter (1 1/2 sticks), cut into pieces
- 2/3 cup evaporated milk
- 1 cup pumpkin puree
- 1 teaspoon pumpkin pie spice
- 1/4 teaspoon salt
- 3 cups white chocolate chips
- 1 teaspoon vanilla extract
Instructions:
1. Prepare the Pan: Line an 8×8 inch baking pan with parchment paper, leaving an overhang on the sides. This will make it easy to remove the fudge later.
2. Combine Ingredients: In a heavy-bottomed saucepan, combine the sugar, butter, evaporated milk, pumpkin puree, pumpkin pie spice, and salt.
3. Cook the Mixture: Cook over medium heat, stirring constantly, until the mixture comes to a full rolling boil.
4. Boil for the Right Time: Continue boiling, stirring constantly, for 5 minutes. Use a candy thermometer to ensure the mixture reaches 235°F (113°C), the soft-ball stage.
5. Remove from Heat: Remove the saucepan from the heat and immediately stir in the white chocolate chips and vanilla extract until smooth and melted.
6. Pour into Pan: Pour the fudge mixture into the prepared baking pan and spread evenly.
7. Chill: Cover the pan with plastic wrap and refrigerate for at least 2 hours, or preferably overnight, to allow the fudge to set completely.
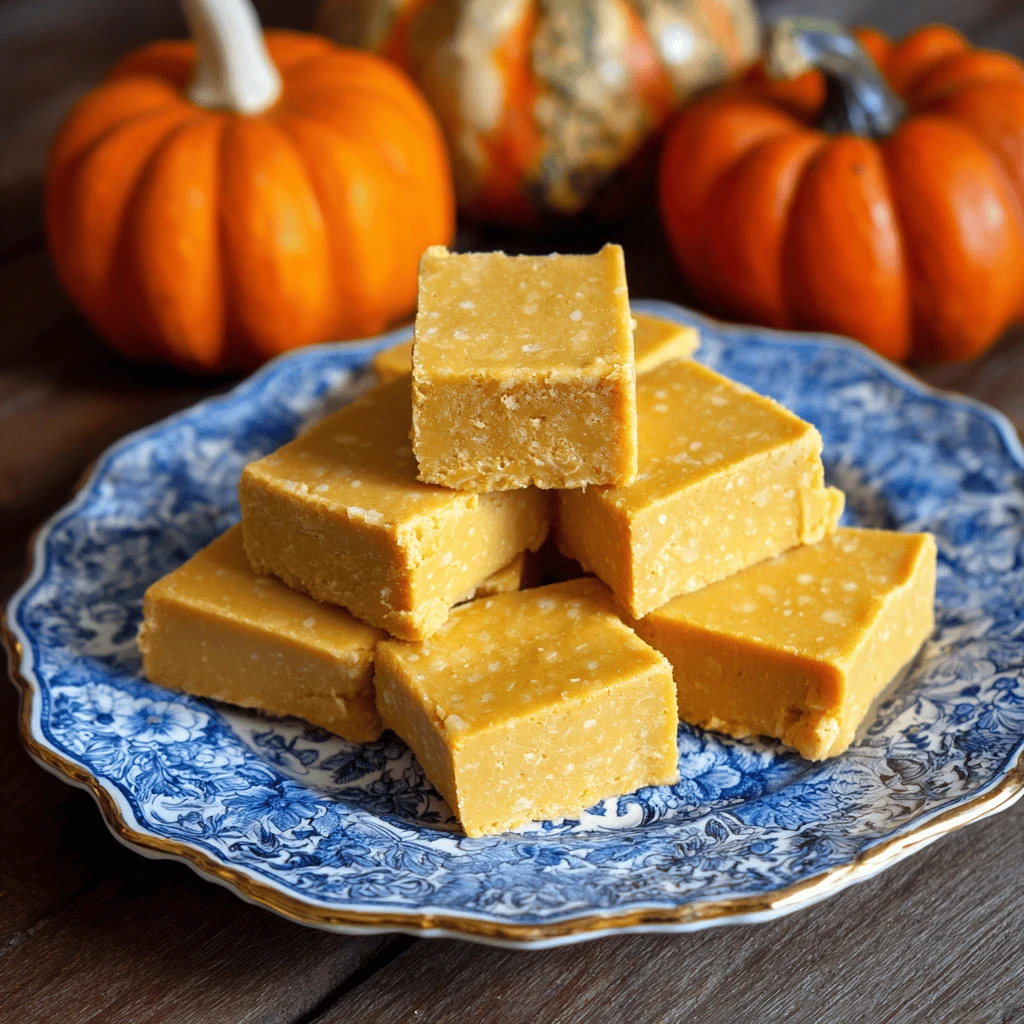
8. Cut and Serve: Once the fudge is firm, use the parchment paper overhang to lift it out of the pan. Cut into small squares and serve.
Expert Tips for Perfect Fudge
- Use a Heavy-Bottomed Saucepan: This will prevent the fudge from scorching and ensure even cooking.
- Stir Constantly: Stirring constantly while cooking is crucial to prevent the fudge from sticking to the bottom of the pan and burning.
- Use a Candy Thermometer: A candy thermometer is the most accurate way to ensure that the fudge reaches the correct temperature. If you don’t have a candy thermometer, you can test the fudge by dropping a small amount into a bowl of cold water. If it forms a soft ball, it’s ready.
- Don’t Overcook: Overcooking the fudge can result in a dry, crumbly texture.
- Chill Completely: Chilling the fudge completely is essential for it to set properly.
Adding Your Personal Touch: Variations and Customizations
One of the best things about pumpkin fudge is its versatility. You can easily customize it to suit your taste preferences and create a truly unique dessert.
Topping Ideas
- Chopped Nuts: Sprinkle chopped pecans, walnuts, or almonds on top of the fudge before it sets for added crunch and flavor.
- Chocolate Chips: Add mini chocolate chips, dark chocolate chips, or even butterscotch chips to the fudge mixture or sprinkle them on top.
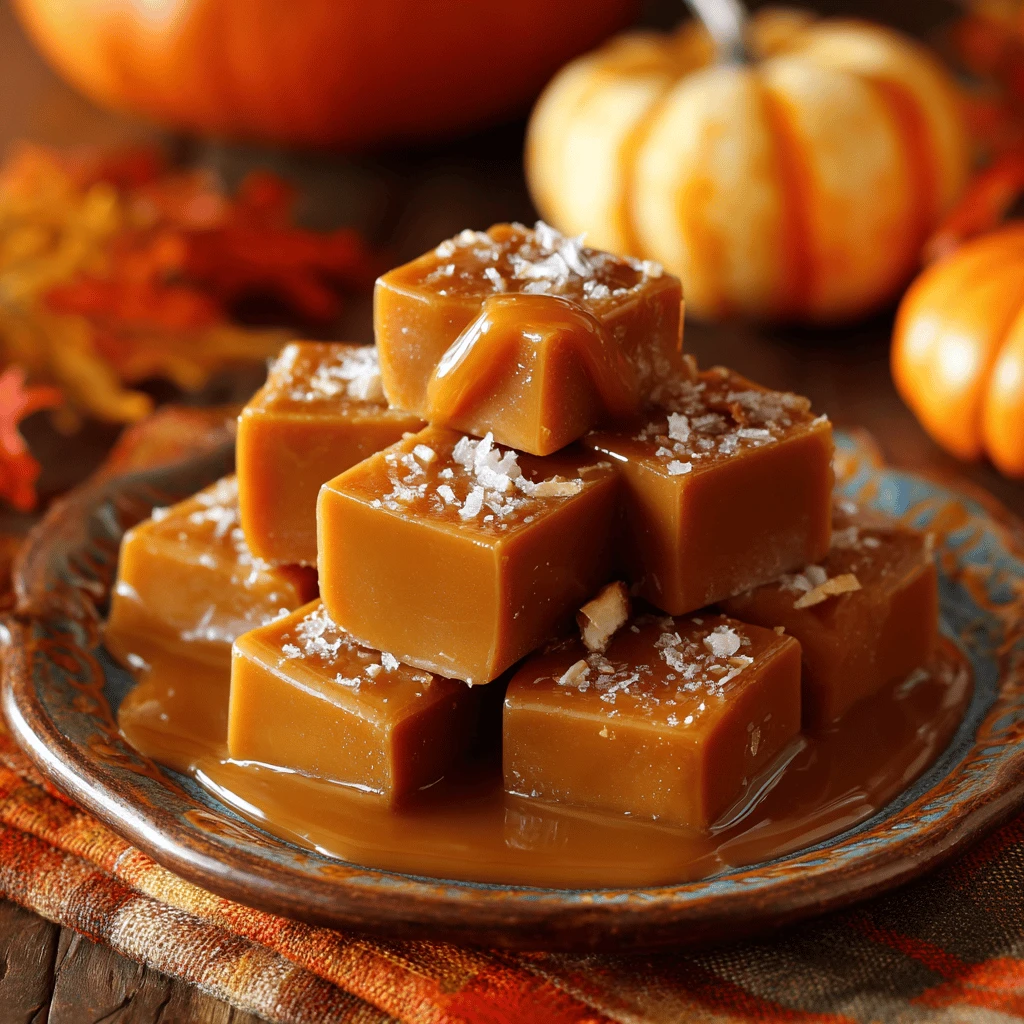
- Caramel Drizzle: Drizzle caramel sauce over the fudge for a decadent and flavorful finish.
- Sea Salt: A sprinkle of sea salt on top of the fudge enhances the sweetness and adds a salty-sweet contrast.
- Sprinkles: For a festive touch, add orange and brown sprinkles to the top of the fudge.
Mix-In Inspirations
- Marshmallow Fluff: Swirl marshmallow fluff into the fudge mixture for a gooey and delicious treat.
- Graham Cracker Crumbs: Add crushed graham crackers to the fudge for a subtle graham cracker flavor.
- Dried Cranberries: Fold dried cranberries into the fudge for a tart and chewy addition.
- Espresso Powder: Add a teaspoon of espresso powder to the fudge mixture for a hint of coffee flavor.
Exploring Different Chocolate Combinations
While white chocolate chips are a classic choice for pumpkin fudge, you can experiment with other chocolate combinations to create unique flavor profiles.
- Dark Chocolate: Use dark chocolate chips instead of white chocolate chips for a richer, more intense flavor.
- Milk Chocolate: Milk chocolate chips will create a sweeter and creamier fudge.
- Semi-Sweet Chocolate: Semi-sweet chocolate chips offer a balance of sweetness and bitterness that pairs well with pumpkin.
Serving and Storing Your Pumpkin Fudge
Once your pumpkin fudge is ready, it’s time to serve and enjoy! Here are some tips for serving and storing your homemade treat.
Presentation Matters: Making Your Fudge Look Its Best
- Cut into Neat Squares: Use a sharp knife to cut the fudge into even squares for a professional look.
- Arrange Artfully: Arrange the fudge squares on a serving platter or tiered stand for an elegant presentation.
- Garnish with Style: Garnish the platter with fresh cranberries, sprigs of rosemary, or a dusting of powdered sugar for a festive touch.
Keeping Your Fudge Fresh and Delicious
- Store in an Airtight Container: Store the fudge in an airtight container at room temperature for up to a week, or in the refrigerator for up to two weeks.
- Separate Layers with Parchment Paper: When storing the fudge, separate the layers with parchment paper to prevent them from sticking together.
- Avoid Direct Sunlight: Store the fudge in a cool, dark place away from direct sunlight to prevent it from melting.
Freezing for Later Enjoyment
Pumpkin fudge can also be frozen for longer storage. Wrap the fudge tightly in plastic wrap and then place it in a freezer-safe bag or container. Freeze for up to two months. Thaw the fudge in the refrigerator overnight before serving.
Pumpkin Fudge FAQs: Addressing Your Burning Questions
Here are some frequently asked questions about pumpkin fudge:
Can I use pumpkin pie filling instead of pumpkin puree?
No, it’s important to use 100% pure pumpkin puree. Pumpkin pie filling contains added spices and sugar that will alter the flavor and consistency of your fudge.
Can I make this fudge without a candy thermometer?
Yes, you can test the fudge by dropping a small amount into a bowl of cold water. If it forms a soft ball, it’s ready. However, a candy thermometer is the most accurate way to ensure that the fudge reaches the correct temperature.
Why is my fudge grainy?
Grainy fudge is often caused by undissolved sugar crystals. Make sure to stir the mixture constantly while cooking to prevent the sugar from crystallizing.
Can I make this fudge ahead of time?
Yes, pumpkin fudge can be made several days in advance. Store it in an airtight container in the refrigerator.
Can I freeze pumpkin fudge?
Yes, pumpkin fudge can be frozen for up to two months. Wrap it tightly in plastic wrap and then place it in a freezer-safe bag or container. Thaw in the refrigerator overnight before serving.
What can I add to pumpkin fudge to make it extra special?
Consider adding chopped pecans, walnuts, or almonds for crunch. Mini chocolate chips, dark chocolate chips, or butterscotch chips will also add a layer of richness. A swirl of marshmallow fluff or a drizzle of caramel sauce will make it even more decadent!