Pumpkin Tartlets for Thanksgiving: A Bite-Sized Celebration
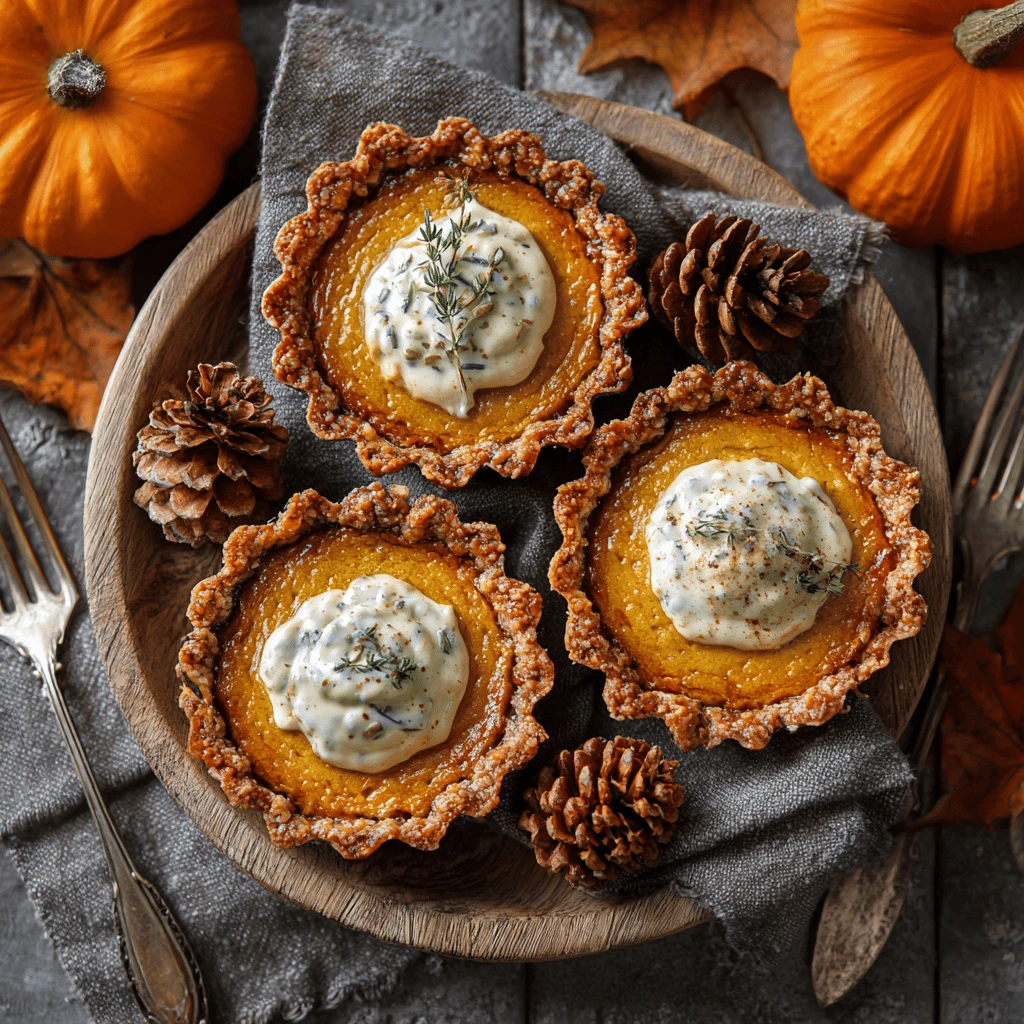
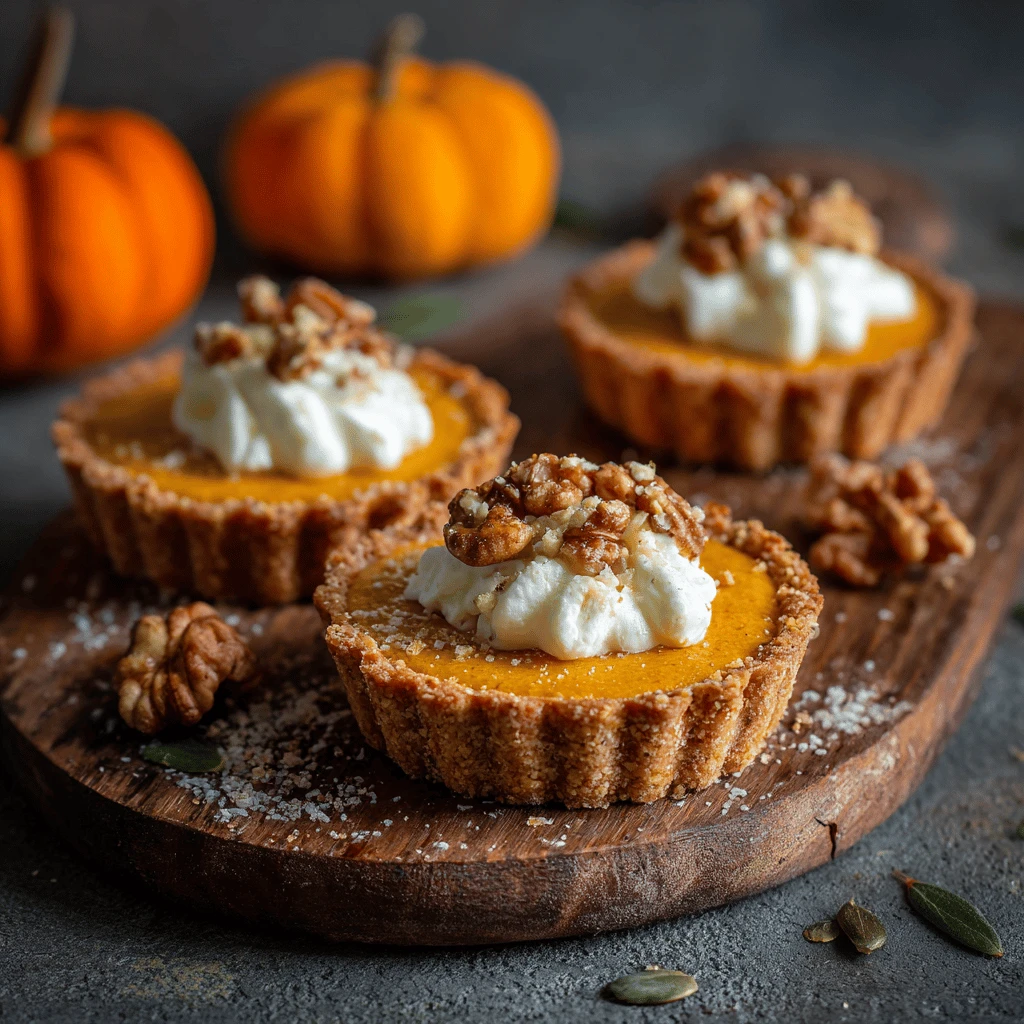
Thanksgiving is a time for grand feasts and cherished traditions. While pumpkin pie often takes center stage, consider adding a delightful twist to your dessert spread with pumpkin tartlets. These miniature marvels offer all the comforting flavors of pumpkin pie in a perfectly portioned and elegant package.
The Allure of Pumpkin Tartlets
Why choose pumpkin tartlets over a traditional pie? Several reasons make them a compelling choice for your Thanksgiving celebration:
- Portion Control: Tartlets naturally offer built-in portion control, helping guests sample a variety of desserts without overindulging.
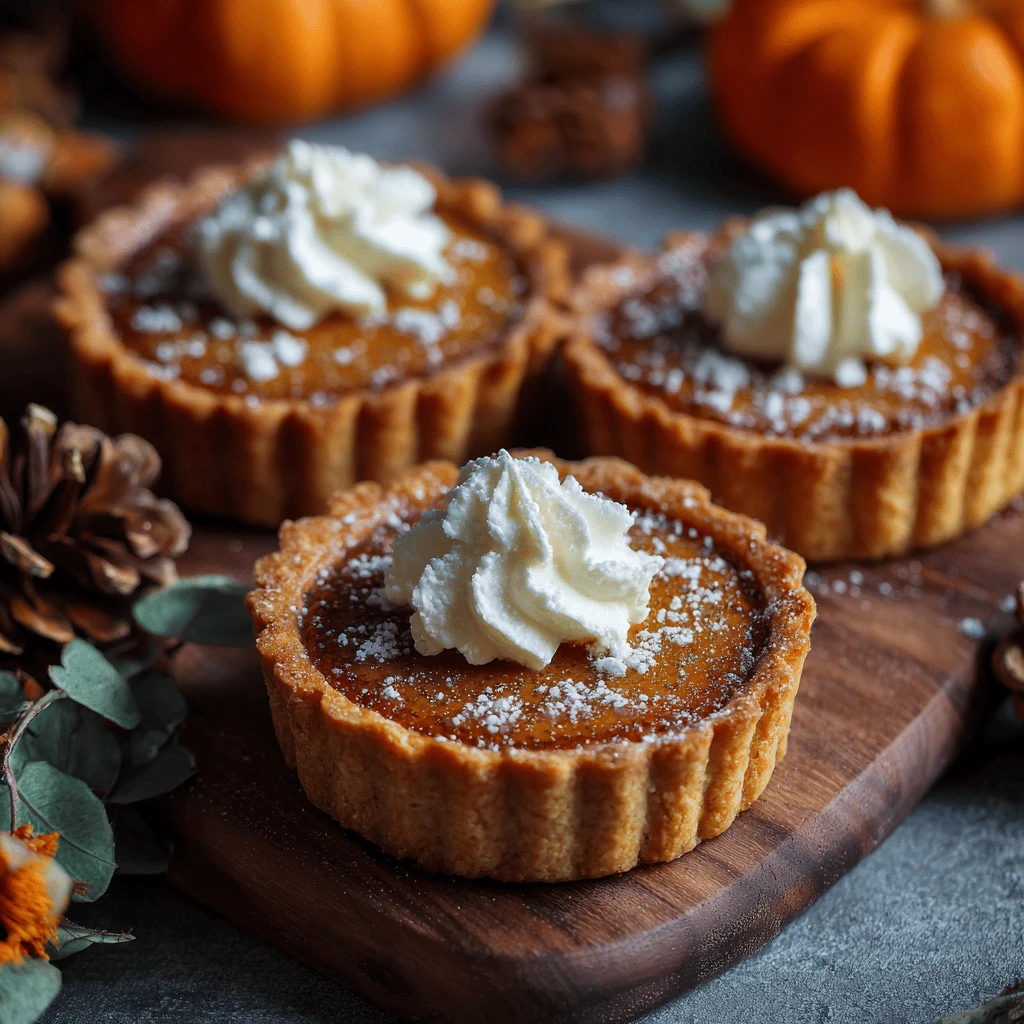
- Elegance and Presentation: Their individual serving size elevates the dessert course, adding a touch of sophistication to your Thanksgiving table. They are ideal for buffets or more formal settings.
- Versatility: Tartlets allow for creative variations in crust, filling, and toppings, enabling you to cater to diverse dietary needs and preferences.
- Easy to Customize: They are small enough that you can experiment with different spices or crusts without committing to a full pie.
- Convenience: While homemade is always appreciated, pre-made crusts can significantly reduce preparation time, making tartlets a convenient option for busy hosts.
Crafting the Perfect Pumpkin Tartlet: A Step-by-Step Guide
Making pumpkin tartlets is a rewarding experience. Here’s a comprehensive guide to ensure your tartlets are a resounding success:
1. The Crust: Foundation of Flavor
The crust is the canvas upon which your pumpkin masterpiece is painted. You have several options, each contributing a unique flavor and texture:
- Classic Pie Crust: This is the traditional choice, offering a buttery and flaky foundation. Use your favorite pie crust recipe or a high-quality store-bought version. For a twist, consider adding spices like cinnamon or ginger to the dough.
- Graham Cracker Crust: A graham cracker crust provides a sweeter and slightly crumbly texture that complements the pumpkin filling beautifully. It’s also a no-bake option, saving you valuable oven space.
- Gingersnap Crust: Gingersnap cookies add a warm, spicy depth to the tartlets. Their robust flavor pairs exceptionally well with pumpkin and creates a festive, autumnal profile.
- Nut Crust: Almond flour or pecan meal can be used to create a gluten-free and flavorful crust. These nut-based crusts add a subtle sweetness and a pleasant nutty aroma.
Blind Baking Your Crusts: For a perfectly crisp crust, blind baking is essential. This involves pre-baking the crusts before adding the filling to prevent them from becoming soggy.
- Prepare the crusts: Press the dough or crumb mixture into the tartlet pans.
- Dock the crusts: Prick the bottom of the crusts with a fork to prevent them from puffing up during baking.
- Line the crusts: Line the crusts with parchment paper and fill with pie weights or dried beans. This will help the crusts maintain their shape.
- Bake: Bake the crusts in a preheated oven until lightly golden.
- Remove weights: Remove the pie weights or beans and continue baking until the crusts are fully golden brown.
2. The Filling: A Symphony of Spices
The pumpkin filling is where the magic truly happens. It’s a delicate balance of pumpkin puree, spices, and sweeteners that evokes the spirit of Thanksgiving.
- Pumpkin Puree: Use 100% pure pumpkin puree, not pumpkin pie filling, for the best flavor and texture.
- Sweeteners: Granulated sugar, brown sugar, maple syrup, or honey can be used to sweeten the filling. Brown sugar adds a molasses-like depth, while maple syrup lends a distinctive autumnal flavor.
- Spices: The spice blend is crucial to achieving the characteristic pumpkin pie flavor. Cinnamon, ginger, nutmeg, and cloves are the classic choices. Experiment with allspice or cardamom for a unique twist. Pumpkin pie spice blend is a convenient option for those who prefer a pre-mixed blend.
- Dairy: Evaporated milk or heavy cream adds richness and creaminess to the filling. For a dairy-free option, use coconut cream or cashew cream.
- Eggs: Eggs bind the filling together and provide structure.
Making the Filling:
- In a large bowl, whisk together the pumpkin puree, sweeteners, spices, and salt.
- Add the evaporated milk or heavy cream and whisk until smooth.
- Whisk in the eggs until well combined.
- Pour the filling into the prepared tartlet crusts.
3. Baking to Perfection:
Baking time will vary depending on the size of your tartlets and your oven. Generally, tartlets bake for 20-30 minutes at 350°F (175°C). The filling should be set around the edges but still slightly wobbly in the center.
- Preventing Cracks: To minimize cracking, bake the tartlets at a lower temperature for a longer time. You can also place a pan of hot water on the lower rack of the oven to create steam, which helps to keep the filling moist.
- Checking for Doneness: Insert a toothpick into the center of a tartlet. If it comes out clean or with a few moist crumbs, the tartlets are done.
- Cooling: Allow the tartlets to cool completely before serving. This will allow the filling to set fully and prevent them from falling apart.
4. Toppings and Garnishes: Adding the Finishing Touch
The right topping can elevate your pumpkin tartlets from delicious to dazzling. Here are some popular options:
- Whipped Cream: A classic topping that adds a light and airy texture. You can flavor the whipped cream with vanilla extract, cinnamon, or a touch of maple syrup.
- Cinnamon Sugar: A simple yet elegant topping that adds a touch of sweetness and spice.
- Pecan Pieces: Toasted pecan pieces add a crunchy texture and a nutty flavor that complements the pumpkin filling.
- Caramel Sauce: Drizzled caramel sauce adds a decadent touch and enhances the sweetness of the tartlets.
- Chocolate Shavings: Dark or milk chocolate shavings add a touch of richness and sophistication.
- Candied Ginger: Candied ginger provides a spicy and sweet contrast to the pumpkin filling.
5. Serving and Storage:
Pumpkin tartlets are best served at room temperature or slightly chilled. They can be stored in the refrigerator for up to 3 days. Cover them loosely with plastic wrap or store them in an airtight container.
- Make-Ahead Tip: You can make the tartlet crusts and pumpkin filling ahead of time and store them separately in the refrigerator. Assemble and bake the tartlets just before serving.
- Freezing: Pumpkin tartlets can be frozen for up to 2 months. Wrap them individually in plastic wrap and then place them in a freezer-safe container. Thaw them in the refrigerator before serving.
Variations and Creative Twists
Pumpkin tartlets offer a canvas for culinary creativity. Here are some ideas to personalize your recipe:
- Spice it Up: Experiment with different spices, such as cardamom, allspice, or even a pinch of cayenne pepper for a subtle kick.
- Add Chocolate: Swirl melted chocolate into the pumpkin filling or add chocolate chips to the crust.
- Infuse with Coffee: Add a teaspoon of instant coffee powder to the filling for a mocha-inspired flavor.
- Caramel Pecan Tartlets: Top the tartlets with a layer of caramel sauce and toasted pecans before baking.
- Gingerbread Tartlets: Use a gingerbread crust and add a touch of molasses to the filling for a festive twist.
- Vegan Pumpkin Tartlets: Use a vegan pie crust, coconut cream, and maple syrup to create a delicious and dairy-free version.
- Mini Pumpkin Cheesecakes: Add cream cheese to the filling for a richer, cheesecake-like flavor.
Troubleshooting Common Tartlet Issues
- Soggy Crust: Blind bake the crust properly. Ensure the oven is hot enough and the crust is fully baked before adding the filling.
- Cracked Filling: Bake at a lower temperature for a longer time. Add a pan of hot water to the oven to create steam.
- Filling Not Setting: Ensure the oven temperature is accurate. Bake until the filling is set around the edges but still slightly wobbly in the center.
- Tartlets Sticking to Pans: Grease the tartlet pans thoroughly before pressing in the crust. Allow the tartlets to cool completely before removing them from the pans.
Pumpkin Tartlets: A Thanksgiving Tradition in the Making
Pumpkin tartlets are a delightful addition to any Thanksgiving celebration. Their individual size, elegant presentation, and customizable nature make them a perfect choice for both casual gatherings and formal dinners. With a little planning and creativity, you can create pumpkin tartlets that will impress your guests and become a cherished Thanksgiving tradition. Embrace the flavors of fall and create a bite-sized celebration with these delectable pumpkin tartlets.
FAQ: Addressing Your Pumpkin Tartlet Questions
Q: Can I use store-bought pie crust for pumpkin tartlets?
A: Yes, store-bought pie crust is a convenient option for making pumpkin tartlets. Choose a high-quality brand for the best flavor and texture.
Q: How do I prevent my pumpkin tartlets from cracking?
A: Bake the tartlets at a lower temperature (325°F or 160°C) for a longer time. You can also place a pan of hot water on the lower rack of the oven to create steam.
Q: Can I make pumpkin tartlets ahead of time?
A: Yes, you can make the tartlet crusts and pumpkin filling ahead of time and store them separately in the refrigerator. Assemble and bake the tartlets just before serving.
Q: How long do pumpkin tartlets last?
A: Pumpkin tartlets can be stored in the refrigerator for up to 3 days. Cover them loosely with plastic wrap or store them in an airtight container.
Q: Can I freeze pumpkin tartlets?
A: Yes, pumpkin tartlets can be frozen for up to 2 months. Wrap them individually in plastic wrap and then place them in a freezer-safe container. Thaw them in the refrigerator before serving.
Q: What can I use instead of evaporated milk in pumpkin tartlets?
A: You can use heavy cream, coconut cream, or cashew cream as a substitute for evaporated milk.