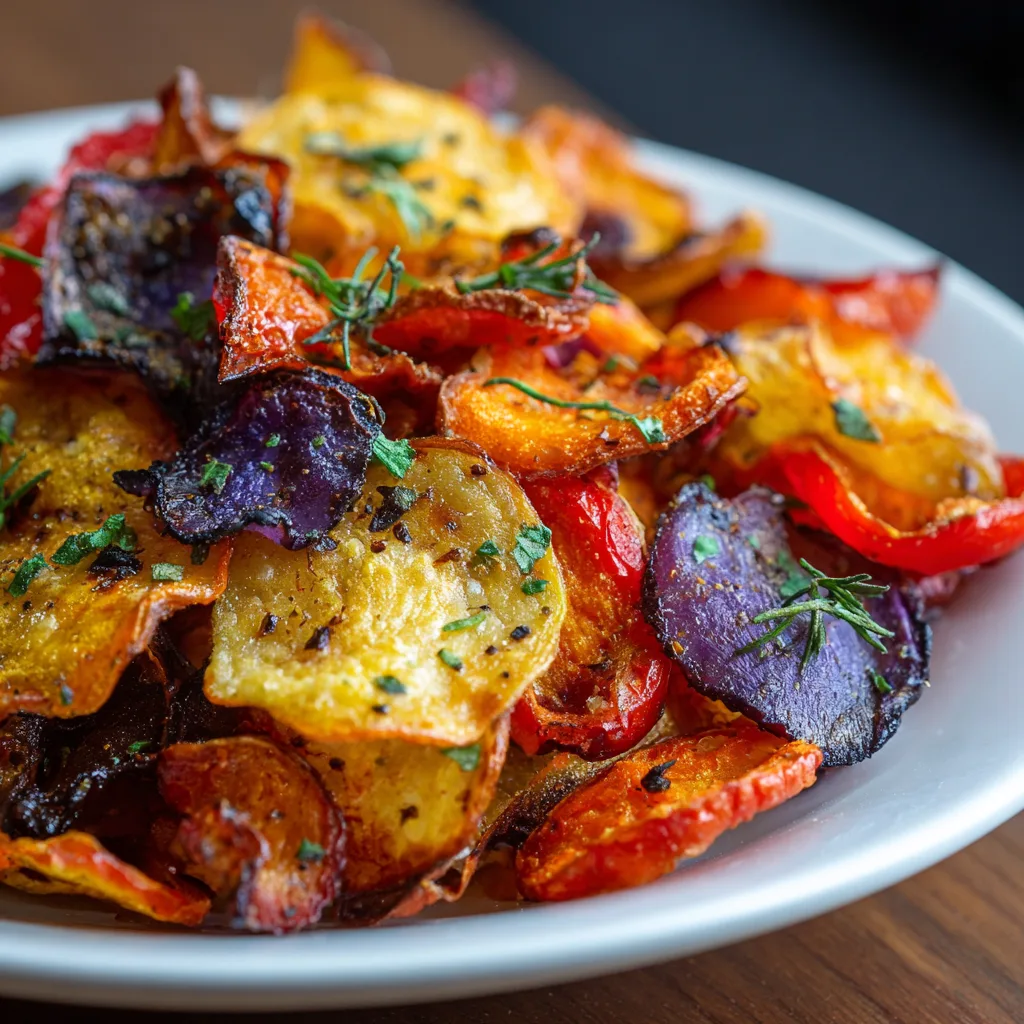
Embracing the shift toward healthier snacking doesn’t mean sacrificing the satisfying crunch of a well-made chip. Homemade roasted vegetable chips offer a delicious, fiber-rich, and highly customizable alternative to their heavily processed, store-bought counterparts. By mastering a few key techniques—chief among them precise slicing and moisture control—anyone can transform humble root vegetables and hearty greens into light, brittle, and deeply flavorful crisps perfect for solo snacking or serving alongside dips.
Ingredients
-
1 large Sweet Potato (about 8 oz), peeled
-
1 medium Red Beet (about 6 oz), peeled
-
1 medium Parsnip (about 4 oz), peeled
-
1 medium Zucchini
-
3 tablespoons Extra Virgin Olive Oil (or Avocado Oil)
-
1 teaspoon Fine Sea Salt, plus extra for sweating
-
½ teaspoon Garlic Powder
-
½ teaspoon Dried Thyme
-
¼ teaspoon Black Pepper
Step-by-Step Instructions
-
Preheat & Prepare: Preheat your oven to 375°F (190°C). Line two large baking sheets with parchment paper or, ideally, place oven-safe wire racks atop the baking sheets to promote optimal air circulation.
-
Slice Thinly: The secret to consistent crispiness is uniform, thin slicing. Use a sharp mandoline slicer set to 1/16th or 1/8th inch thickness to slice all vegetables. If slicing by hand, aim for paper-thin slices.
-
Manage Moisture: Moisture is the enemy of crispiness. Place the high-moisture vegetables (beets and zucchini) in separate bowls. Sprinkle lightly with extra salt and allow them to ‘sweat’ for 15–20 minutes. This draws out excess water.
-
Dry and Season: Pat the sweating vegetables completely dry using paper towels or a clean kitchen towel—this step is crucial. Combine the dried slices with the parsnip and sweet potato slices in a large bowl. Drizzle with olive oil and toss with the 1 teaspoon of sea salt, pepper, garlic powder, and thyme until every slice is lightly and evenly coated.
-
Arrange and Roast: Arrange the slices on the prepared baking sheets in a strict single layer, ensuring no slices overlap. Keep different vegetable types grouped together on separate trays or sections, as they have varied cooking times.
-
Bake and Flip: Bake for 15 minutes. Rotate the pans between racks, flip the chips using tongs, and return to the oven for another 5–10 minutes.
-
Monitor Closely: Watch the chips carefully past the 20-minute mark. Thinner slices and less-starchy vegetables (like parsnips) will finish first. Remove any chips that are deeply golden brown and crisp, then return the remaining chips to the oven until they are done.
-
Cool Completely: Remove the trays and let the chips cool completely on the baking sheet or wire rack. They will crisp up significantly as they cool to room temperature.
Selecting the Perfect Produce for Maximum Crispness
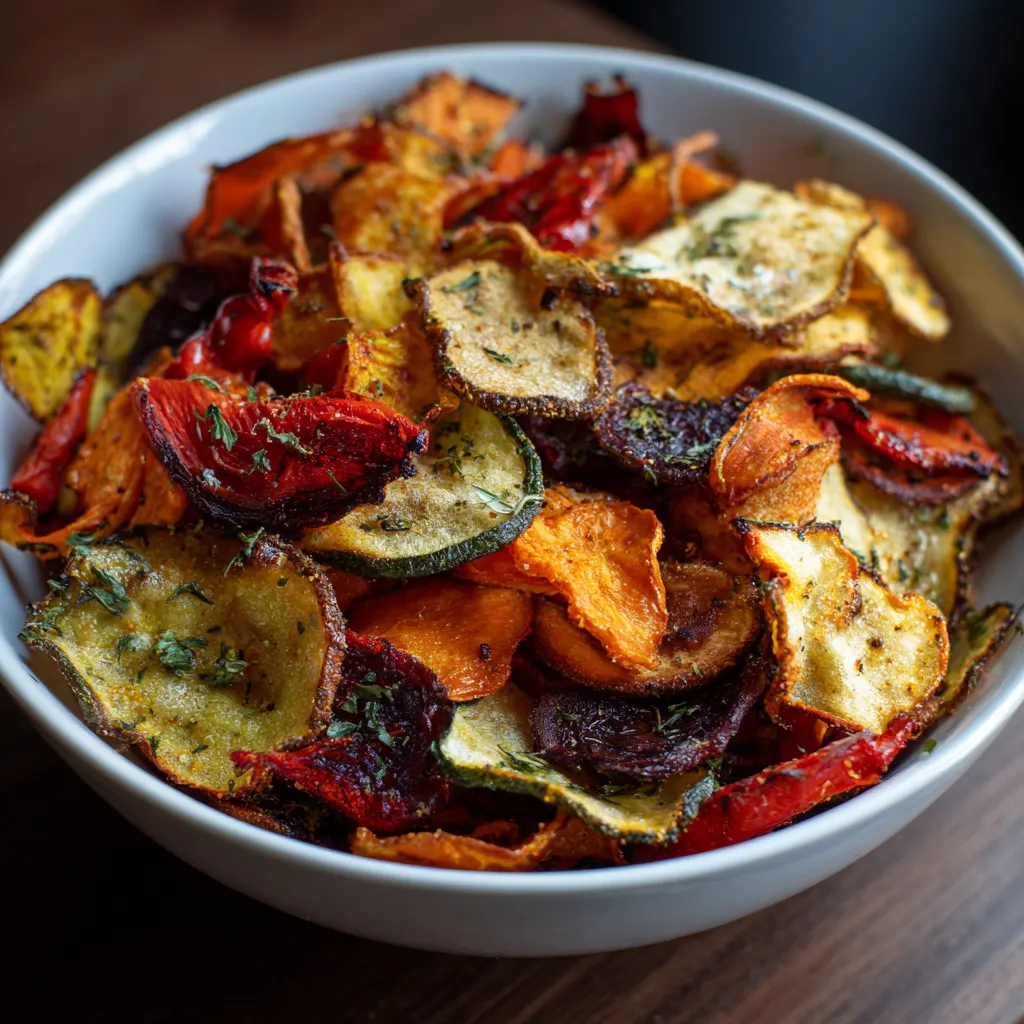
The journey to perfect veggie chips begins with smart selection. While nearly any firm vegetable can be turned into a chip, results are generally categorized based on moisture and starch content. Root vegetables are the most popular choice due to their density, but high-water-content vegetables require special preparation to reach true crispness.
Best Vegetables for Roasting:
-
Root Vegetables (High Starch/Density): Sweet potatoes, white potatoes (Yukon Gold or Russet), parsnips, turnips, rutabagas, and taro. These crisp up beautifully due to their starch content, but starchy potatoes benefit from a pre-soak.
-
Denser Veggies (Moderate Moisture): Beets (red and golden) and carrots. Beets add beautiful color and an earthy sweetness but require thorough drying.
-
High-Moisture Veggies: Zucchini, yellow squash, and even leafy greens like kale and Brussels sprout leaves. These are the most challenging to crisp and absolutely require a moisture-removal technique before baking.
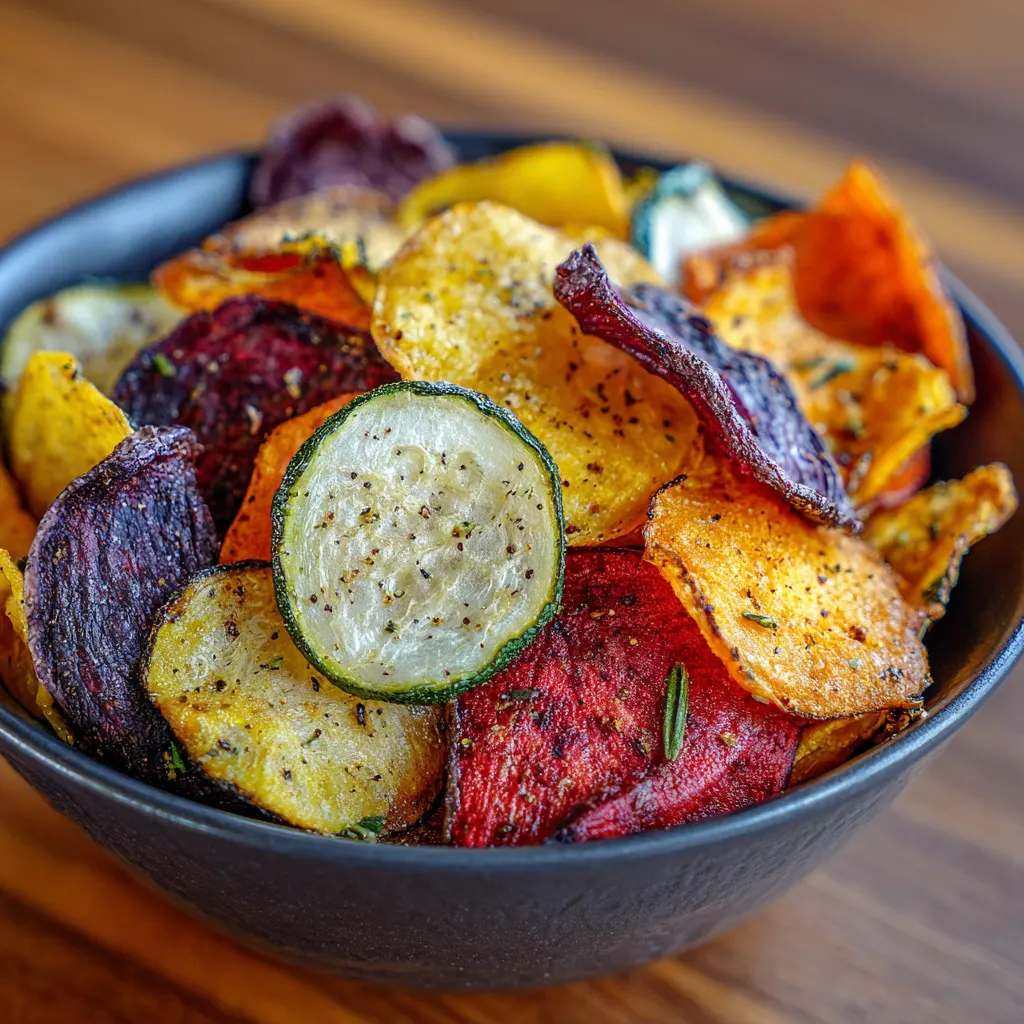
The Golden Rule of Slicing:
The single most important step in achieving a crispy chip is cutting the vegetable into uniform, paper-thin slices, ideally between 1/16th and 1/8th of an inch thick. A manual or electric mandoline slicer is an indispensable tool here, as it ensures consistency. Inconsistent thickness leads to uneven cooking—some chips burn while others remain soggy. If using a standard knife, extreme care and patience are required to maintain an even hand.
Essential Moisture Management:
Before seasoning, moisture must be mitigated. For starchy root vegetables like potatoes, soaking the slices in cold water for 30 minutes draws out excess starch, which helps prevent sticking and promotes a light, brittle texture. For high-moisture vegetables like zucchini and beets, the best method is “sweating”: toss the slices lightly with salt and let them rest on paper towels for 15–20 minutes. The salt will draw the water out. Afterward, pat them completely dry with a fresh paper towel before proceeding to the oiling and seasoning phase.
Precision Roasting: Temperature, Tools, and Technique
Roasting is a delicate balance of dehydration and light caramelization. The perfect chip is achieved not just by the temperature setting, but by utilizing the right tools and mastering the timing.
Choosing Your Heat Strategy:
There are two primary approaches to oven temperature, each with its merits:
-
High-Heat (Fast) Roasting (375°F–400°F / 190°C–200°C): This method is quicker (20–25 minutes total) and results in richer browning and intense flavor development. It requires vigilant monitoring, as the chips can transition from perfectly crisp to burnt in a matter of seconds. This is often preferred for denser root vegetables like carrots and parsnips.
-
Low-Heat (Slow) Baking (200°F–300°F / 95°C–150°C): This gentle approach is ideal for high-moisture vegetables and leafy greens. By baking slowly over 40–60 minutes (sometimes with a slight temperature increase near the end), the moisture is slowly evaporated without causing burning or excessive browning.
Regardless of the temperature chosen, the use of wire racks placed on the baking sheets is highly recommended. The rack elevates the slices, allowing heat and air to circulate completely around them. This technique is superior to parchment paper alone for achieving maximum, all-over crispness.
The Monitoring Mandate:
Roasting chips is not a hands-off process. Set a timer, but be prepared to check and intervene sooner. Different vegetables cook at dramatically different speeds. Always arrange slices in a single layer without touching. At the halfway point, rotate the baking sheets between oven racks and flip each individual chip. Once chips start to curl, color at the edges, and feel dry, they are nearing completion. Remove the finished chips as they are ready, leaving the others to continue baking. Remember: if the chips feel slightly soft coming out of the oven, they will almost always firm up and crisp fully as they cool.
Enhancing Flavor: Seasoning Blends and Dip Pairings
While salt and pepper provide the necessary foundation, layering various spices and herbs is key to creating a truly optimized, gourmet snack. The oil in the recipe acts as the carrier for the seasoning, ensuring even distribution and flavor adherence.
Popular Seasoning Combinations:
-
Classic Savory: Sea salt, black pepper, garlic powder, and a dash of onion powder.
-
Herbal Blend: Dried thyme, rosemary, and sage. Tossed with a neutral oil (like grapeseed or avocado oil) to let the herb flavor shine.
-
Spicy & Smokey: Chili powder, paprika (smoked or sweet), and a pinch of cayenne pepper.
-
Cheesy Umami: A sprinkle of nutritional yeast for a vegan “cheesy” flavor, or finely grated Parmesan cheese (added toward the end of the baking process to prevent burning).
-
Mediterranean: Dried oregano, marjoram, and a touch of lemon zest added after baking.
Creating the Ultimate Dip Pairing:
Roasted veggie chips are an excellent vehicle for flavorful, healthy dips. The key is matching the chip’s texture and flavor profile to the dip:
-
Earthy Root Chips (Beet, Parsnip): Pair well with creamy, slightly acidic dips. Try a Buttermilk-Herb Dipping Sauce (yogurt, buttermilk, fresh parsley, lemon zest) or a classic Roasted Red Pepper Hummus.
-
Sweet Potato/Carrot Chips: Their inherent sweetness complements spicy or savory notes. A Spicy Mayo (mayonnaise or Greek yogurt, hot sauce, lime juice) or a rich, earthy Guacamole works perfectly.
-
Leafy Green Chips (Kale, Chard): Serve with light and zesty dips like Lemon-Tahini Dressing or a simple olive oil and vinegar blend.
Troubleshooting and Achieving Chip Longevity
Even seasoned cooks can face challenges when aiming for the perfect chip. Knowing how to fix common issues and how to properly store the chips are essential for maximizing success and enjoyment.
Storage and Maintaining the Crunch:
While homemade veggie chips are undoubtedly best consumed fresh, straight from the oven, they can be stored for up to one week. The main enemy of longevity is ambient moisture.
-
Ensure Full Cooling: Never store chips while they are still warm, as residual heat will create condensation and instantly result in a soggy texture.
-
Use Airtight Containers: Store completely cooled chips in an airtight container at room temperature. Avoid refrigerating, as the high humidity will ruin the texture.
-
The Paper Towel Trick: For extra protection, place a paper towel at the bottom and top of the stored chips to absorb any minor residual moisture.
-
Re-Crisping: If your stored chips lose their crunch, spread them on a baking sheet and bake them at a low temperature, around 300°F (150°C), for 3–5 minutes. Allow them to cool again, and they should regain their desired crispness.