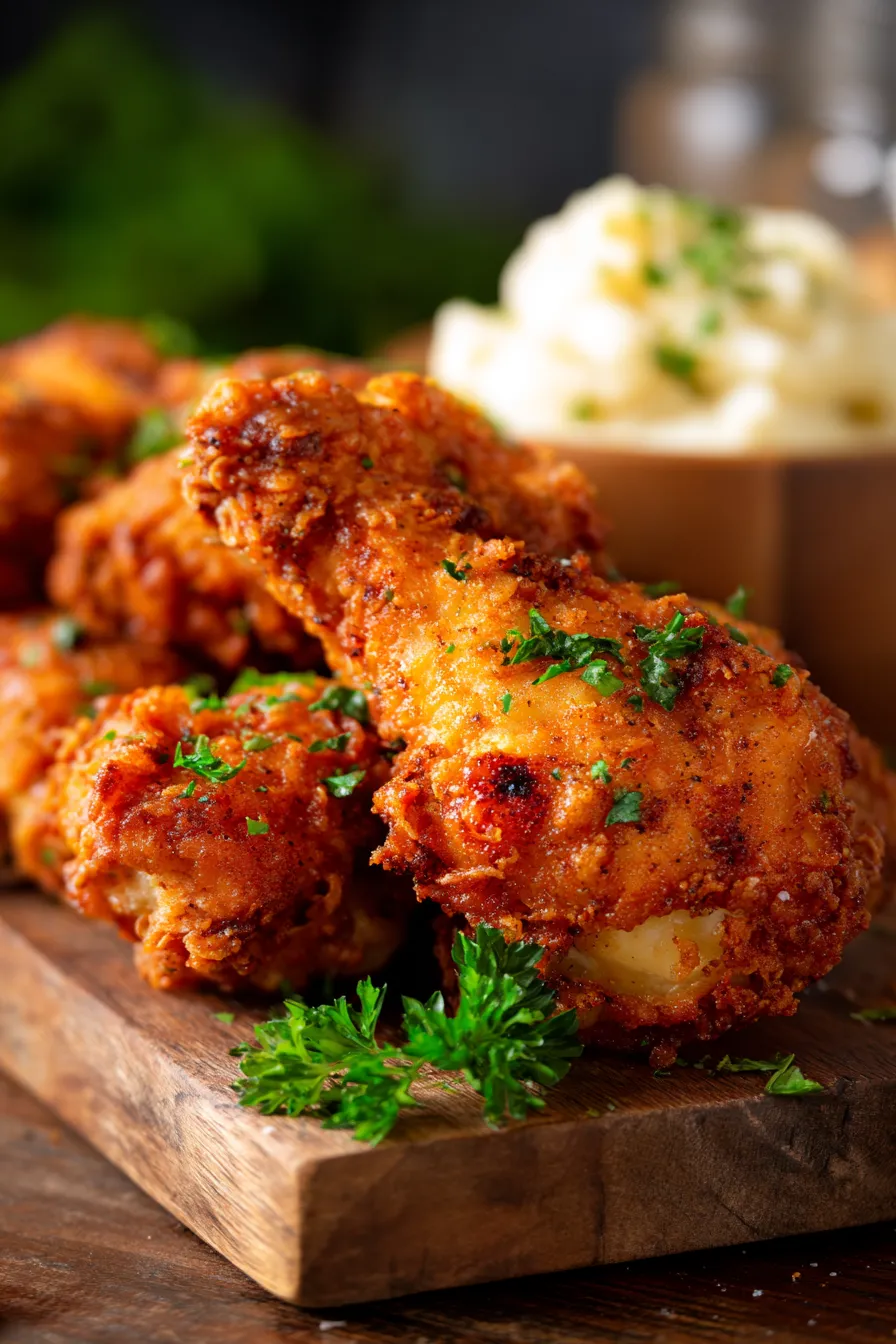
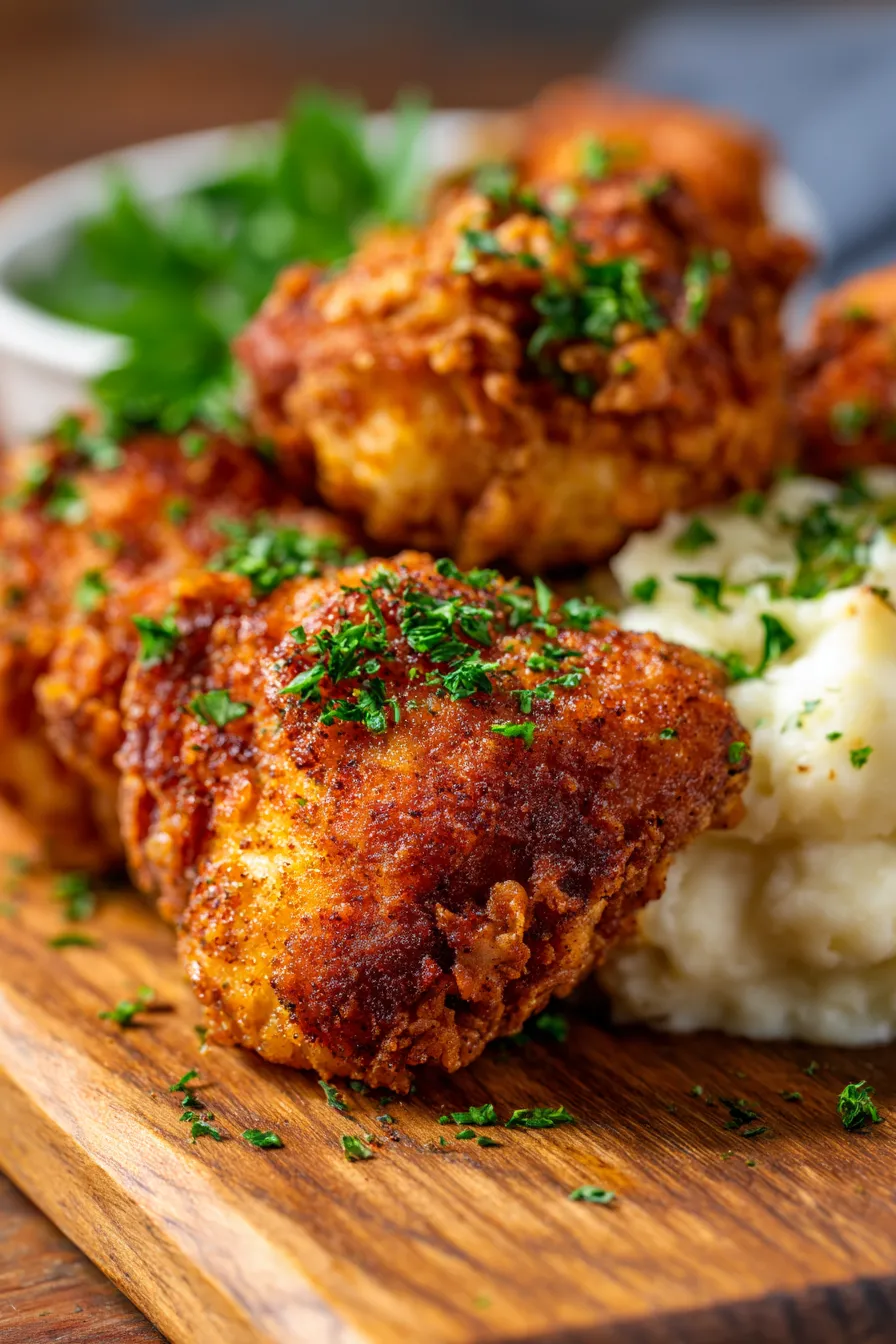
The Ultimate Crispy Country Fried Chicken Recipe for Comfort Food Bliss
There are some smells that just transport you back in time, aren’t there? For me, it’s the aroma of sizzling chicken drifting from my grandmother’s kitchen on a lazy Sunday afternoon. She had a way with fried chicken – each piece impossibly crispy on the outside, yet unbelievably juicy within. It wasn’t just a meal; it was an event, a cornerstone of family gatherings, and the very definition of comfort food.
That cherished memory sparked a mission: to recreate that magic in my own kitchen. After countless attempts, tweaking spices, perfecting the dredge, and mastering oil temperatures, I’ve finally perfected this Country Fried Chicken with Crispy Coating recipe. This isn’t just *a* recipe; it’s *the* recipe – tested, loved, and guaranteed to become an instant family favorite in your home. Get ready for an easy dinner that feels like a warm hug.
This southern classic is perfect for any occasion, whether you’re feeding a crowd or simply craving a taste of nostalgia. Say goodbye to dry, bland fried chicken and hello to golden-brown perfection. You truly need to make this now!
Why You’ll Love This Recipe
❤️ Here’s why this Country Fried Chicken will quickly become a cherished recipe in your culinary repertoire:
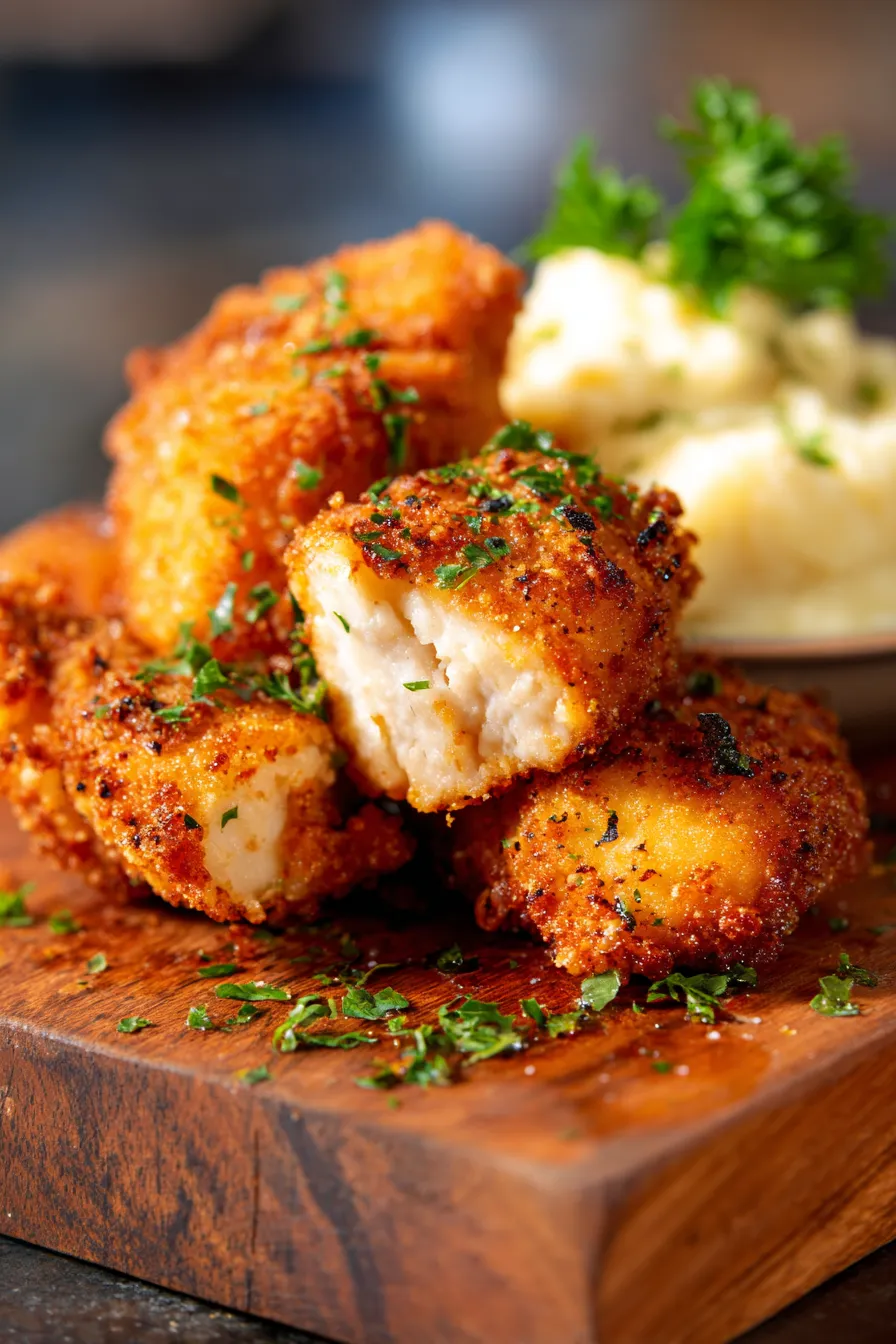
- Unbelievably Crispy Coating: We’re talking about a golden, crunchy exterior that crackles with every bite. The secret lies in our special double-dredging technique and the perfect blend of flour and spices, ensuring maximum crispness without being overly greasy. It’s the kind of coating you dream about!
- Juicy, Tender Chicken Every Time: Thanks to a glorious buttermilk soak, your chicken pieces will emerge incredibly moist and full of flavor. Buttermilk tenderizes the meat beautifully, creating a succulent interior that perfectly contrasts the crunchy coating. No more dry chicken, ever!
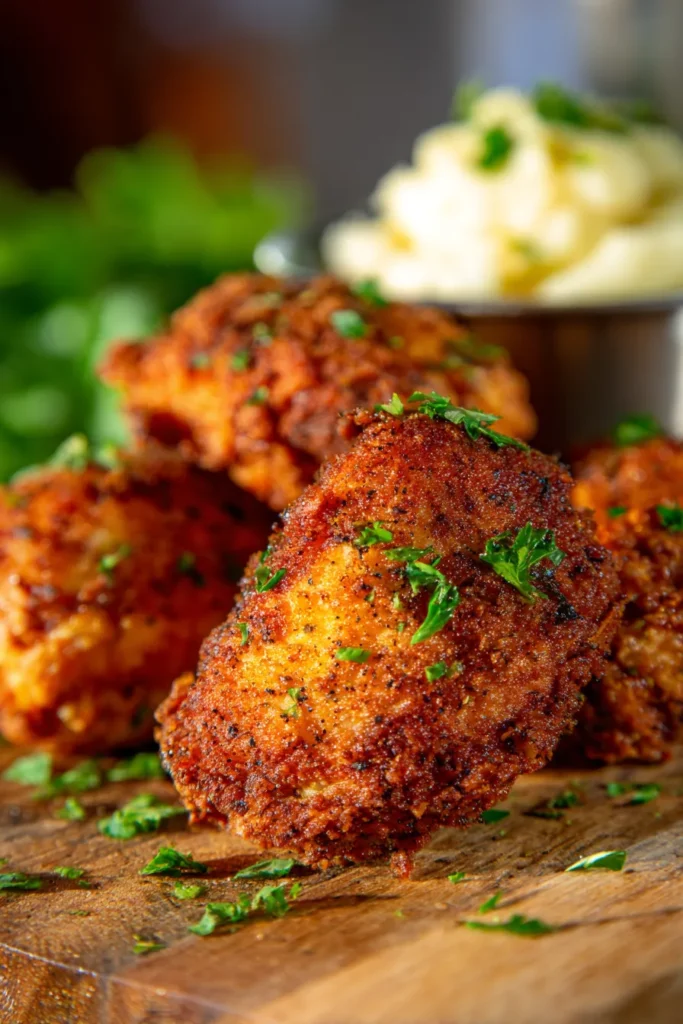
- Bursting with Flavor: Our carefully balanced seasoning blend penetrates deep into the chicken, giving you a savory, slightly spicy kick that’s utterly addictive. Each ingredient plays a crucial role, from the aromatic garlic powder to the subtle warmth of cayenne, creating a symphony of tastes.
- Surprisingly Simple to Make: Don’t be intimidated by homemade fried chicken! This recipe breaks down the process into easy, manageable steps. Even if you’re a beginner, you’ll be able to achieve restaurant-quality results in your own kitchen with confidence and ease.
- A True Comfort Food Classic: There’s nothing quite like a plate of perfectly fried chicken to bring warmth and joy to your soul. It’s the quintessential comfort meal, perfect for a cozy family dinner, a gathering with friends, or simply treating yourself to something truly delicious.
- Versatile Pairing Potential: This fried chicken isn’t just delicious on its own; it’s also the perfect partner for an array of side dishes. Imagine it with creamy mashed potatoes, crisp coleslaw, fluffy biscuits, or a vibrant green salad. It effortlessly elevates any meal into a feast.
- A Tested & Trusted Family Favorite: This isn’t a recipe pulled out of thin air. It’s been tried, tested, and adored by family and friends for years. It’s the kind of recipe that gets requested again and again, proving its universal appeal and consistent deliciousness.
What You Need
You only need a few simple pantry staples for this recipe! Most of these ingredients are likely already in your kitchen, making this a convenient and approachable dish to whip up. Check the full printable recipe card below for detailed measurements and a complete list.
💡 Expert Tips for the Best Country Fried Chicken
- The Buttermilk Soak is Non-Negotiable: This step is the secret to both tender meat and amazing flavor. Buttermilk’s mild acidity helps to break down the chicken fibers, resulting in incredibly juicy and tender pieces. It also acts as a fantastic binder for the seasoned flour, ensuring a thick, crispy coating. Aim for at least 4 hours, or ideally, an overnight soak for maximum impact.
- Season Generously and in Layers: Don’t be shy with your seasoning! Not only should your flour mixture be well-seasoned, but you can also lightly salt and pepper the chicken pieces before they even hit the buttermilk. This layering of flavor ensures every bite is savory and delicious, right down to the bone.
- Dredge Twice for Extra Crunch: For that truly irresistible, craggy, extra-crispy coating, a double dredge is key. After dipping in buttermilk, coat thoroughly in the seasoned flour, then dip back into the buttermilk (just briefly!) and back into the flour. This creates more surface area for crispiness. Gently press the flour onto the chicken to ensure it adheres.
- Maintain the Perfect Oil Temperature: This is perhaps the most crucial tip for perfect fried chicken. Use a deep-fry thermometer and aim for 325-350°F (160-175°C). If the oil is too cold, the chicken will absorb too much oil and become greasy. If it’s too hot, the outside will burn before the inside cooks through. Adjust your heat frequently to keep it consistent.
- Don’t Overcrowd the Pan: Frying in batches is essential. Overcrowding lowers the oil temperature dramatically, leading to greasy, soggy chicken. Give each piece enough space to fry properly and evenly. Patience here pays off in crispness.
- Rest Your Chicken After Frying: Once cooked, transfer your fried chicken to a wire rack set over a baking sheet (not paper towels, which will steam the bottom and make it soggy!). Resting allows the juices to redistribute throughout the meat, ensuring maximum juiciness. It also helps maintain crispiness.
- Consider a Cast Iron Skillet: While not strictly mandatory, a heavy-bottomed cast iron skillet is ideal for frying chicken. It distributes and retains heat exceptionally well, leading to more consistent oil temperatures and even cooking. This translates to superior crispness and browning.
- Elevate Your Flour Blend: For an even crispier coating, consider adding a tablespoon or two of cornstarch or baking powder to your flour mixture. Cornstarch contributes to a delicate, extra-crisp texture, while baking powder can help create a lighter, puffier crust.
- Use the Right Cut of Chicken: Bone-in, skin-on chicken pieces (like drumsticks, thighs, and wings) are excellent choices as they tend to stay juicier during frying. If using boneless, skinless pieces, ensure they are of similar thickness for even cooking and adjust frying times accordingly.
Variations & Substitutions
While this recipe is perfect as is, feel free to get creative and adapt it to your taste or dietary needs:
- Spicy Kick: Amp up the heat by adding more cayenne pepper to your flour mixture, or even a dash of hot sauce to the buttermilk soak.
- Herbal Infusion: Incorporate dried herbs like thyme, sage, or oregano into the flour for an aromatic twist.
- Gluten-Free Option: Easily make this recipe gluten-free by using your favorite cup-for-cup gluten-free all-purpose flour blend. The crispiness will still be fantastic!
- Dairy-Free Buttermilk: If you’re dairy-free, simply combine 1 cup of your preferred unsweetened non-dairy milk (like almond or soy milk) with 1 tablespoon of white vinegar or lemon juice. Let it sit for 5-10 minutes until it slightly curdles.
- Smoked Paprika: For a deeper, smokier flavor, substitute regular paprika with smoked paprika.
Storage & Freezing
Cooked country fried chicken is delicious warm or cold, but proper storage ensures its quality.
- Refrigeration: Store leftover fried chicken in an airtight container in the refrigerator for up to 3-4 days.
- Reheating: For best results, reheat fried chicken in the oven or an air fryer. Preheat your oven to 375°F (190°C) and bake for 15-20 minutes, or until heated through and crispy. An air fryer at 350°F (175°C) for 8-10 minutes also works wonders for restoring crispness. Microwaving is not recommended as it can make the coating soggy.
- Freezing: Cooked fried chicken can be frozen for up to 3 months. Once cooled completely, wrap individual pieces tightly in plastic wrap, then place them in a freezer-safe bag or container. Thaw overnight in the refrigerator before reheating as described above.
FAQ
Q: Why is my fried chicken not crispy?
A: The most common reasons are oil temperature being too low, overcrowding the pan, or not allowing the chicken to rest on a wire rack after frying. Ensure your oil stays between 325-350°F, fry in batches, and always rest the chicken to prevent sogginess.
Q: Can I use boneless, skinless chicken pieces?
A: Yes, absolutely! Boneless, skinless chicken pieces (like thighs or cutlets) work well, but you’ll need to adjust the cooking time. They will cook much faster, typically 6-10 minutes per side depending on thickness. Ensure they reach an internal temperature of 165°F (74°C).
Q: What is the best oil for frying chicken?
A: Oils with a high smoke point are best. Good options include vegetable oil, canola oil, peanut oil, or refined sunflower oil. Avoid olive oil or butter, as they have lower smoke points and will burn easily.
Q: How do I know when the chicken is fully cooked?
A: The most reliable way is to use a meat thermometer. Insert it into the thickest part of the chicken, avoiding the bone. The chicken is fully cooked when it reaches an internal temperature of 165°F (74°C). The juices should also run clear.
Q: Can I prepare the chicken ahead of time?
A: You can soak the chicken in buttermilk for up to 24 hours in the refrigerator. You can also dredge the chicken in flour and place it on a wire rack over a baking sheet, cover loosely, and refrigerate for an hour or two before frying. This can even help the coating adhere better!
Conclusion
There you have it – the ultimate guide to creating the most incredible Country Fried Chicken with Crispy Coating right in your own kitchen. This recipe is more than just food; it’s a taste of tradition, a memory in the making, and a guaranteed crowd-pleaser. I promise, once you try this recipe, you’ll never go back to anything else. So grab your apron, gather your ingredients, and get ready to create some culinary magic. Don’t forget to pin this recipe for later and share your delicious creations with us!
Ultimate Crispy Country Fried Chicken Recipe (Easy & Juicy)
Ingredients
- 3-4 lbs bone-in, skin-on chicken pieces (drumsticks, thighs, wings)
- 3 cups buttermilk
- 3 cups all-purpose flour
- 1/4 cup cornstarch
- 2 tablespoons salt
- 1 tablespoon black pepper
- 1 tablespoon garlic powder
- 1 tablespoon paprika
- 1 teaspoon cayenne pepper (optional, for heat)
- 4-6 cups vegetable oil (or canola/peanut oil) for frying
Instructions
- Step 1 Place chicken pieces in a large bowl and pour buttermilk over them, ensuring all pieces are submerged. Cover and refrigerate for at least 4 hours, or preferably overnight.
- Step 2 In a separate large, shallow dish, whisk together flour, cornstarch, salt, black pepper, garlic powder, paprika, and cayenne pepper (if using).
- Step 3 Remove chicken from buttermilk, letting excess drip off. Dredge each piece thoroughly in the flour mixture, pressing to ensure a thick coating. For extra crispiness, dip back into buttermilk briefly, then dredge in flour again.
- Step 4 Place dredged chicken on a wire rack set over a baking sheet and let rest for 15-20 minutes. This helps the coating adhere better.
- Step 5 Heat 4-6 cups of oil in a large, heavy-bottomed pot or cast iron skillet to 325-350°F (160-175°C). Use a deep-fry thermometer to monitor the temperature.
- Step 6 Carefully place 3-4 chicken pieces into the hot oil, ensuring not to overcrowd the pan. Fry for 6-8 minutes per side, turning occasionally, until golden brown and cooked through (internal temperature of 165°F / 74°C). Adjust heat as needed to maintain oil temperature.
- Step 7 Once cooked, transfer fried chicken to a clean wire rack set over a baking sheet to drain excess oil and keep it crispy.
- Step 8 Repeat with remaining chicken pieces, allowing oil to reheat between batches if necessary.
- Step 9 Serve hot and enjoy your perfectly crispy country fried chicken!